


How To Record and Edit Your Online Course For Free (With Loom)
 Platform Review

Full step-by-step tutorial on how to record and edit your online course for free using the Loom platform.
If you're looking for tips on how to record and edit your online course for free while on a budget, look no further because you're not alone. 😉
From how to set up your recorder software to how to record your first video and uploading to your course builder for a great learning experience, this article will help you get started on making an impact with your learners.
This post will show you how to use Loom to record videos and online courses for free so that it turns out perfect and your students can easily watch them without issues.
If you are just getting started creating online courses, then you are probably wondering what software you need to buy.
I've been creating courses since 2016, and I personally use Screenflow, which is a paid product.
But I get it that if you are just starting out, you probably want to avoid purchasing commercial software just yet.
So in this post, I'm going to give you a full step-by-step guide on how to record online course videos with Loom, which is an online platform with a powerful free plan that might just be enough for your course creation needs.
Why Loom?
You might have heard of Loom, and know that it's a screencast recording tool meant to be used as a partial replacement for meetings - just send a quick video to your colleagues and skip the meeting.
It turns out that besides allowing to record quick personal videos and screencasts, Loom also comes has some nice video editing capabilities that come in very handy to course creators.
How To Create an Online Course For Free
Don’t worry, you don’t need a closet full of expensive equipment and an artistic eye to ensure your course stands out for the right reasons. 😉
In fact, for most course creators, there’s a free (and very simple to use) tool you can use.
It’s called Loom!
Is this free tool right for you? That depends on you and your course. If, for example, you’re a yoga instructor who needs to appear on camera showing various positions, you may need something else.
But if you’re like a large part of course creators that simply share your screen (and occasionally appear on camera to talk) Loom gives you all you need.
It’s a simple tool that allows you to create screencasts, edit your videos, and then upload them to your course builder with no watermarks! It’s packed with other relevant features you need, too 😎
Although with none of the overwhelming aspects that most people don’t need or know how to use!
If you’re looking for a free tool to capture what’s on your screen, record a talking-head video, and edit in minutes, Loom is for you. In this guide, I’ll show you how to use it.
Table of contents
You can always find an up-to-date index with all the free content available in the Course Creator Academy by clicking on the Academy link on the top menu bar.
Step By Step Guide on How To Record (and edit) Your Online Course
As with most tools, there’s a lot you *can* do with Loom.
In this guide, we’ll keep it simple -- showing you what you need to do to record and edit your video lessons.
I encourage you to explore the tool and get a good feel for it.
But before you do that, follow these simple steps:
Step 1: Setup Your Loom Account
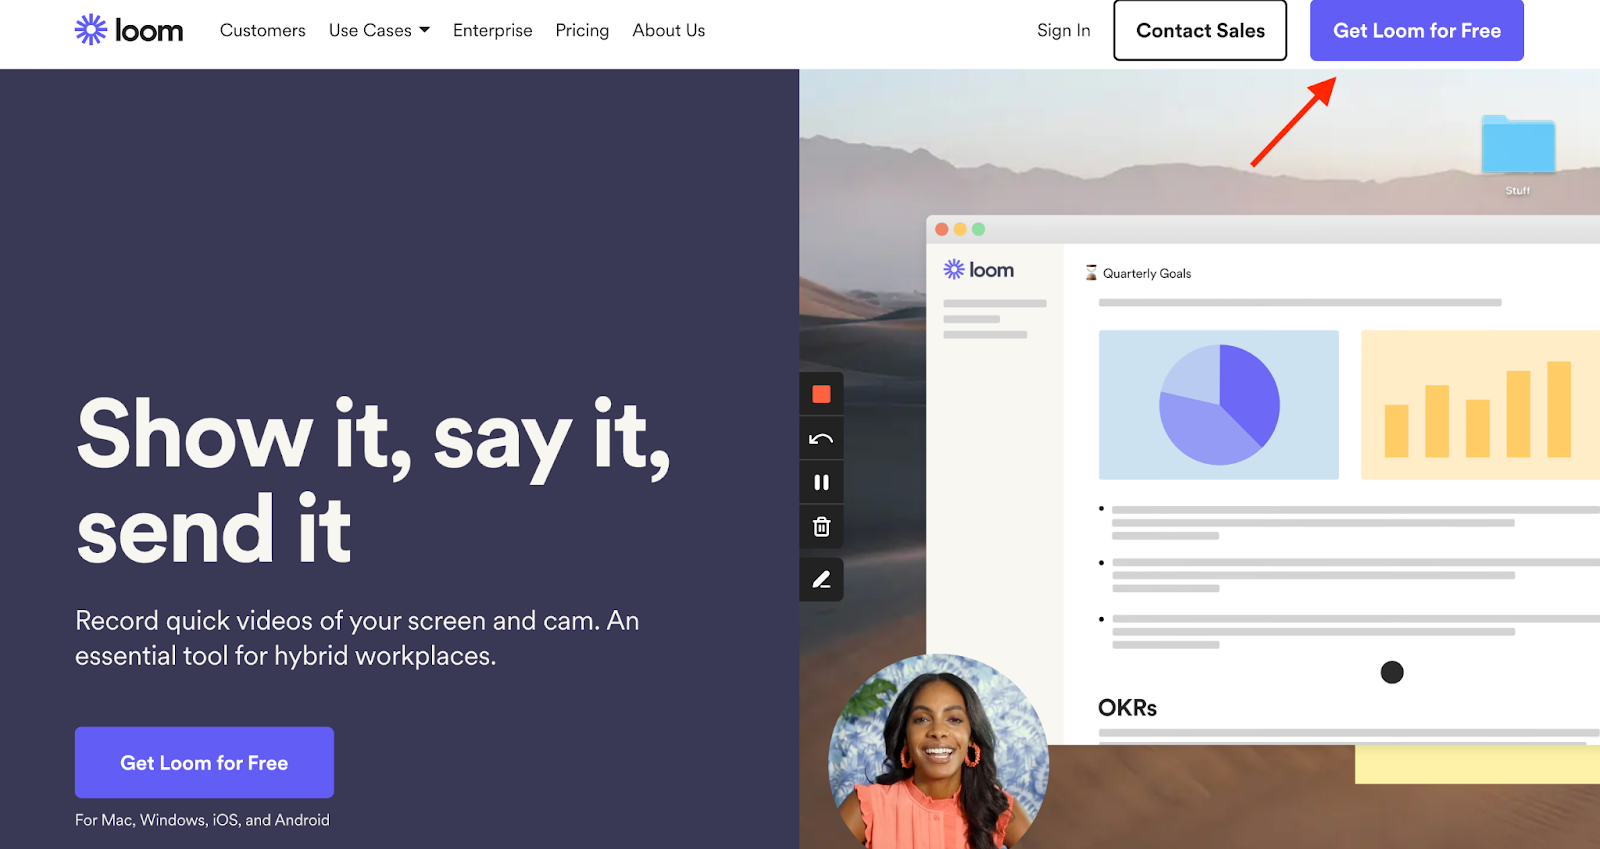
If you don’t have an account yet, visit: https://www.loom.com
Just click the button in the top right-hand corner and fill out a few details...
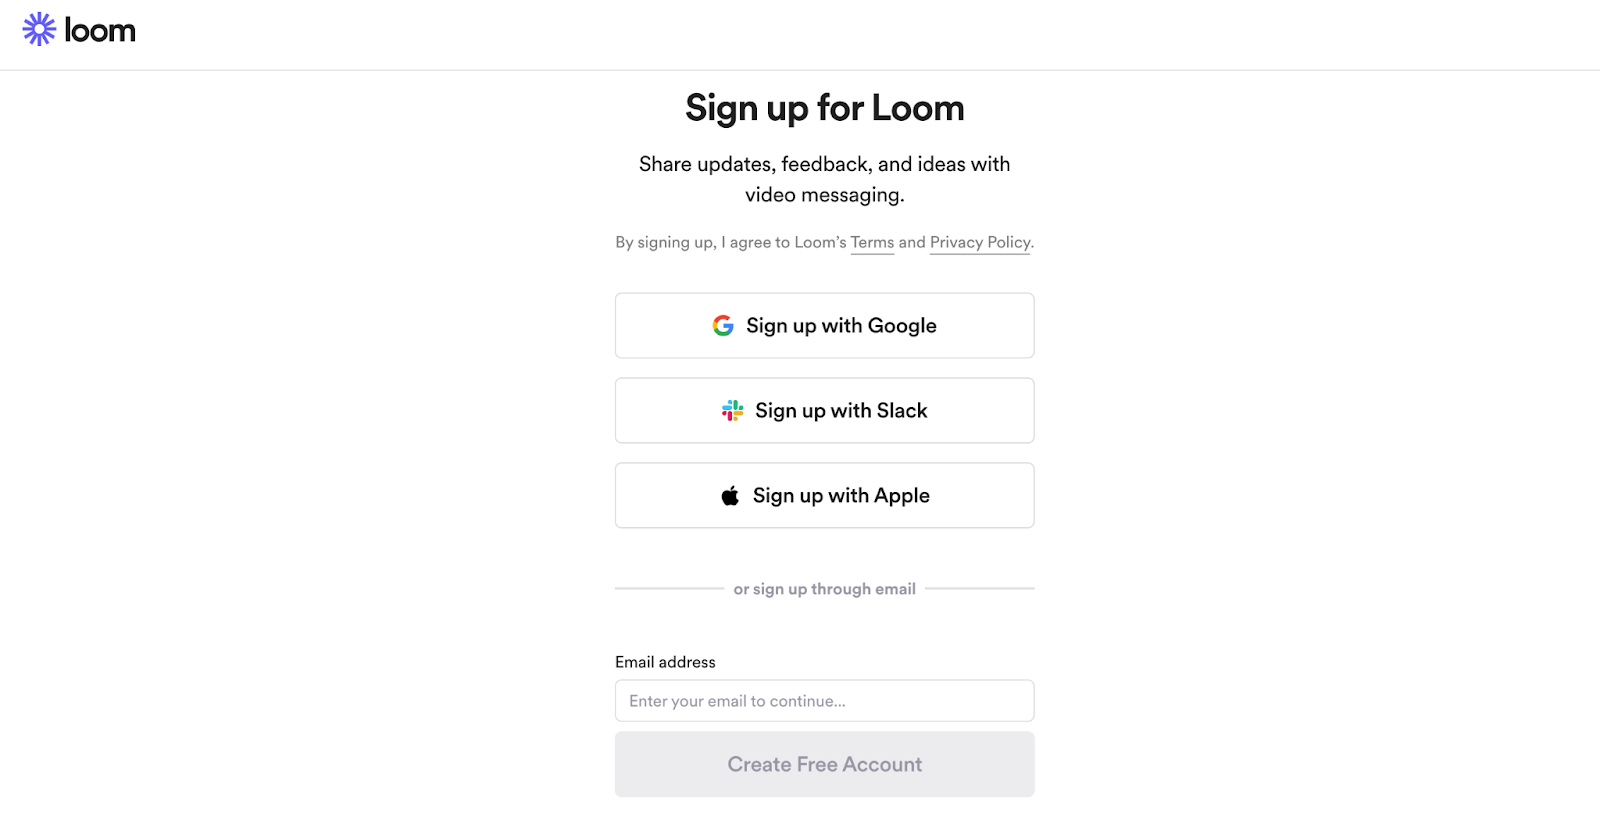
You can either use your email or sign-up via your Google, Slack, or Apple accounts.
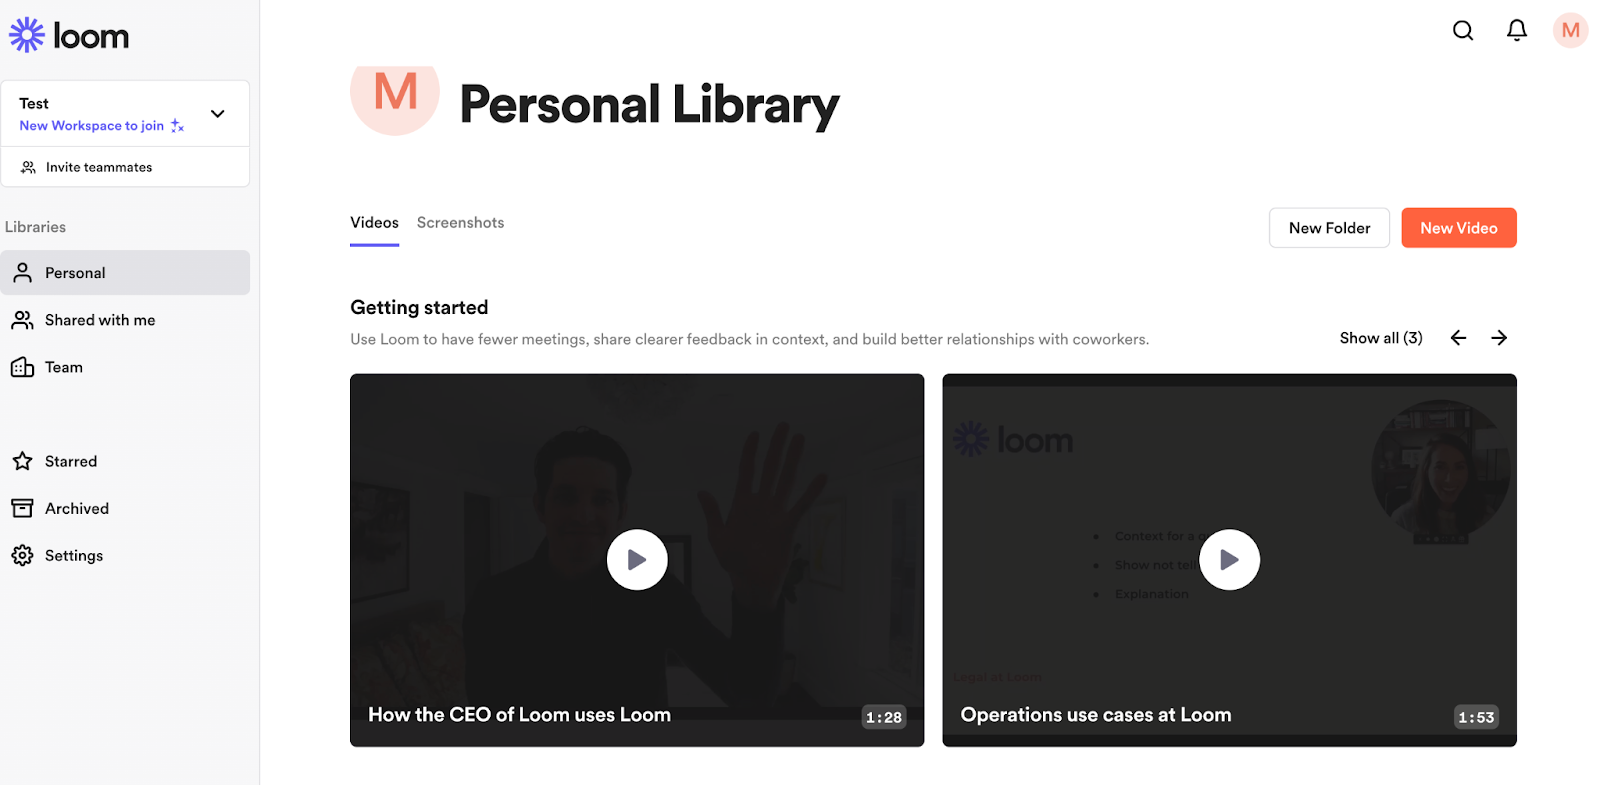
Once you have, you’ll get directed to your new personal library.
Step 2: Record Your First Video
Now you have your account, you’re ready to record your first video.
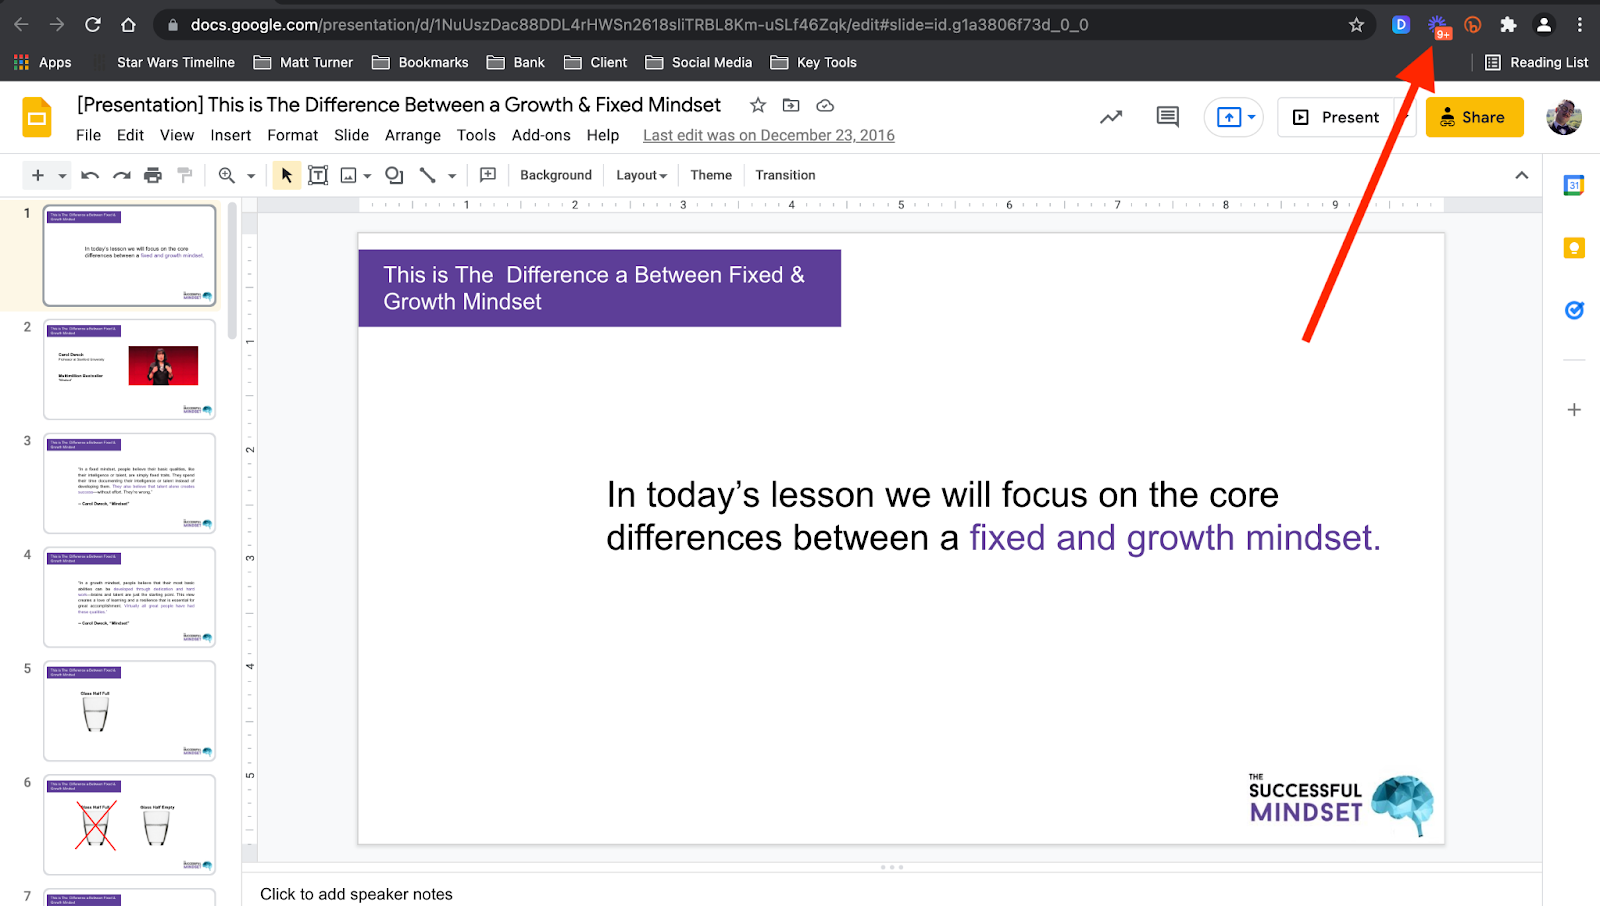
The easiest way to do this is to download the Loom Chrome Extension.
This gives you handy access at the top of your screen, whenever you need it.
It really is as simple as a few clicks. Once you’re ready to record what’s on your screen, simply press the Loom icon and choose the settings you need.
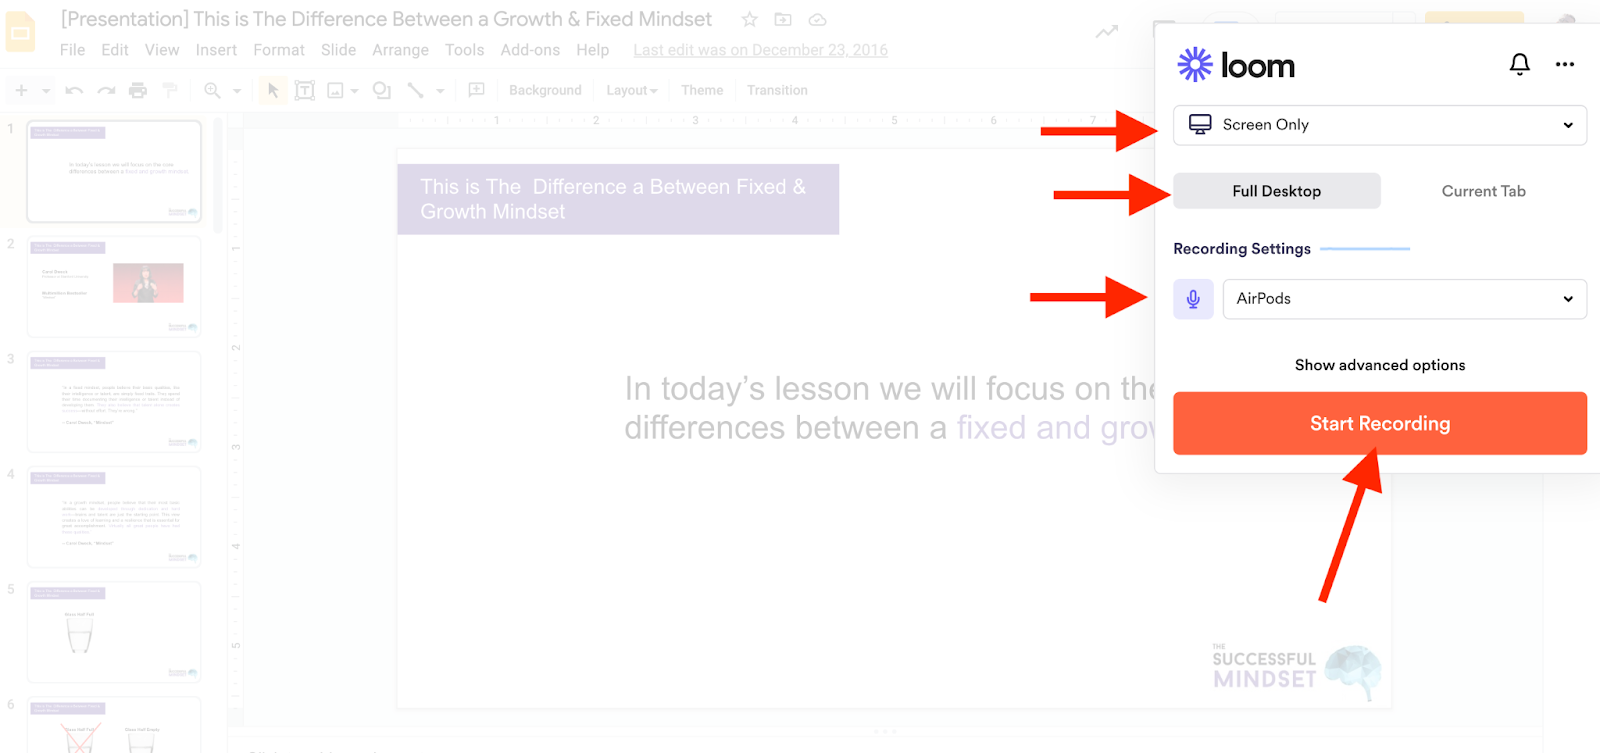
In this example -- and what most course creators need -- we’ve chosen the “Screen Only option. This means Loom will record whatever’s on your screen, allowing you to capture your slide deck.
You can choose to capture both your screen and web-cam, though -- if you’d like your face to appear at the bottom of the screen.
It’s also important to make sure you have your audio set, too. In the drop-down menu, you can choose any mic you have connected or Bluetooth headphones like we have in the above image.
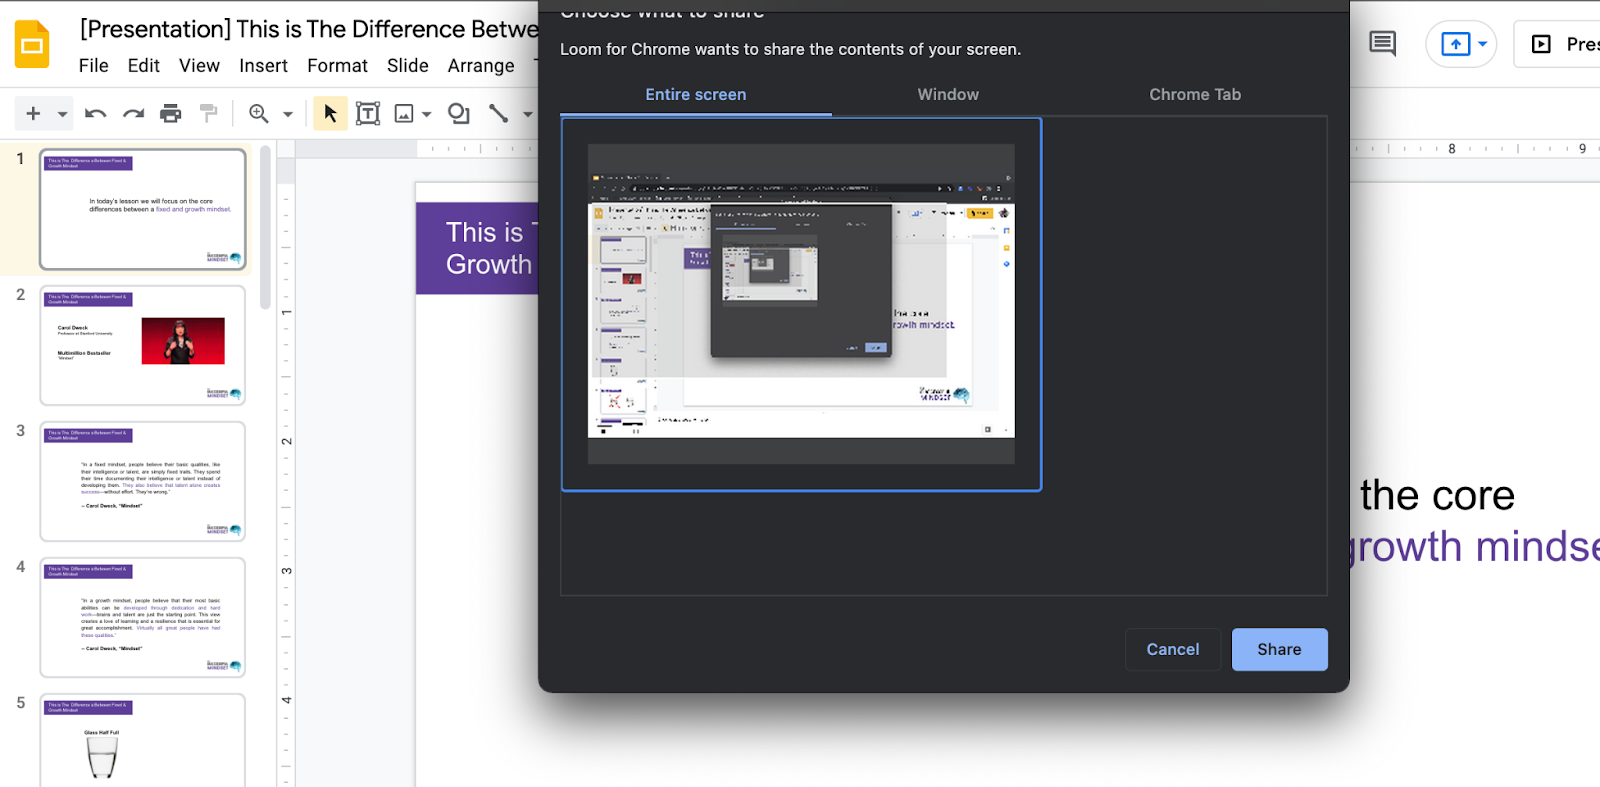
Finally, once you’re ready to record, press the “Start Recording” button and make sure you highlight the Entire Screen option (or an individual window/tab if you prefer).
From there, you’re recording 😎
Simply guide your audience through your slide deck and provide as much value as possible.
Once finished, all you have to do is press the Loom Icon at the top of your screen.
Step 3: Edit Your Video
With your video now recorded, it’s time to edit it.
As soon as you stop recording, you’ll get directed to a new window where your video transcodes. Depending on the size of your video, this may take a few seconds or a few minutes.
Once it’s ready, you can edit, tweak, and perfect your recording.
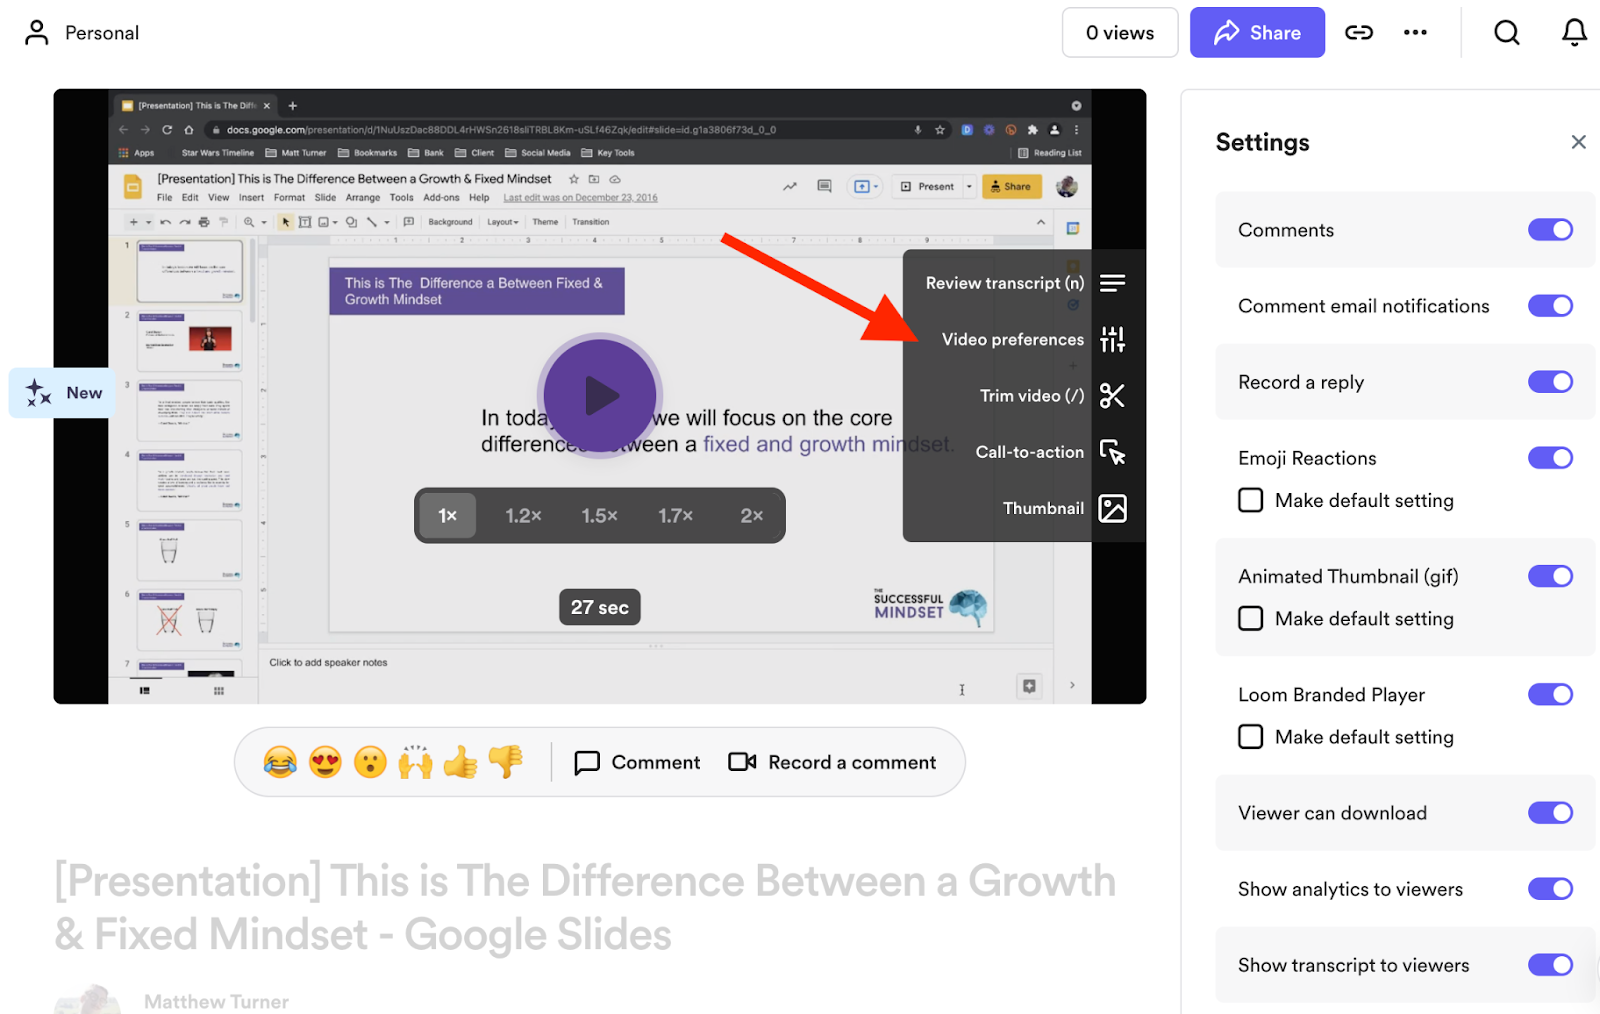
To start with, you’ll want to press the “Video Preferences” tab. This allows you to change any of the core settings. For most course creators, this tab isn’t too important. You’ll download your video and upload it to your course builders (instead of directing your students directly to your Loom video), so most of these features are made redundant.
Still, it’s good practice to check these settings each time you record a video. Just in case 😏
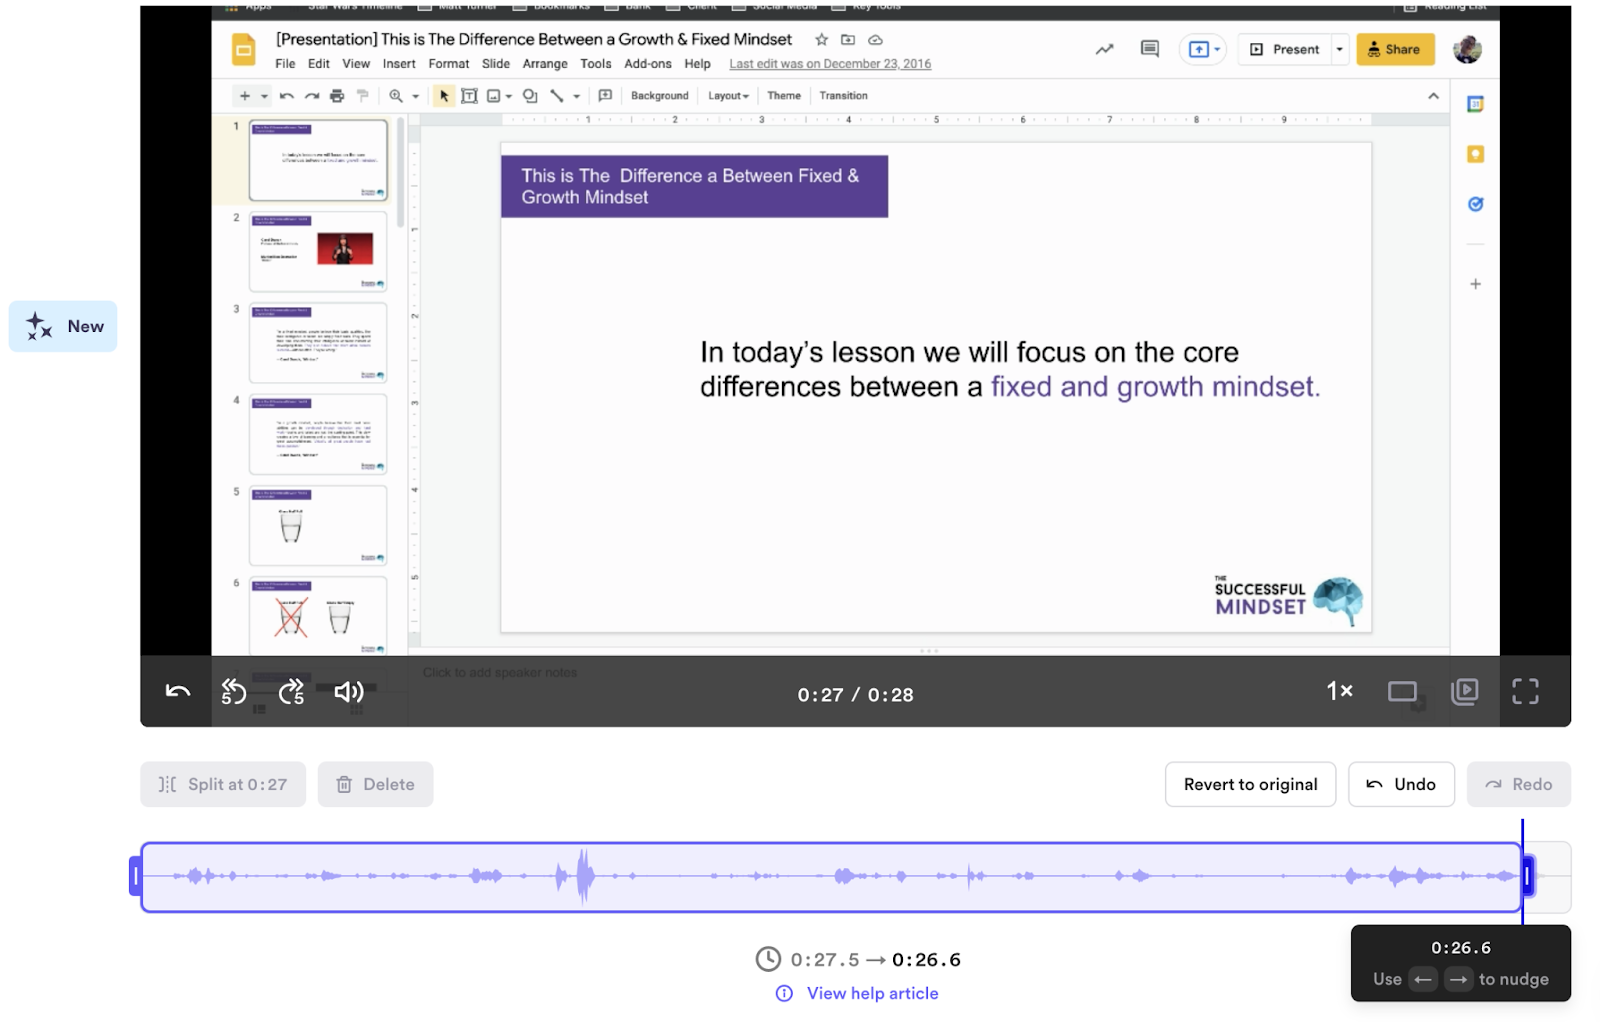
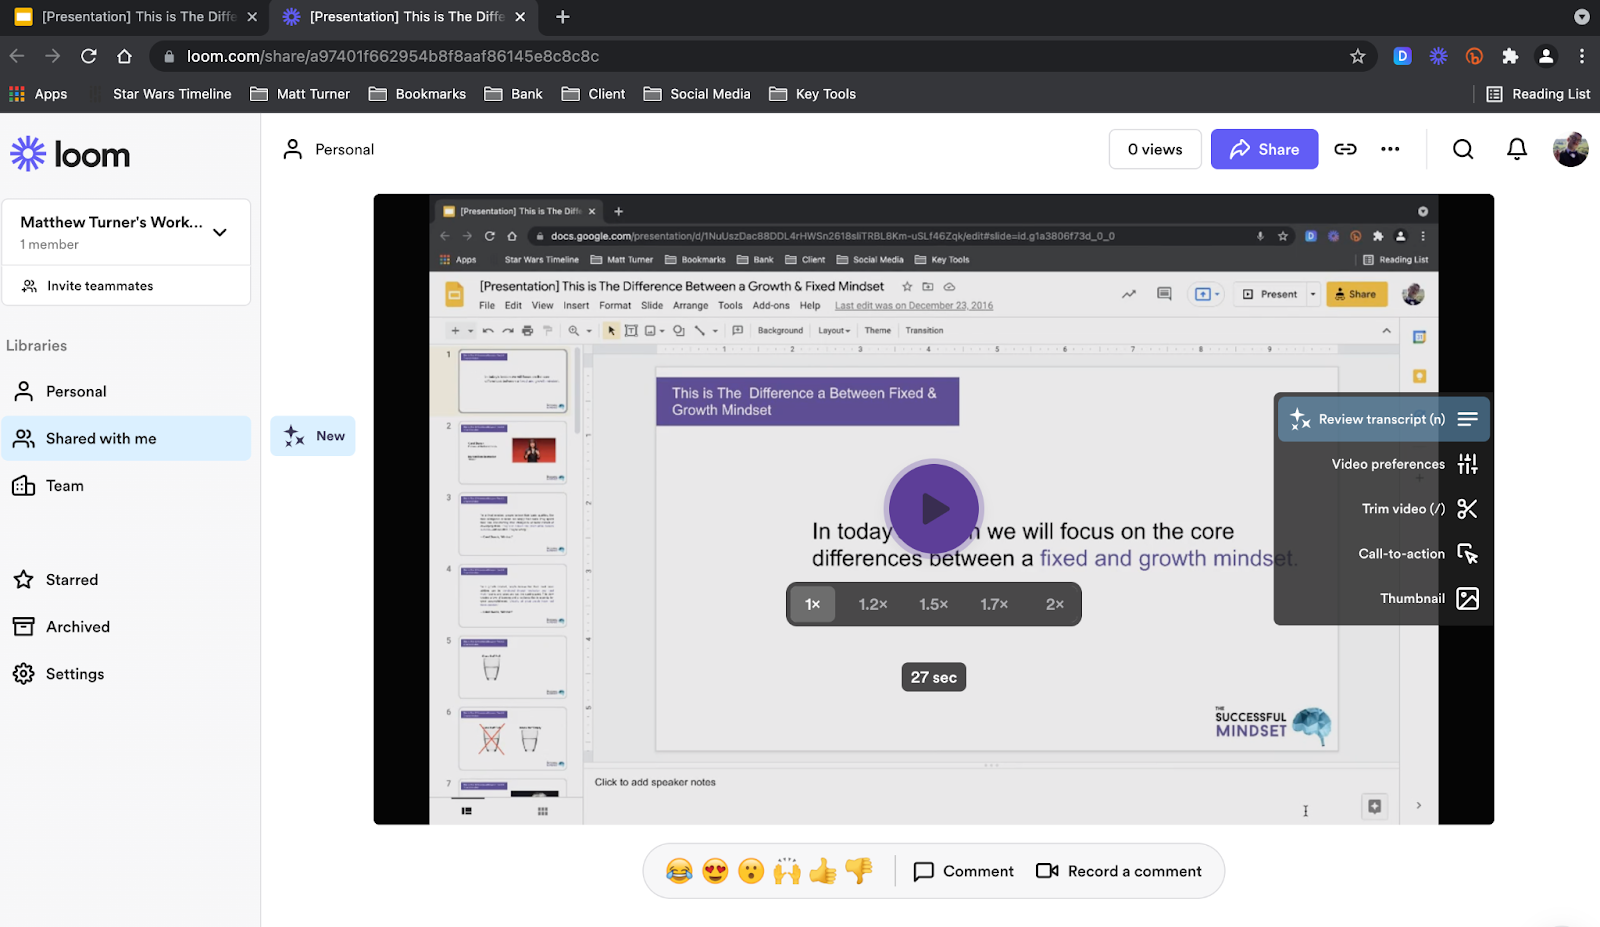
The next tab is important, though… “Trim Video” 👆👆
This is where you remove any errors, issues, or gaps in your recording. It’s a simple tool to use, which is exactly what you need. Compared to some of the editing tools out there, this one is a breath of fresh air.
Nice and simple.
Does what you need.
No more. No less.
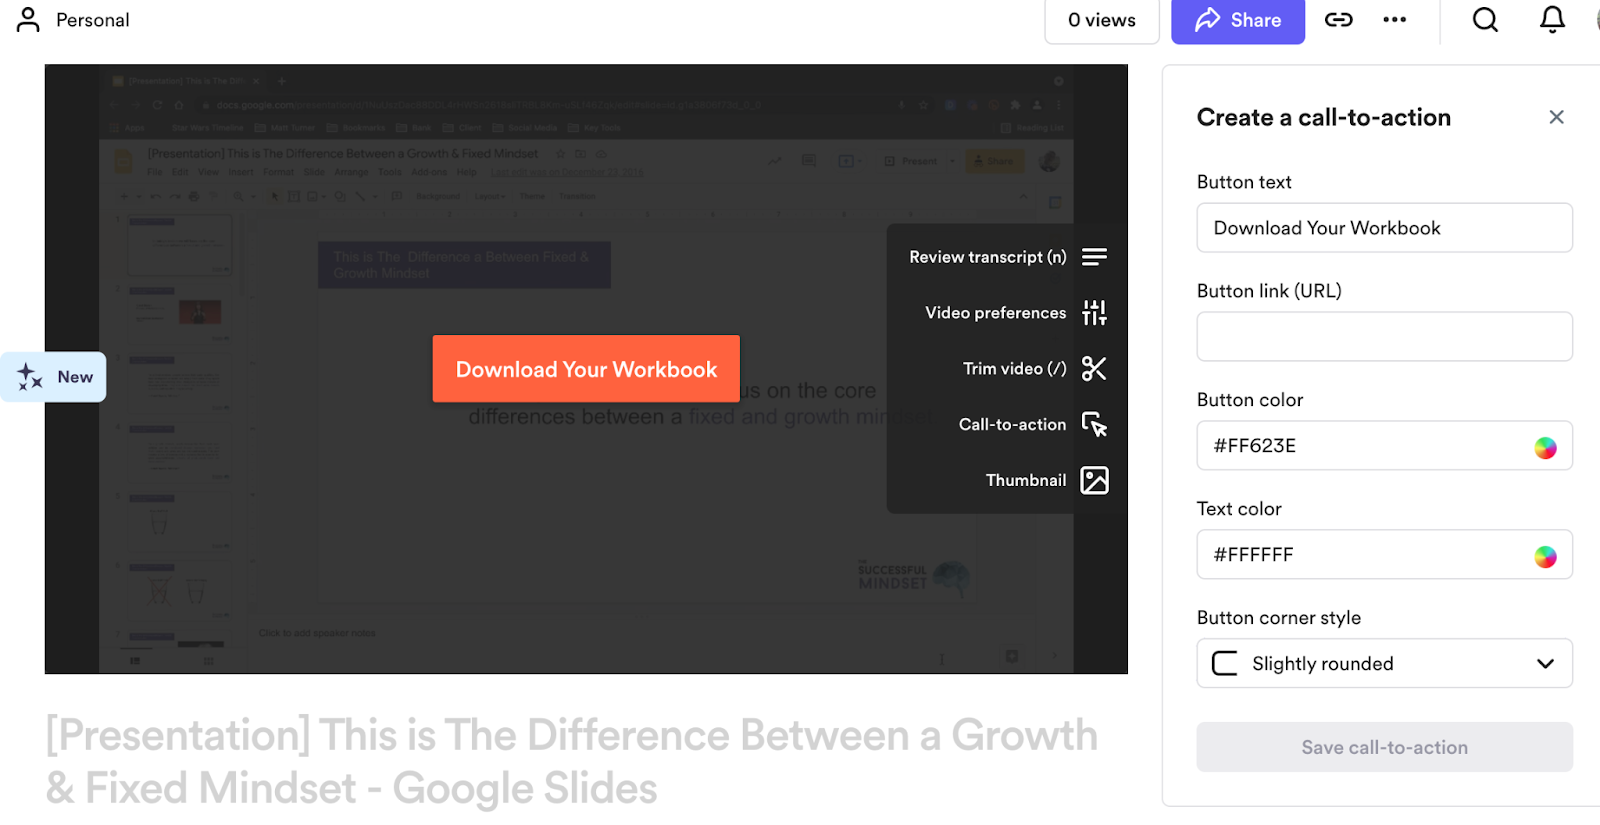
In addition to editing your video, you can also add a “call to action” button (and customize it), as well as a thumbnail you can upload.
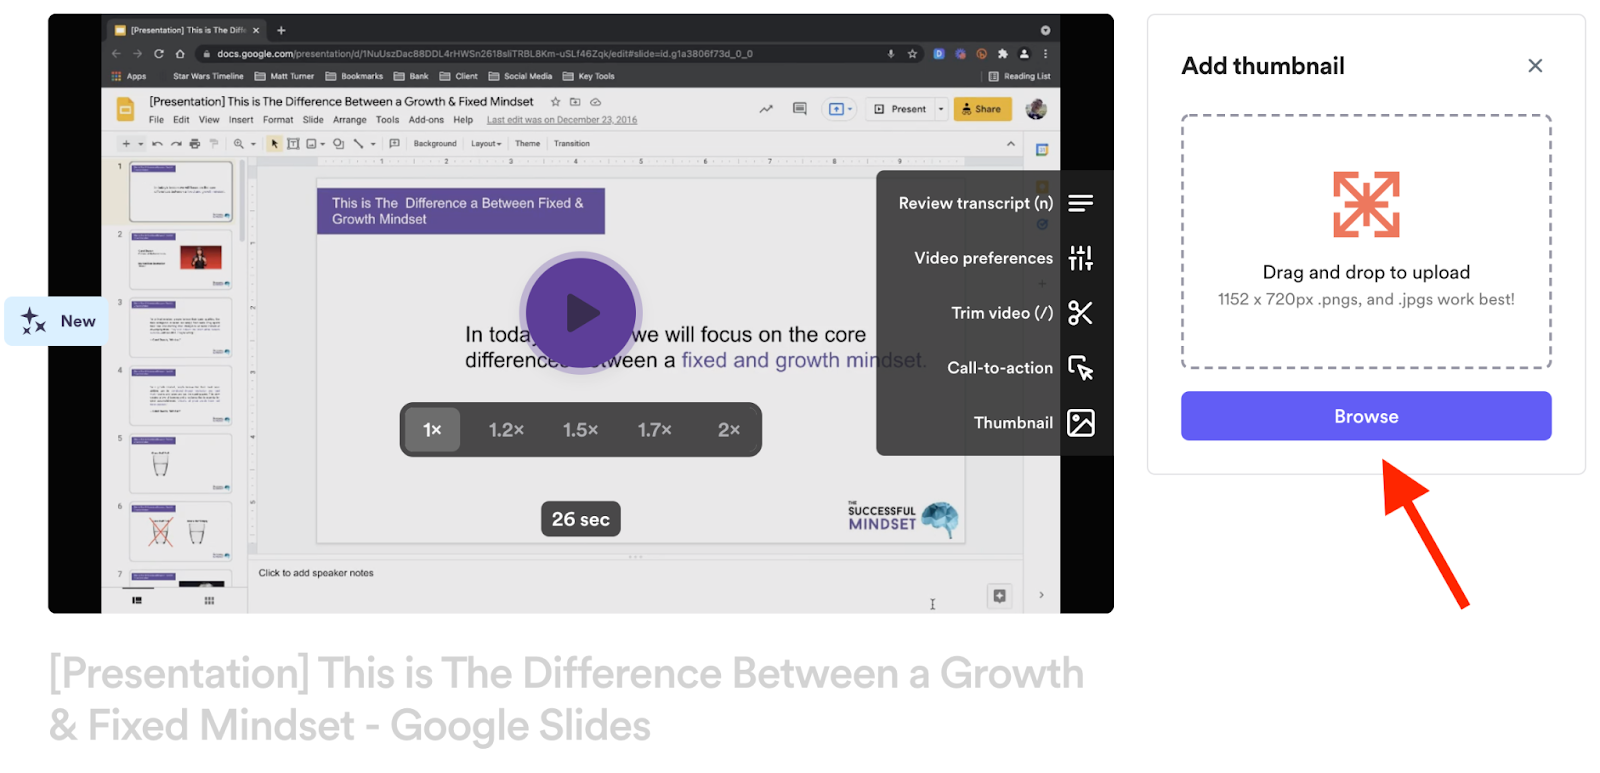
For most course creators, a “call to action” button isn’t necessary.
But uploading a separate thumbnail can make all the difference to your course’s look and feel.
Although you don’t necessarily need to use Loom for this… more on a powerful alternative soon.
Step 4: Save & Download Your Video
You’re almost at the finish line 🚀
I told you Loom was easy to use.
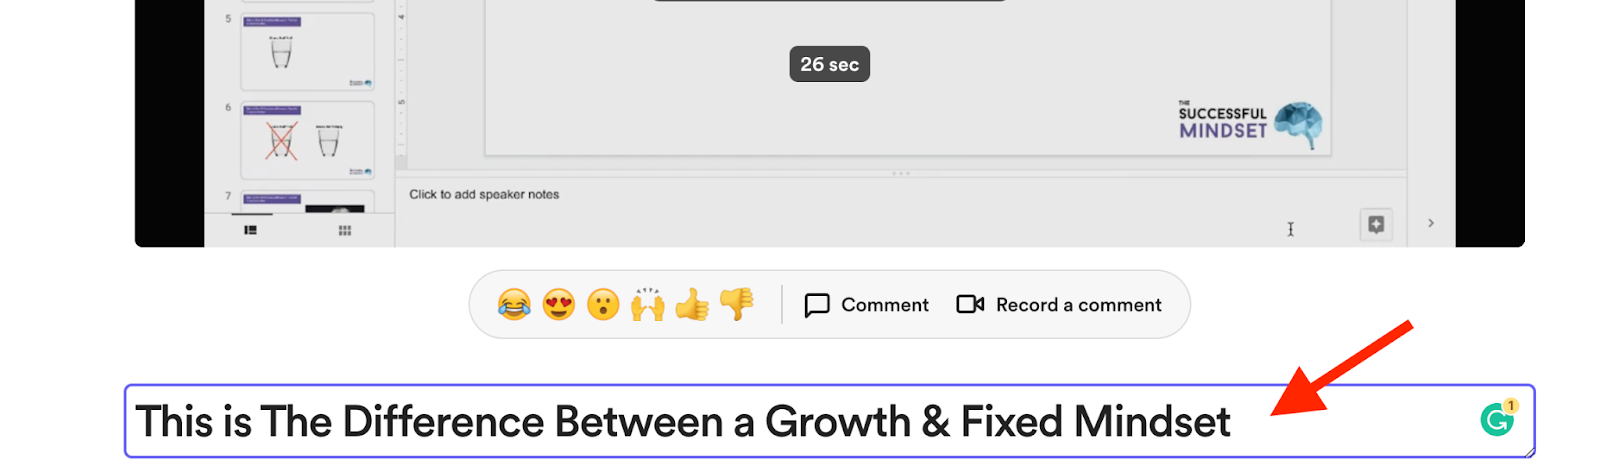
With your video edited and ready to share, all you have to do is edit the name so it matches your lesson’s title...

And then press the three little dots in the top right-hand corner where you can download your video directly to your laptop.
That’s it. You’re done. 😉
Step 5: Upload To Your Course Builder
Now, you *could* host your videos on Loom and direct your audience there.
However, this is not recommended.
For starters, you’d need to upgrade your Loom account (no longer free).
But more importantly, it ruins your student’s overall experience.
The last thing you want is for them to open one window after another, getting some of your course here and other parts of it there. Instead, use a dedicated course builder to host all your course material.
From show notes to workbooks, and yes… your videos!!
This is the best experience you can provide your students.
And we have the perfect option for you.
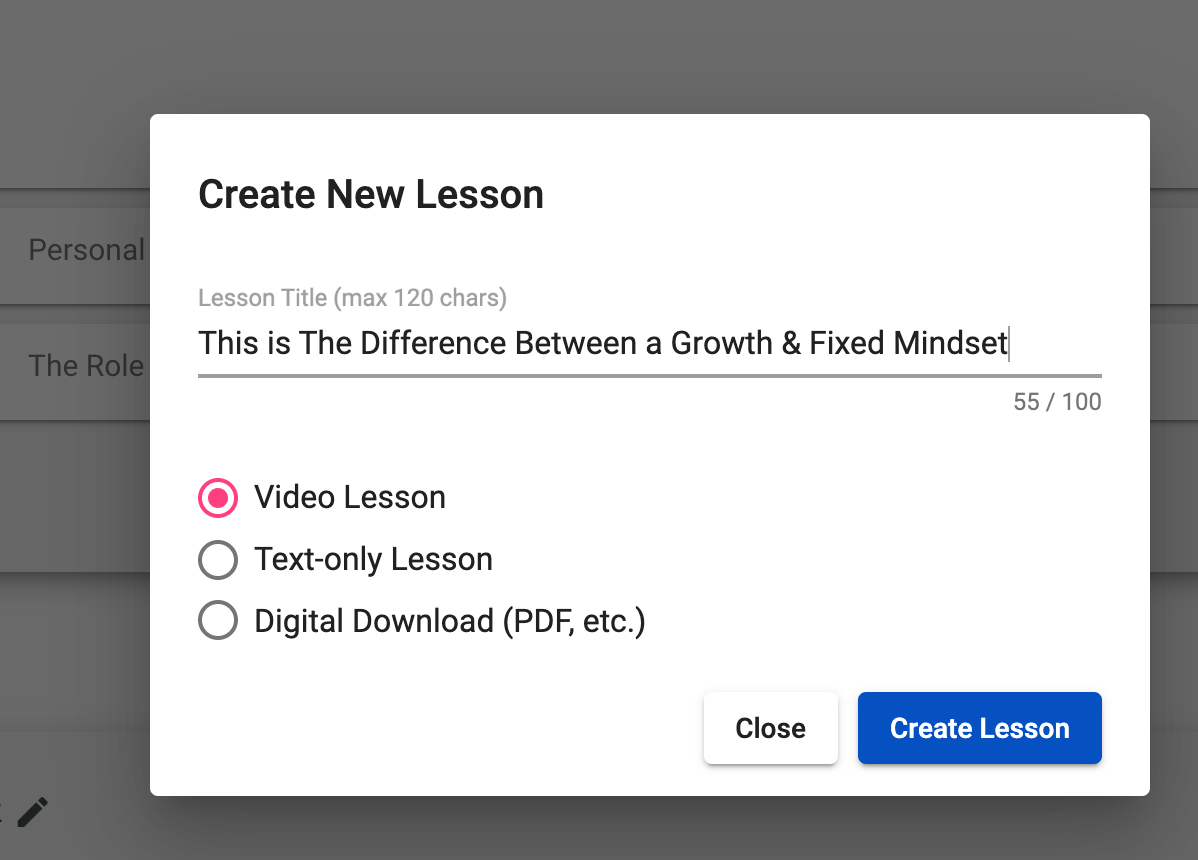
Here at OnlineCourseHost.com, we make this super simple.
With our powerful Free Plan, you can host your entire course and sell it to your students using Stripe or PayPal.
As the above image shows, you can upload your video as a dedicated “Video Lesson”.
This is by far the easiest and cleanest way to share videos with your students.
That’s it. Using Loom to record and edit your videos is this simple.
For most course creators, you can achieve everything you need with their Free Account.
And even if you need to record longer videos or get access to a few hidden features, you can sign up for a free 14-day trial, record ALL your videos, and download them to your computer for future use.
Recording and editing videos no longer have to keep you up at night. 😉
5 Tips on How To Record Your Online Course
Now look, having the right tool for the job is one thing. But any tool only tells part of the story. You have to use it in the “right” way. And you have to have the right outlook and approach.
I’ve learned this the hard way and many other course creators have too.
So to save you a lot of wasted time, money, and stress… here are a few tips I wish I knew long ago.
1: Script Your Videos
Preparation is everything. That isn’t to say you need to script your videos word for word.
For some, this works. For others, it doesn’t.
The point is to turn up knowing what you need to say.
Remember, attention spans continue to fade.
A video alone isn’t enough. You need short, concise videos!!
Showing up unprepared results in long-winded speeches. Your students don’t need that.
Instead, come prepared with either a complete script or some form of structured notes.
2: Don’t Forget About Audio
As important as video is, it means little if your students can’t hear you.
I imagine you’ve experienced this before…
Is there anything worse than poor-quality audio?
The kind with background noise and that empty-room feel! 😉
It’s a sure way to turn your students away and ruin your videos. So make sure you prepare your room accordingly and invest in a decent microphone.
3: Don’t Forget About Lighting
Similar to audio, this is something many course creators overlook. It’s not a problem when sharing your screen, but if you need to appear on camera you need to take lighting into account.
A dark room ruins your video. A too-bright room ruins your video. You need to think about where the light comes from and how it shines on you. You don’t need to invest in expensive equipment to achieve this.
Often, all you have to do is place your laptop in front of a window with lots of natural light.
4: Keep It Simple
This may be the most important tip of all… less is more! 😉
Your job isn’t to produce outstanding videos. The focus always has to remain on your content.
The point here is to make sure your videos don’t get in the way of this great content.
Poor video (or no video) results in no students.
But a GREAT video won’t result in more students.
All they need is what they need. A simple, concise script. A short and snappy video. Good quality with solid audio and lighting.
5: Outsource, Outsource, Outsource
If you’ve followed my articles of late, you know many of them encourage you to outsource at least some of your course-building process (as well as marketing, promotion, etc…)
Video editing is certainly one of the main areas to pass over to someone else.
Specifically, the editing of your videos.
A platform like Fiverr gives you access to an endless group of talented (affordable) editors that bring your videos to life. It not only saves you time, but results in a much better end-product with titles, animated intros, and all those extra elements that help your videos stand out.
Other Tools To Help You Record & Edit Your Course
Before we bring this guide to a close, I encourage you to dive deeper into your videos and consider other equipment and tools that help you turn good into great.
We’ve already touched upon some of these: lighting, audio, etc…
The point is, there’s more to video than the screen recording software you use.
Yet diving into all that isn’t necessary because I’ve done so in other guides like:
- How Long Does It Really Take To Create an Online Course?
- How Much Does It Really Cost To Create an Online Course?
- Affordable Online Course Equipment - Complete Guide
- How to Hire an Online Course Team (Video Editor, Assistant, Designer)
I encourage you to read these in full before you record your course.
If you have any questions, reach out via the Free Course Creators Academy Facebook Group. It’s not only the best way to communicate with me but to collaborate with other course creators like yourself.
Conclusions and Next Steps
If you would like to get notified when other guides and useful content on online course creation is available here at the Academy, then you can join us here:
I hope this post helped you better understand how to record and edit your online course for free using Loom. Let me know in the comments below what other topics you would like me to cover, or any questions that you have.
Thanks for reading… and enjoy the course creation process! 😉
Vasco Cavalheiro
OnlineCourseHost.com Founder & Online Course Creator
LinkedIn Facebook Page Facebook Group Twitter
You are welcome to ask me any questions in the comments below: 👇👇👇👇

 Start Here
 Course Creation Journey Step by Step
  Course Creation Software Reviews
 Online Course Marketing
 Course Creation Tips & Tricks
 Course Equipment
 Online Course Marketplaces
 Revenue Reports
 Best Practices
 Frequently Asked Questions
 Platform Reviews