


Voiceover With Google Slides or Powerpoint: The Ultimate Guide
 Platform Review

Learn how to produce online course lessons in the slides plus voiceover format. Learn about the multiple advantages of this simple lesson format. Learn the multiple options you have available for creating this type of course lesson (using free tools).
Creating google slides with voiceover helps a lot to provide additional context to your students, and improves a lot the learning experience.
Once you learn how to do a voiceover with Google slides, you won't want to create courses without including them, because it' such a simple and effective way of producing courses.
However, adding voiceover to Google slides does take a few steps and requires some preparation on your part.
If you are just getting started creating online courses, you are probably wondering what is the best format that you can choose for your course lessons.
This of course depends a lot on the topic, but in general, one of the best formats that you can choose is slide-based lessons with a simple voiceover.
And this is because these types of lessons are extremely easy to produce and edit.
Because you don't show up on camera, it's so simple to just go off the cuff and create a really spontaneous in-depth lesson, and it's also super simple to delete any pauses or mistakes and make it look like you recorded everything in one go. 😉
In this post, I am going to show you how to record Google slides presentation with voiceover.
I will also show you multiple options for recording video lessons plus voiceover format, including free options for doing so, equipment, some simple recording techniques for creating the best possible lessons, and more.
Table of contents
You can always find an up-to-date index with all the free content available in the Course Creator Academy by clicking on the Academy link on the top menu bar.
Voiceover With Google Slides - The Essentials You Need
Before you choose the voiceover approach you prefer, you must have a few things ready first.
1: Slide Deck
Although this guide focuses on adding a voiceover to Google Slides, don’t think the actual presentation/slide deck isn’t important. It is.
What you actually teach your students is the most important part of the whole process.
No amount of marketing or sales can overcome this.
Before you think about your voiceover, make sure your slide deck’s on-point.
Not only the content on it but the way it looks and the overall style it portrays.
I recommend that you get your slide deck professionally designed. A well-designed slide deck goes a long way to establishing credibility for your brand, and a template will only cost you $20 or so on Fiverr for example:

If you want to take your course to the next level, then make sure to do this initial small investment as it will make your course look that much more professional.
2: Script
The next essential you need is to script what you say before you say it.
Or, if you don’t like to script everything in your videos, at least make substantial notes that will help guide your thought process during the recording.
One of the most common mistakes I see a course creator make is to go on and on and on and on... 😉
They manage to somehow turn a three-minute lesson into a ten-minute video. All this does is waste your student’s time, and make them want to stop watching the video.
The best way to avoid this is by far to script your voiceovers. Get clear on what you’ll say. Whether that means writing it word for word or making notes is up to you.
3: Microphone
We touch upon some of the tools you need throughout the rest of this guide.
BUT it’s worth mentioning it here because using the right microphone can make or break your voiceovers. That isn’t to say you need to buy an expensive microphone. There are many affordable options like the HD iRig Mic.
(for more insight into this mic and more, study this additional guide).
The point is, don’t ruin your voiceovers by relying on your laptop’s in-built microphone, it just won't work.
That's a tiny built-in microphone you got there not even half an inch wide. It kind of works for most voice calls, but not for professional audio recording.
Nothing will turn your students off faster than bad audio, it's just not something that people are willing to compromise on while learning online.
Next, let's go over the various methods for recording Google slides with voiceover.
The Different Ways To Record Your Voiceover With Google Slides
Now you have your essentials, it’s time to record your voiceover. There are a few options to choose from. Each of these is simple, affordable, and creates high-quality results.
1: The Google Slides Way
Although there isn’t a direct way to record your voiceover with Google Slides, there is an easy workaround. This option is a great solution if you want to share your slide decks with your students—rather than just a video of you walking through your presentation.
Step 1: Record Your Audio
Your first step is to record your audio. You cannot do this directly through Google, so you’ll need a third-party app/software like Audacity, Rev, or the voice recorder on your phone.
Once you’ve recorded your voiceover(s), add them to your Google Drive.
(it’s best to create a new folder so they’re easy to find in the following steps)
Step 2: Open Your Slide Deck
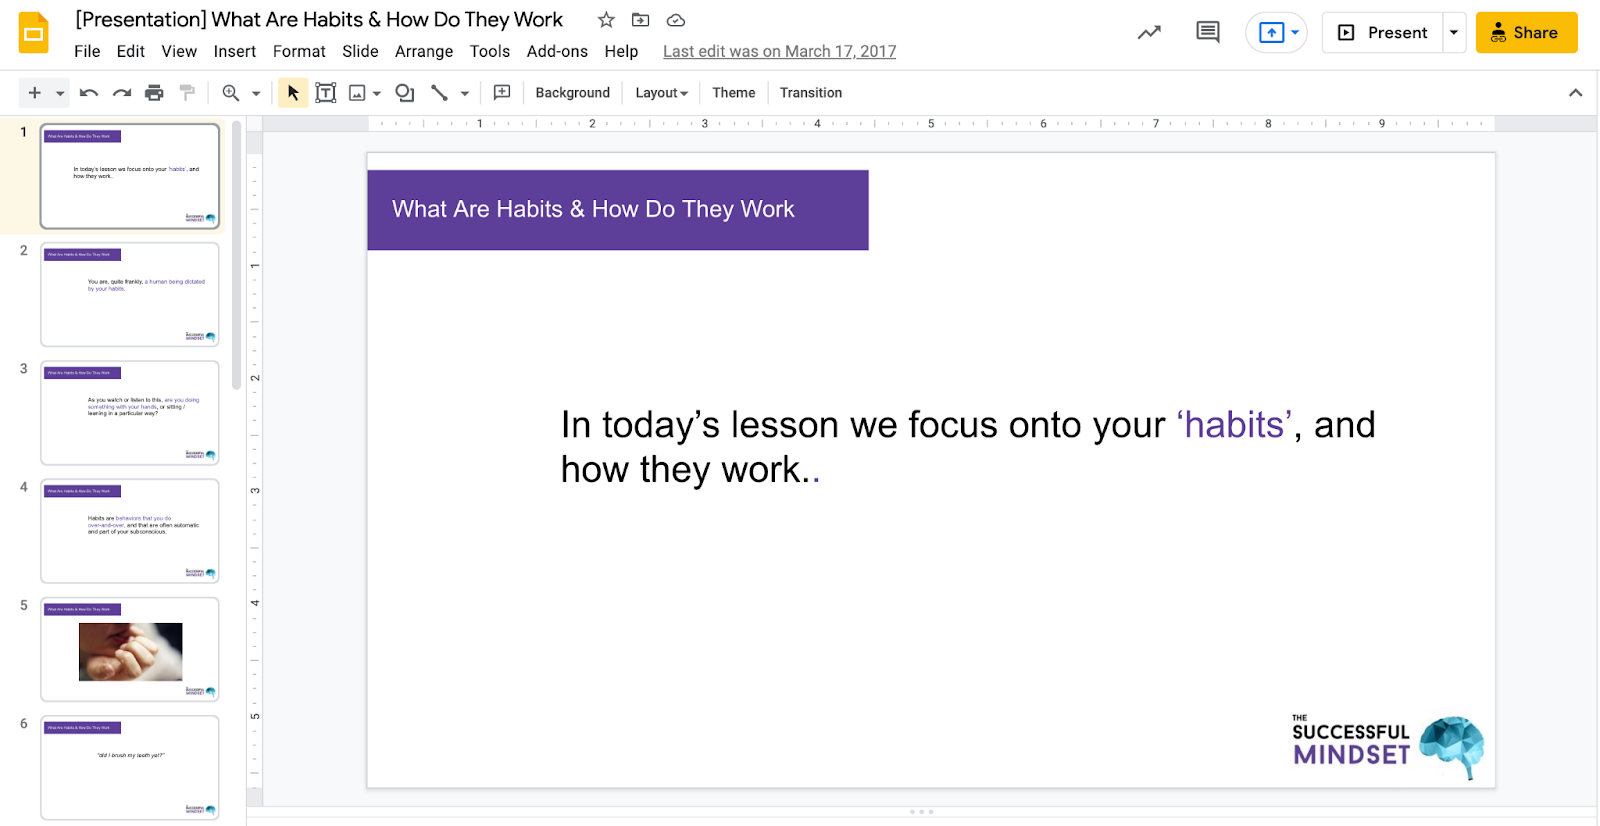
Next, you need to open your Google Presentation/Slide Deck and find the slide that goes with your voiceover.
Slide 3: Insert Your Audio
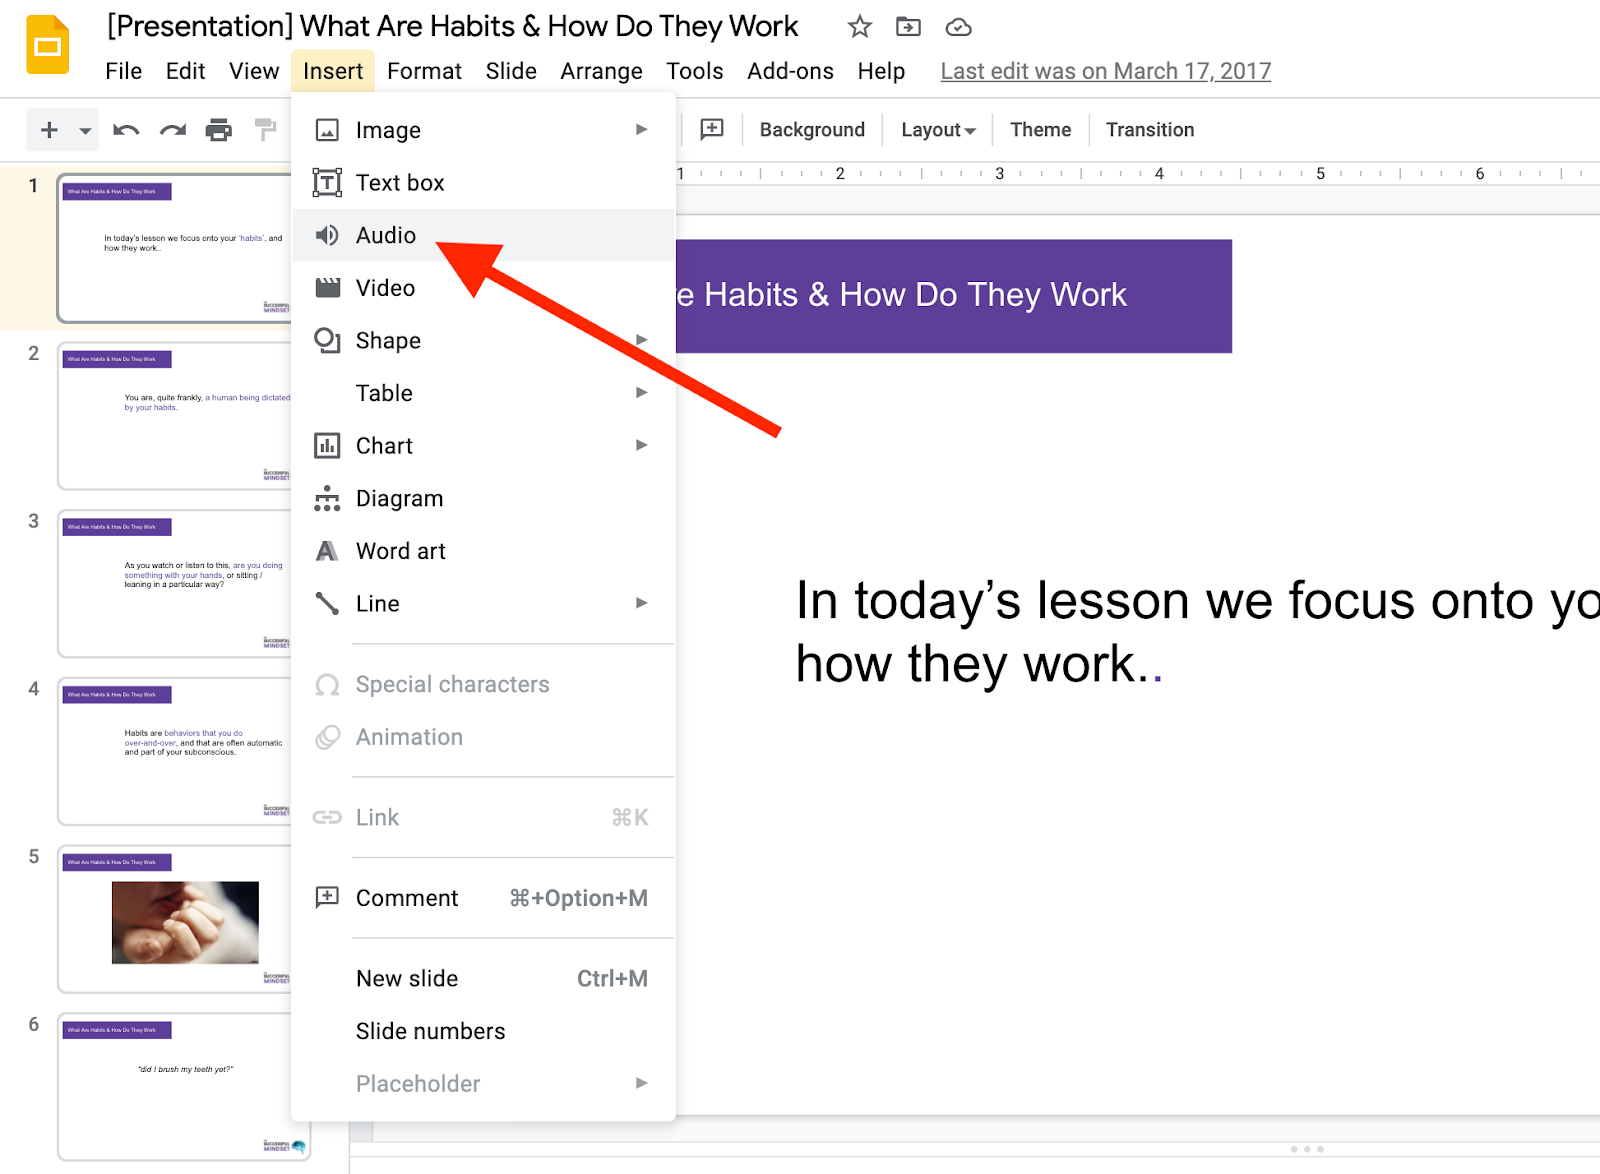
Once you’re on the slide, hover over the “insert” option and click “audio”.
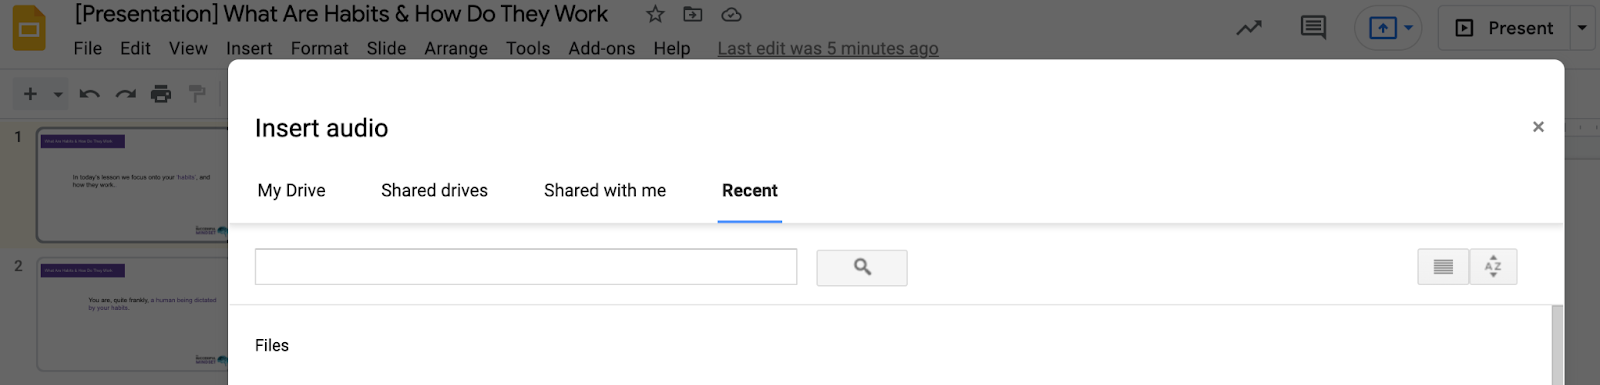
Your audio should then be in the “Recent” section.
Step 4: Configure Your Audio Settings
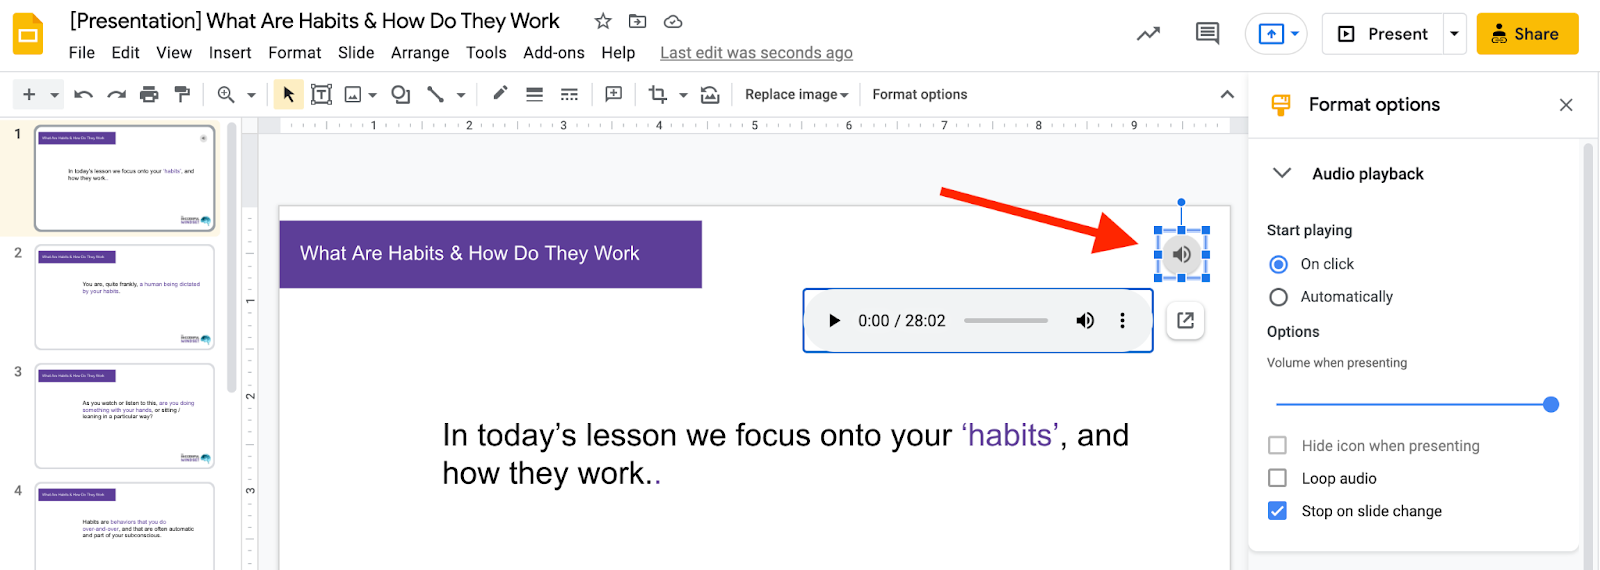
Your audio file then appears on your slide.
You can place this audio wherever you like on your page—you can even alter its size.
From there, configure its settings:
- Play Format: you set the audio to play automatically or only if your student clicks it
- Loop: you can choose to loop your audio or have it play just once.
- Volume: you can alter the volume of your audio
- Next Slide: you can choose to configure your audio to automatically stop when your student clicks on the next slide.
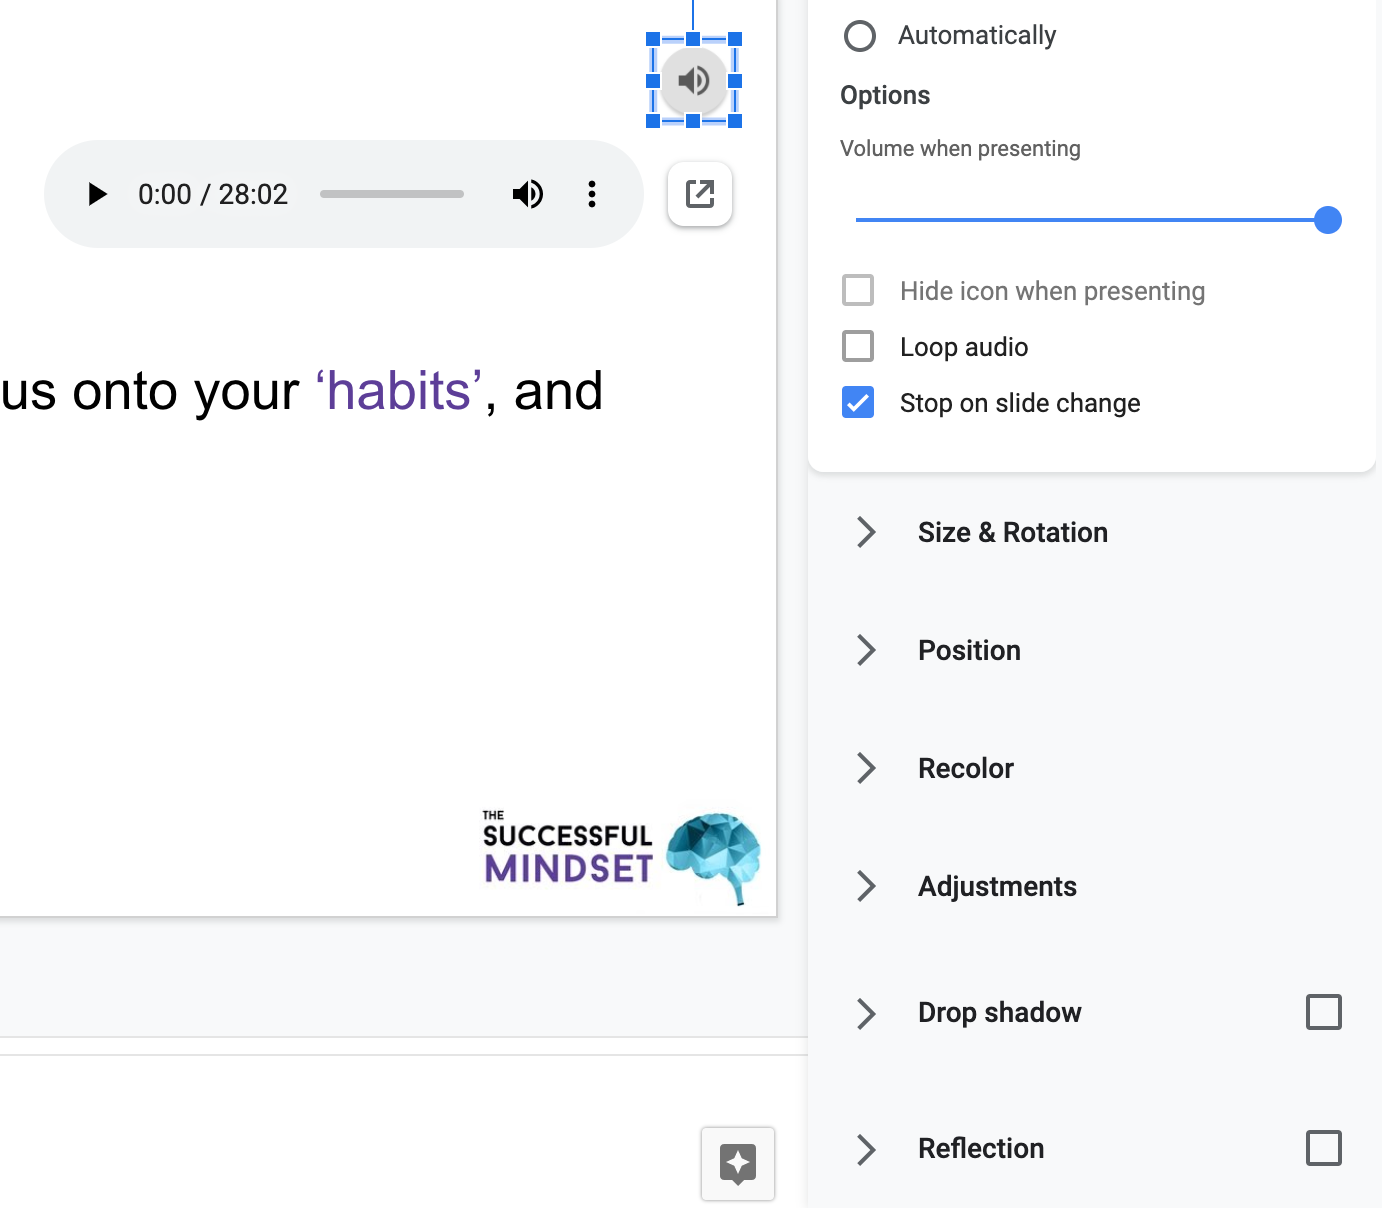
There are other configuration options too, most of which focus on the look and style of your audio button:
These include:
- Size
- Location
- Color
- Transparency
- Shadowing
- Reflection
Most of these aren’t important. But it does allow you to match your branding and slide deck style.
Step 5: Rinse and Repeat
All that’s left to do is to repeat this process for each slide you wish to add a voiceover.
As you can imagine, depending on your teaching style, this could become a large task. As a general rule, adding a voiceover directly to your Google Slides works if you:
- Want your students to directly interact with your slide decks
- Only need to provide a voiceover on select slides
If this is the case, this option could be for you.
If not, keep reading 😎
2: The Screencast Way
If you don’t wish to record a separate voiceover for each slide, you may like to use a screen-capturing tool to record a video of your entire presentation. This allows you to work through your slide deck in one go, recording a single voiceover that aligns with the entire thing.
There are a few ways to achieve this. The first—and one of the most robust options—is to download Screenflow (available on Windows or Mac).
Camtasia is also a great alternative, for Windows only.
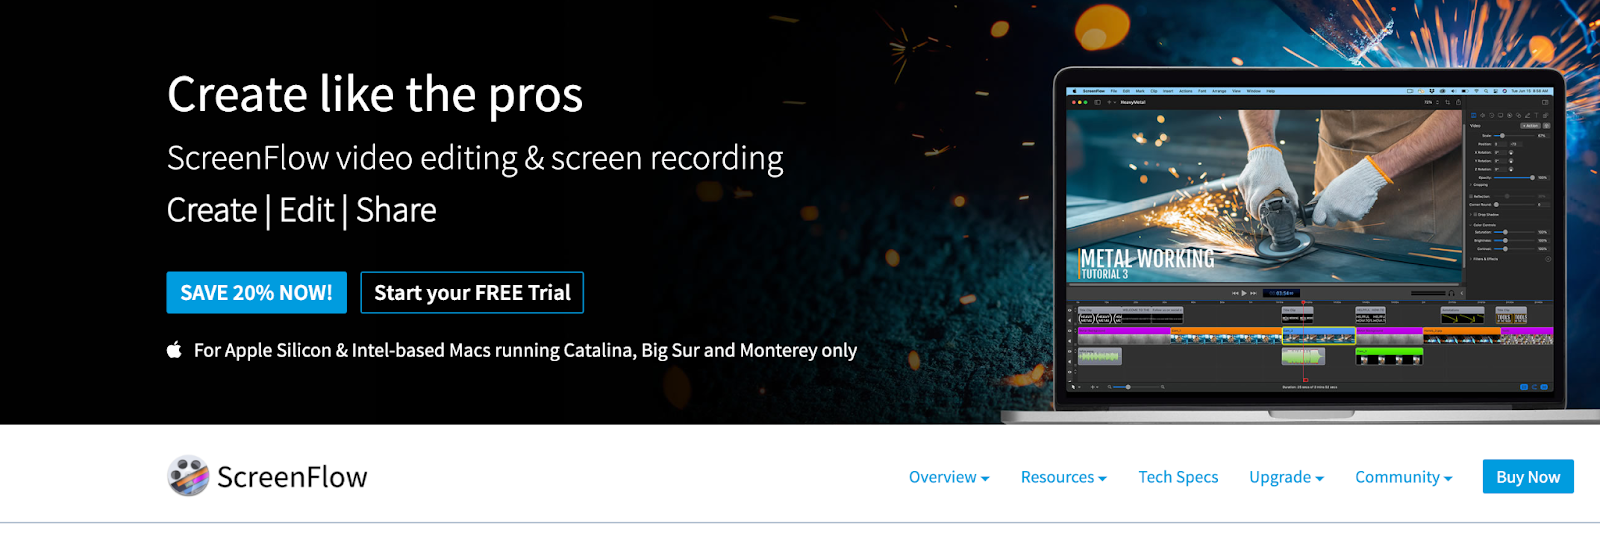
Step 1: Download Screenflow
Your first step is to either buy Screenfllow or start your free trial.
This isn’t an online tool. It downloads direct to your computer, meaning you have greater freedom to capture what you need.
Once downloaded, you want to open it and get started:
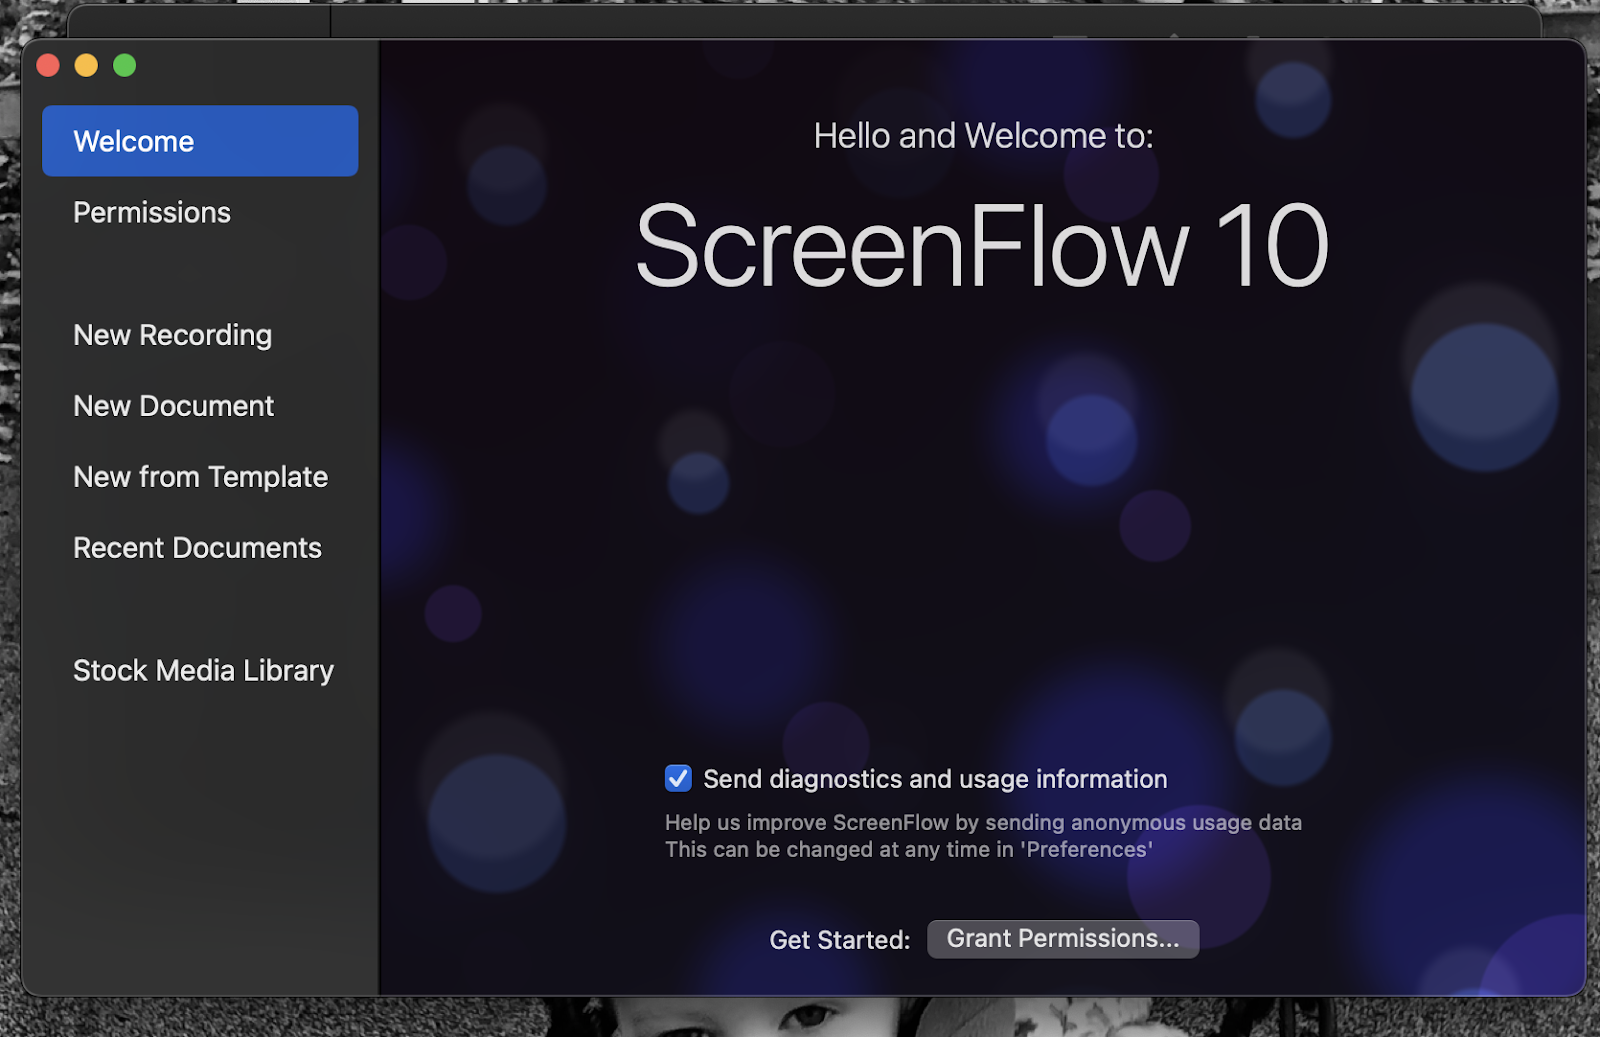
Step 2: Create New Recording
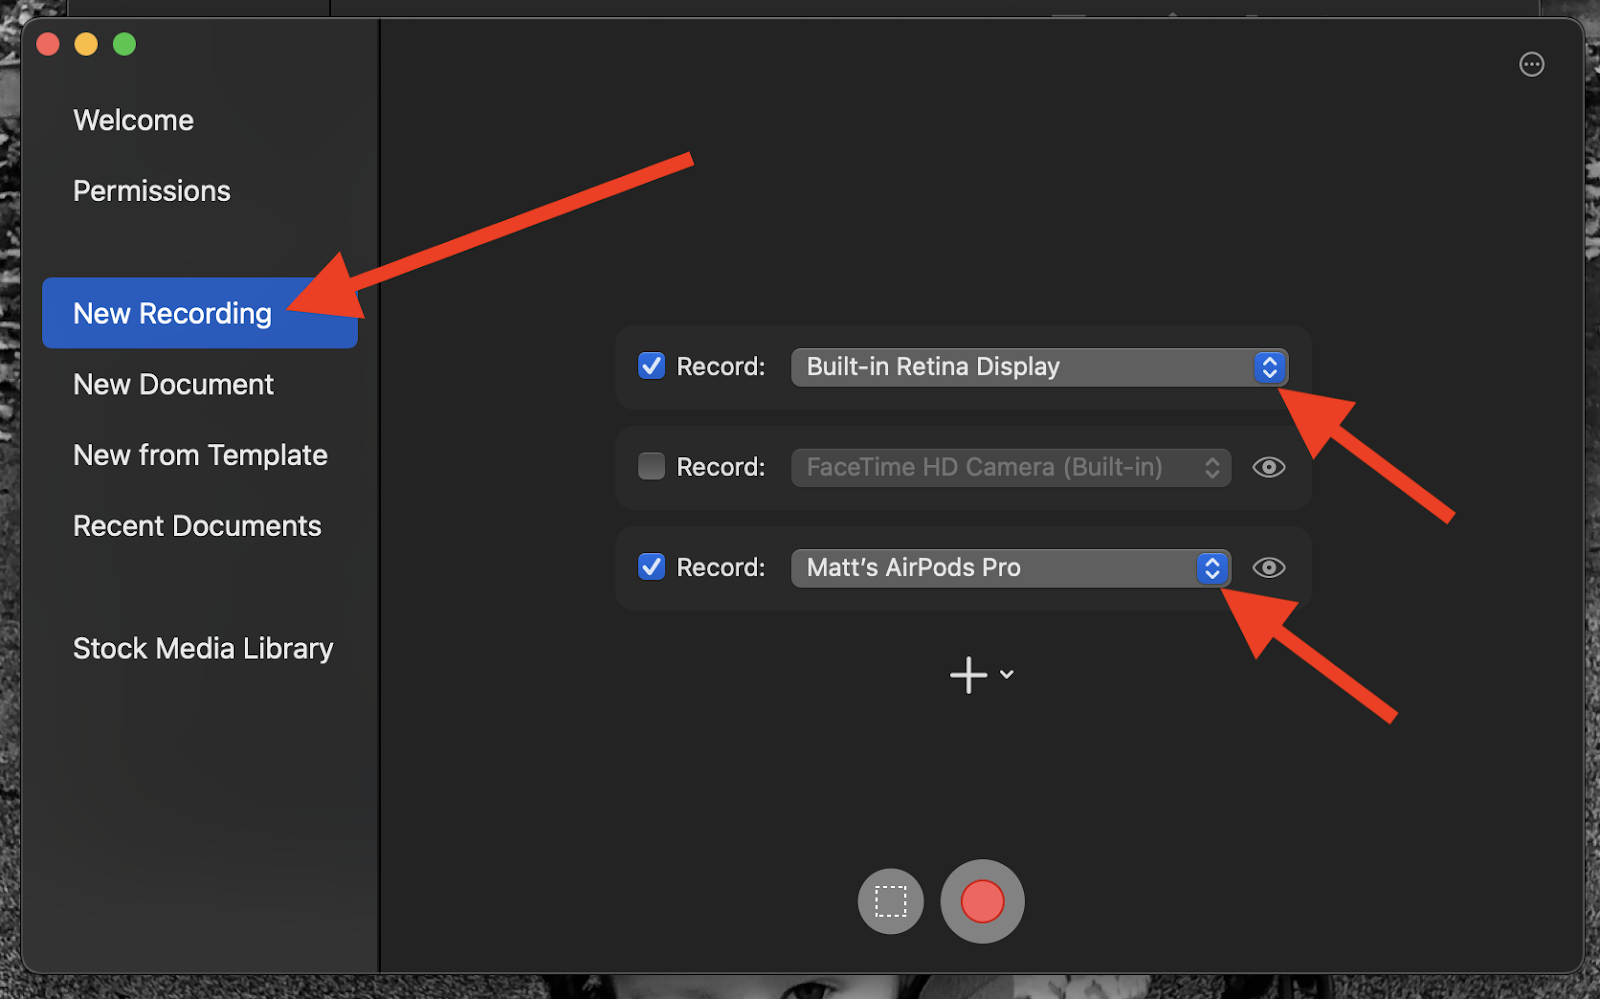
It’s time to start your recording, beginning with your initial setup.
This is where you make sure ScreenFlow captures your screen (or any other external monitor you may have connected) and is hooked up to your microphone.
(you can also capture and record your webcam, too, whether it’s your inbuilt cam or an external one)
Once ready, press that big red button to start your recording.
Step 3: Present Your Slide Deck
Once you hit record, you’re given a 5-second countdown to navigate to your slide deck (although don’t worry if it takes you longer… you can edit it out later).
You’ll likely want to record in “Presentation Mode”, so all student sees is what they need to.
From here, it’s a simple case of working through your slides and recording your voiceover.
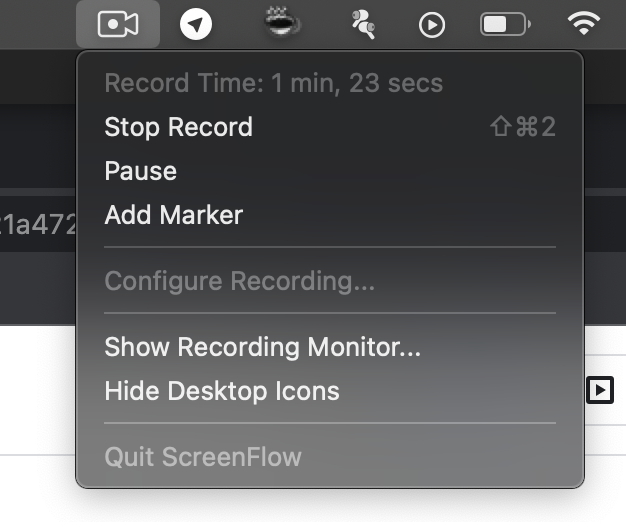
Once you’re finished, exit “Presentation Mode” and navigate to the little camera at the top of your screen.

When you click this, you’re given the option to pause or stop your recording—or even add a marker that shows up during your editing.
Step 4: Edit Your Video and Voiceover
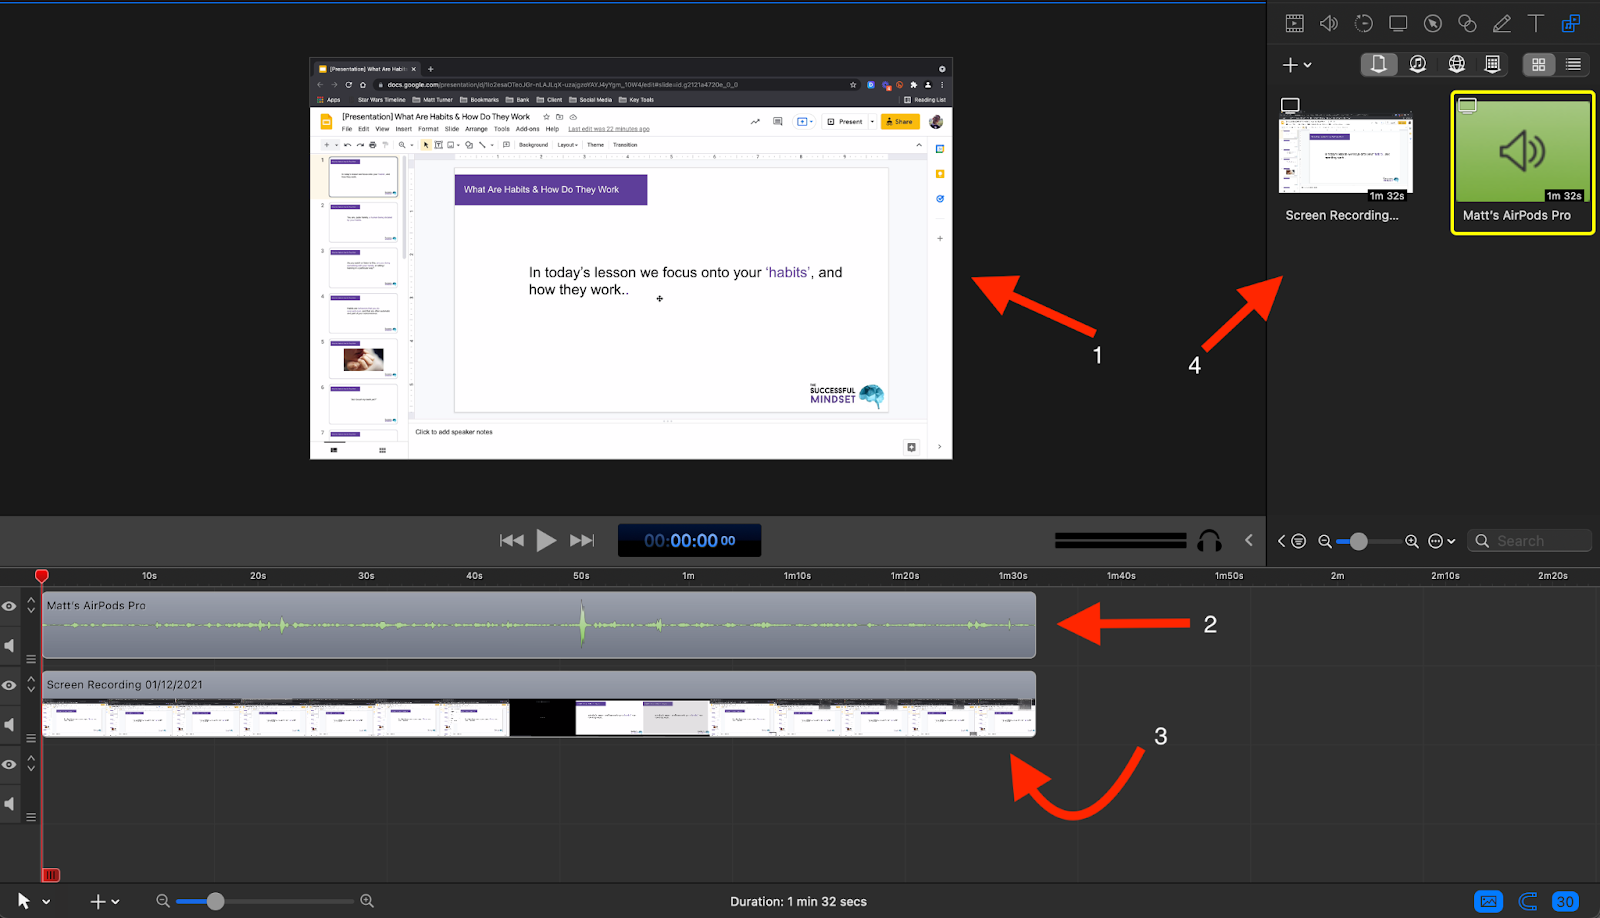
Once you stop recording, a new “editing file” opens in ScreenFlow. This is where you can remove any errors, ums, ahs, or other issues you came across while recording your voiceover.
Not just the audio… but your video and visuals, too.
- This is the main part of your recording and what your students see
- This is the audio file
- This is the video file
- This is where you can store other media, such as animated introductions, images, or anything else you’d like to add to your recording.
Overall, editing your videos and voiceovers with ScreenFlow is easy. As with any new piece of software, it takes time to get a feel for how it works. Truth is, as a course creator, you won’t need all the robust features ScreenFlow offers.
(if all these overwhelm you, keep reading for the third and final option in this guide)
As often is the case, simple is best. What ScreenFlow allows is for you to record a high-quality experience for your students. You can easily remove issues—audio or visual—add intros and an outro, and include other media where needed.
It’s a great approach to take your lessons to the next level.
**for more insight into the various features ScreenFlow provides and how to use them, visit here
3: The Loom Way
If you want to simultaneously record your video and voiceover but feel a tool like ScreenFlow offers more than you need, this next option may be for you.
It’s called Loom, and it’s a tool we’ve already reviewed here, and it's free. 😉
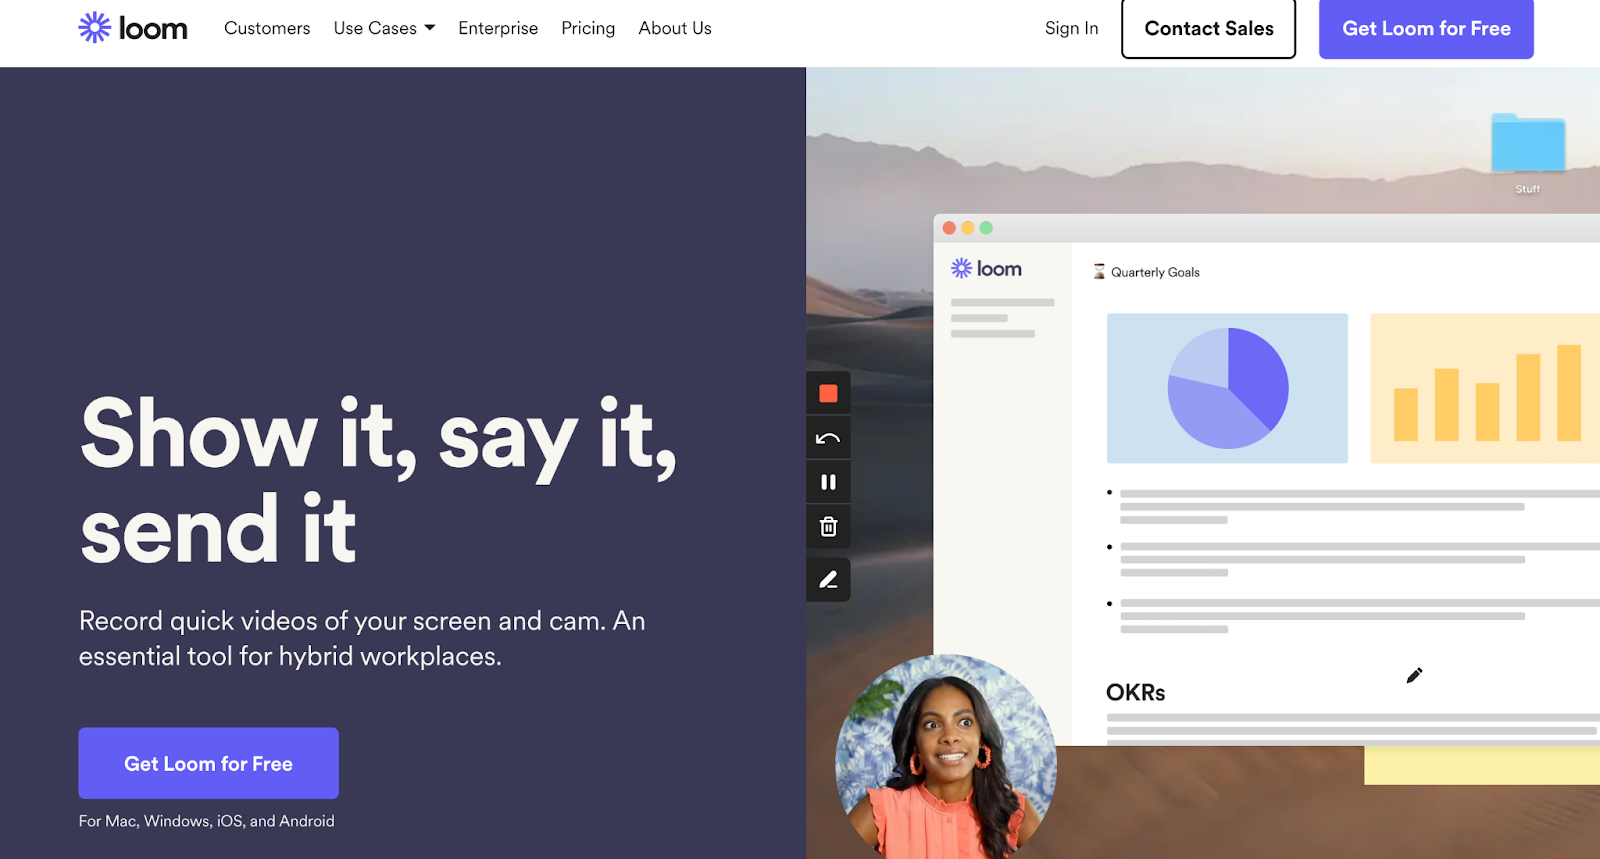
As with ScreenFlow, Loom allows you to record what’s on your screen—meaning you can guide your students through a slide deck and share it with them via a single video.
Unlike ScreenFlow, Loom is browser-based (although there is a version you can download to your computer). Best of all, Loom is free—and even if you need to upgrade, it offers an affordable monthly subscription you can cancel at any time.
Step 1: Setup your Loom Account
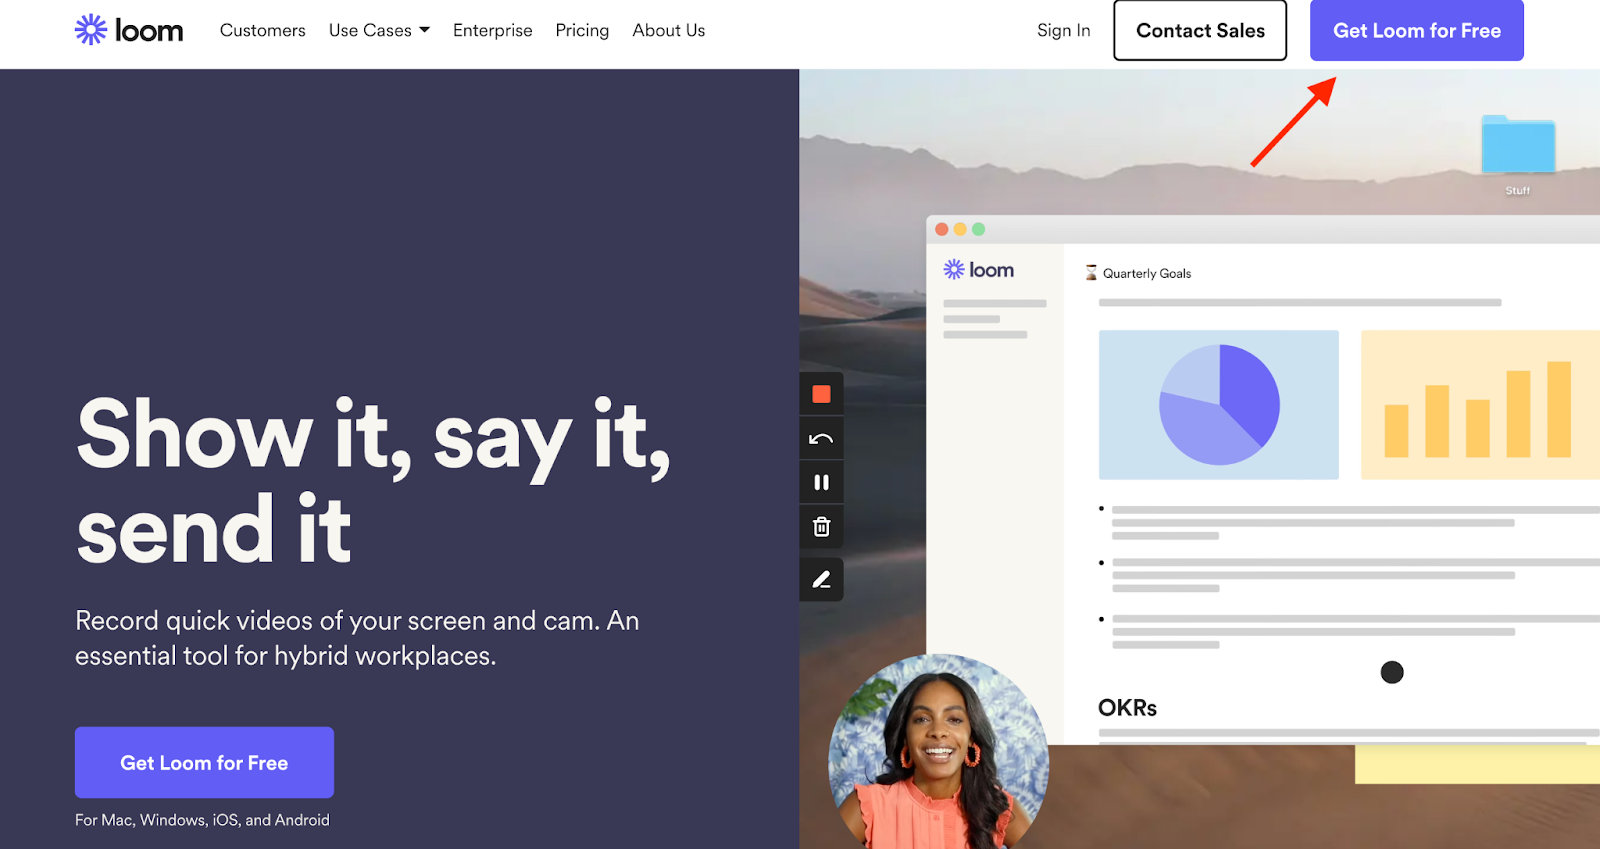
If you don’t yet have an account, visit: https://www.loom.com
Click the button in the top right-hand corner and fill out a few simple details...
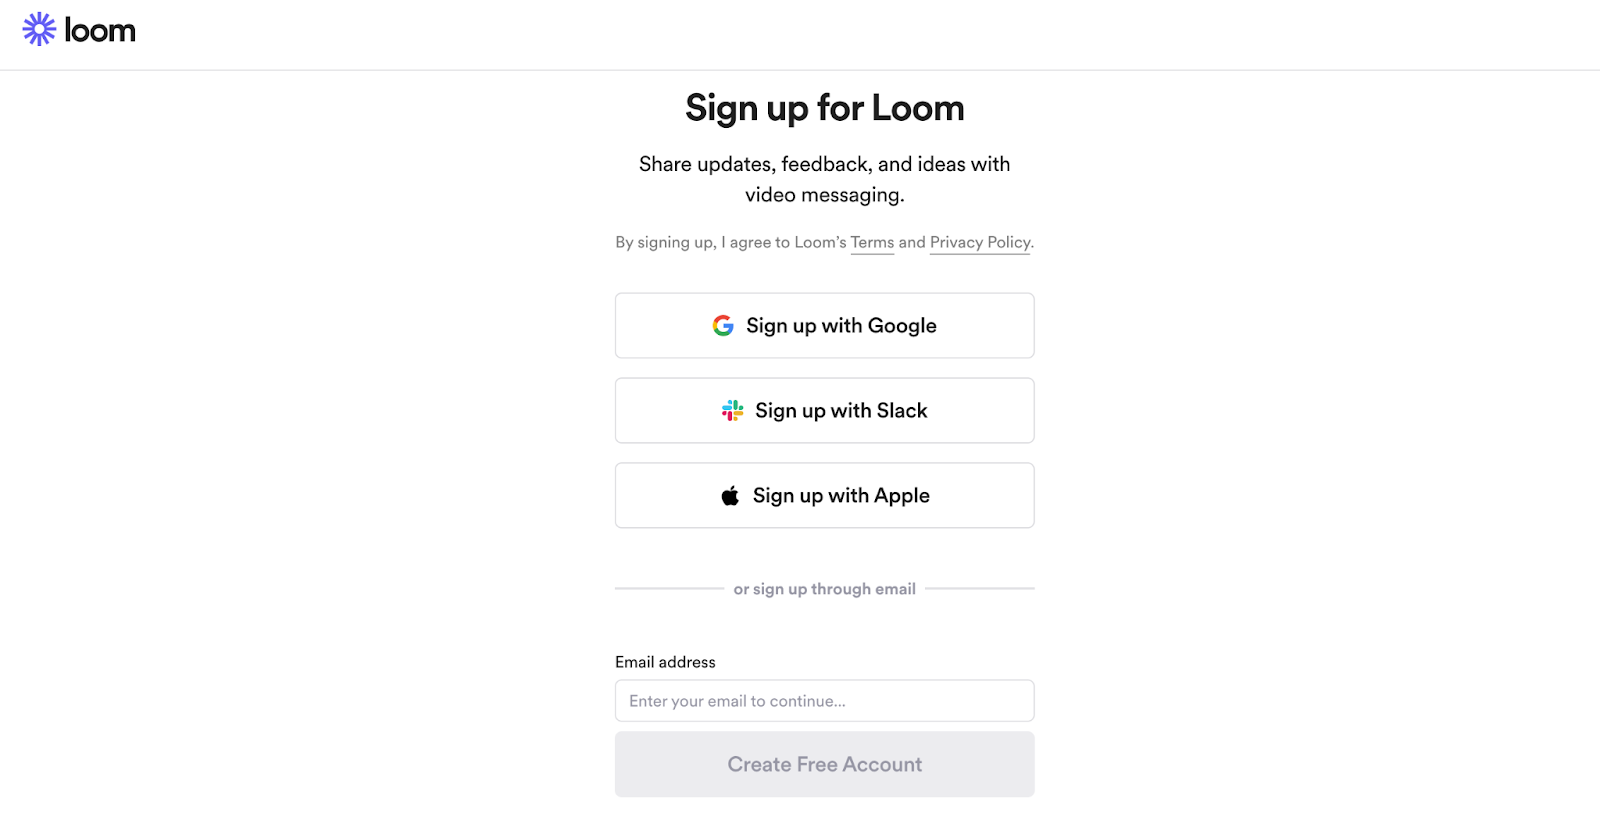
You can use your email to sign-up or do so via your Google, Slack, or Apple accounts.
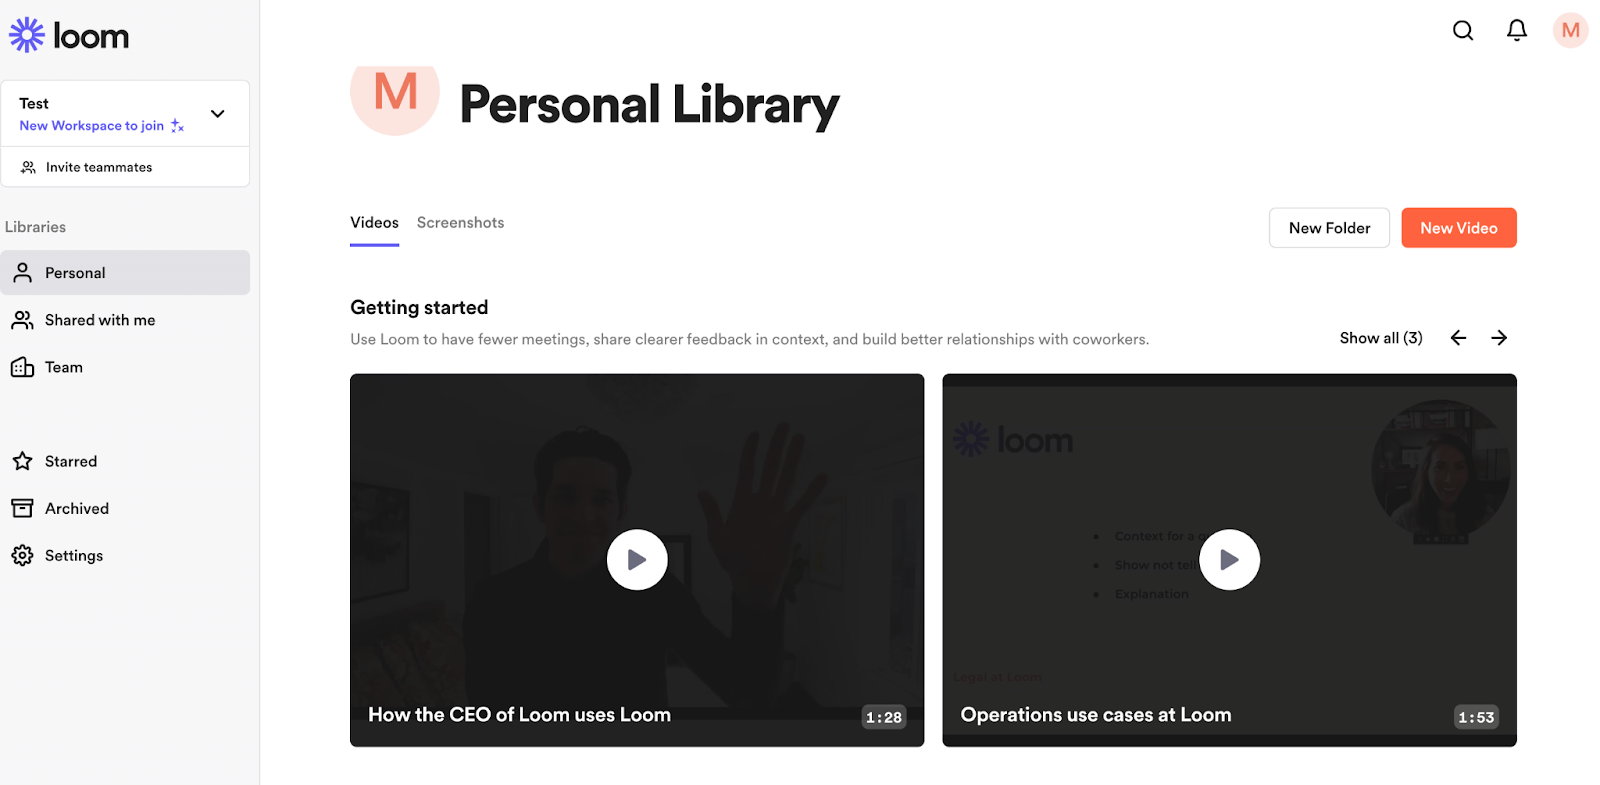
Once you have, you’ll get directed to your new personal library.
Step 2: Present and Record Your Slide Deck
With your new account sorted, you’re ready to record your first video.
The easiest way to do this is to download the Loom Chrome Extension.
This gives you easy access at the top of your screen, whenever you need it.

All you have to do is head to your slide deck and click that Loom icon...
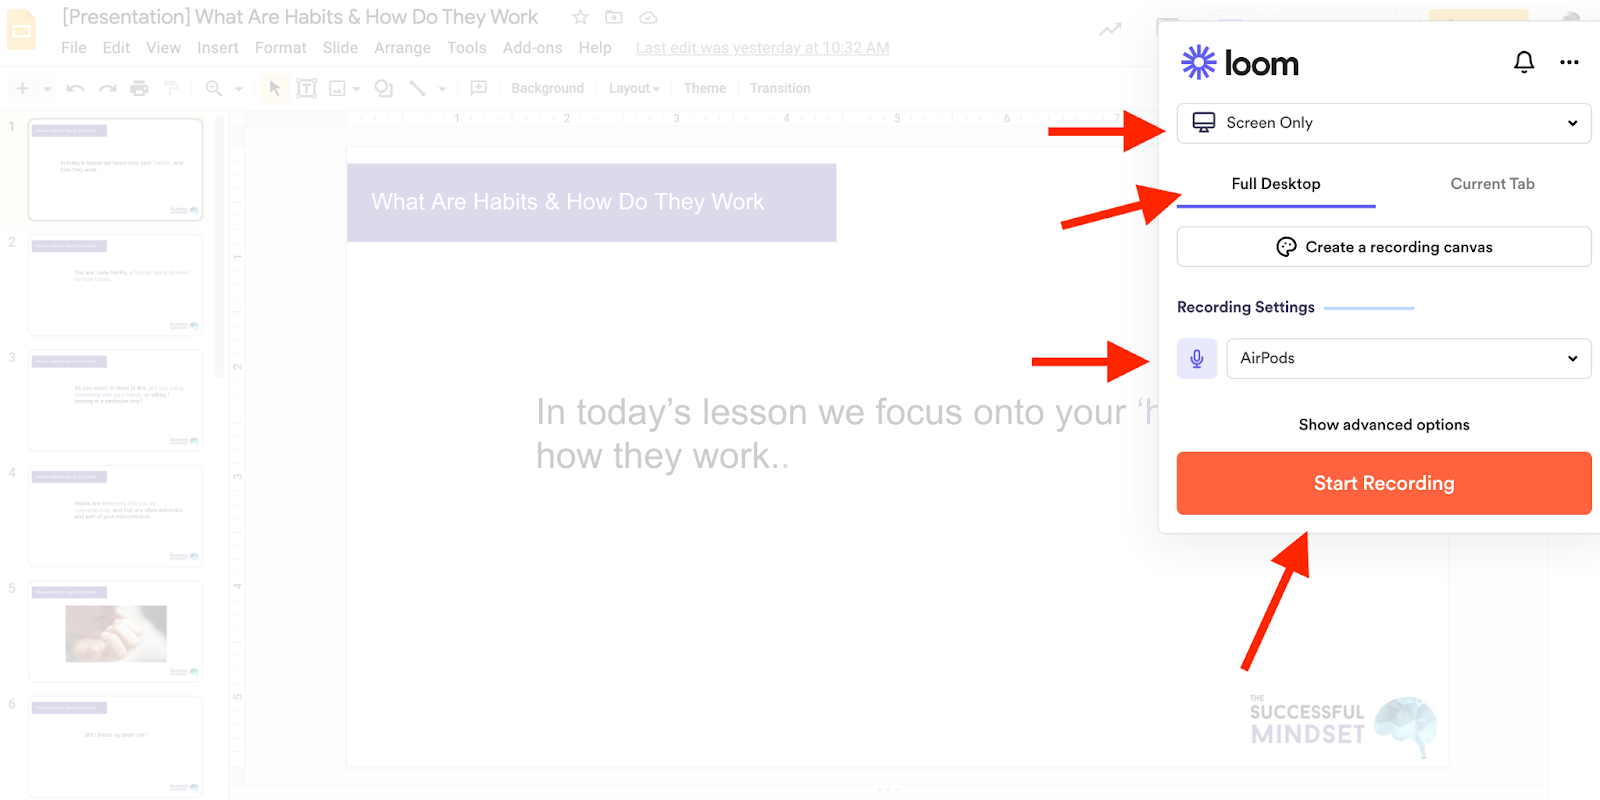
Once you do, you’re offered a few different options. As a course creator, you’ll often need the “Screen Only” option—although you can capture both your screen and webcam if you want to include your face.
Of course, the most important feature for your voiceover is to ensure Loom connects to your external microphone. ALWAYS double-check this is the case, as it sometimes reverts to your in-built mic.
Once you’re ready to record, press the “Start Recording” button...

and then make sure you highlight the Entire Screen option (or an individual window/tab if you prefer)...
As with ScreenFlow, you’re given a short countdown, allowing you to present in full screen. That’s it. You’re now recording both what’s on your screen and your voiceover.
Once you’ve finished, simply exit “full screen” mode and click that little Loom icon...

Step 3: Edit Your Video and Voiceover
As soon as you stop recording, you’re directed to a new window where your video transcodes.
Depending on the size of your video, this may take a few seconds or a few minutes.
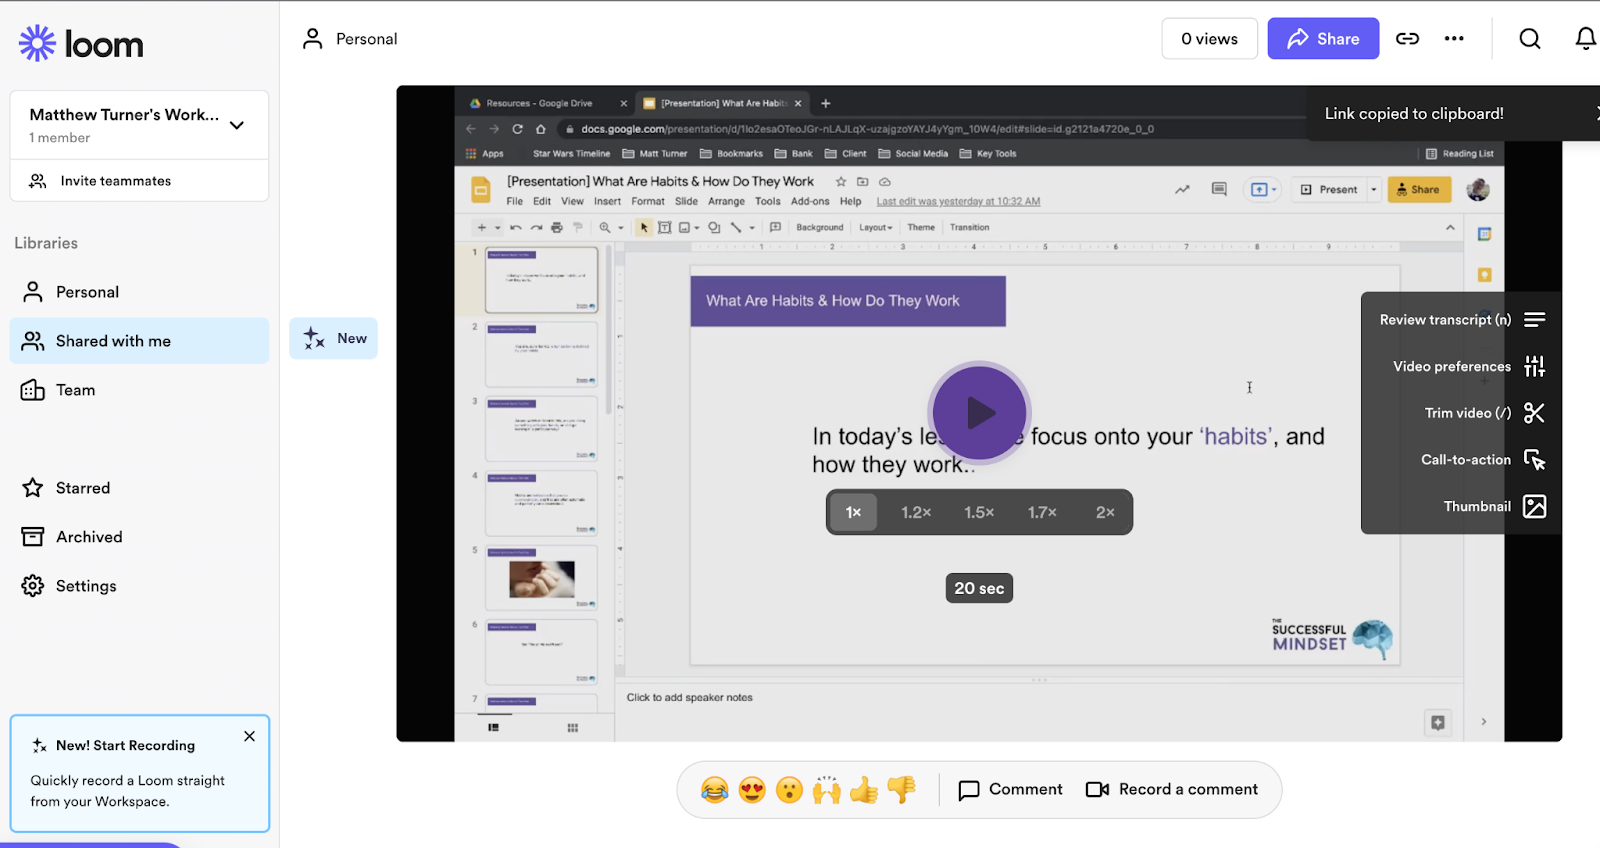
Once it’s ready, you can edit, tweak, and perfect your voiceover.
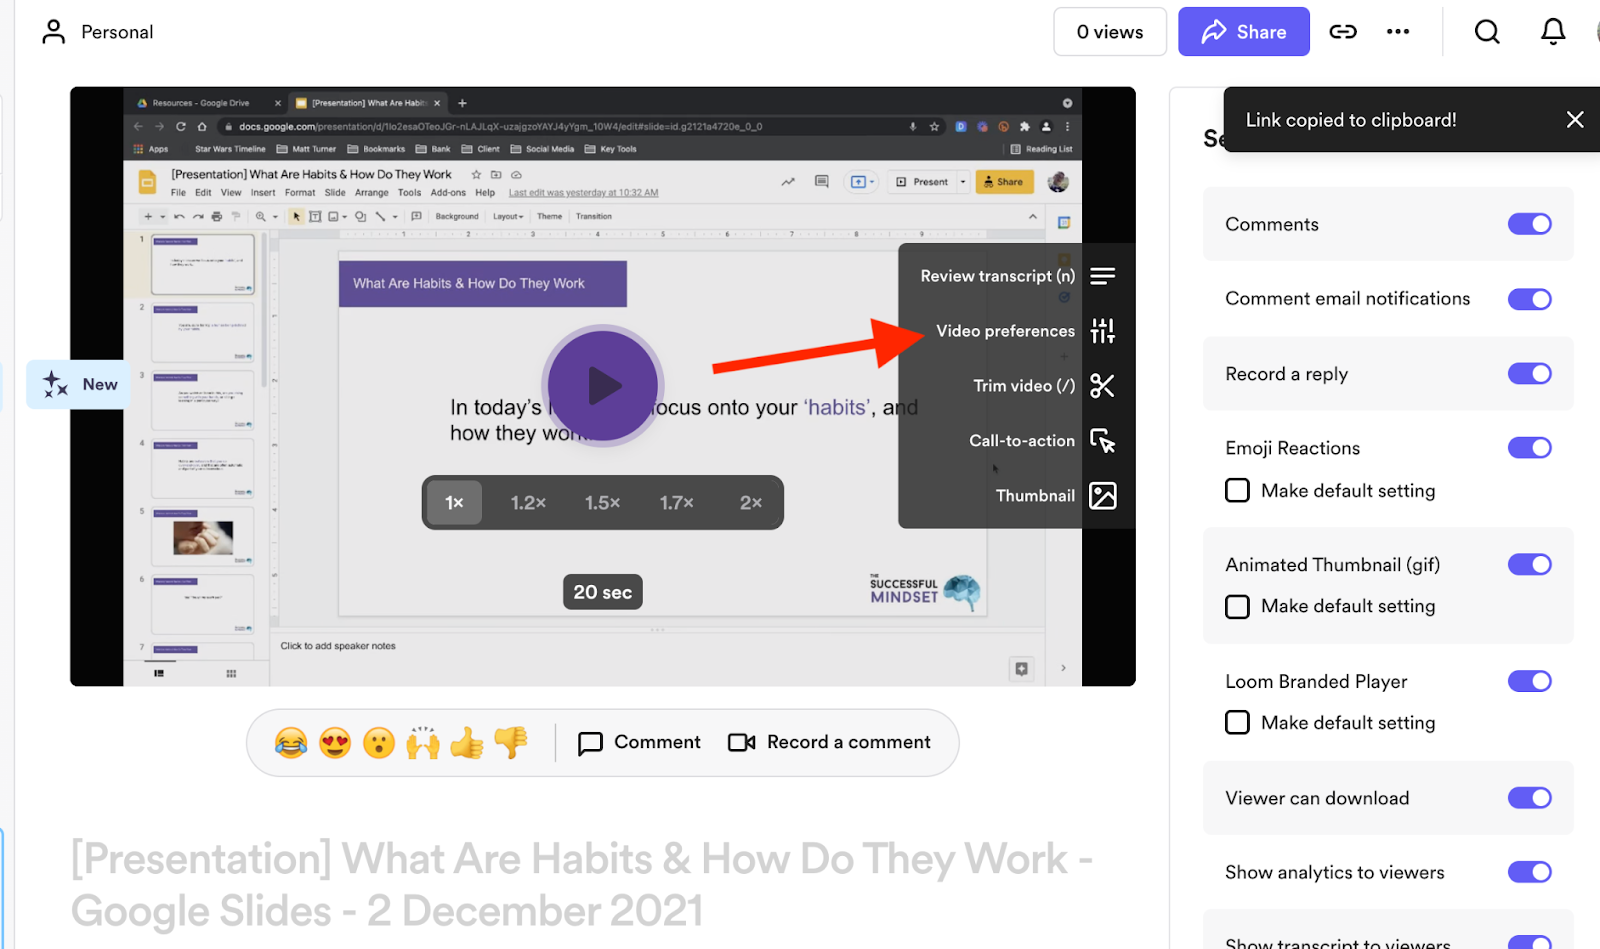
To start with, you’ll want to check the “Video Preferences” tab. This allows you to change any of the core settings. For most course creators, this tab isn’t important. You’ll download your video and upload it to your course builder platform (instead of directing your students directly to your Loom video), so most of these features are redundant.
Still, it’s good practice to check these settings each time you record a video...
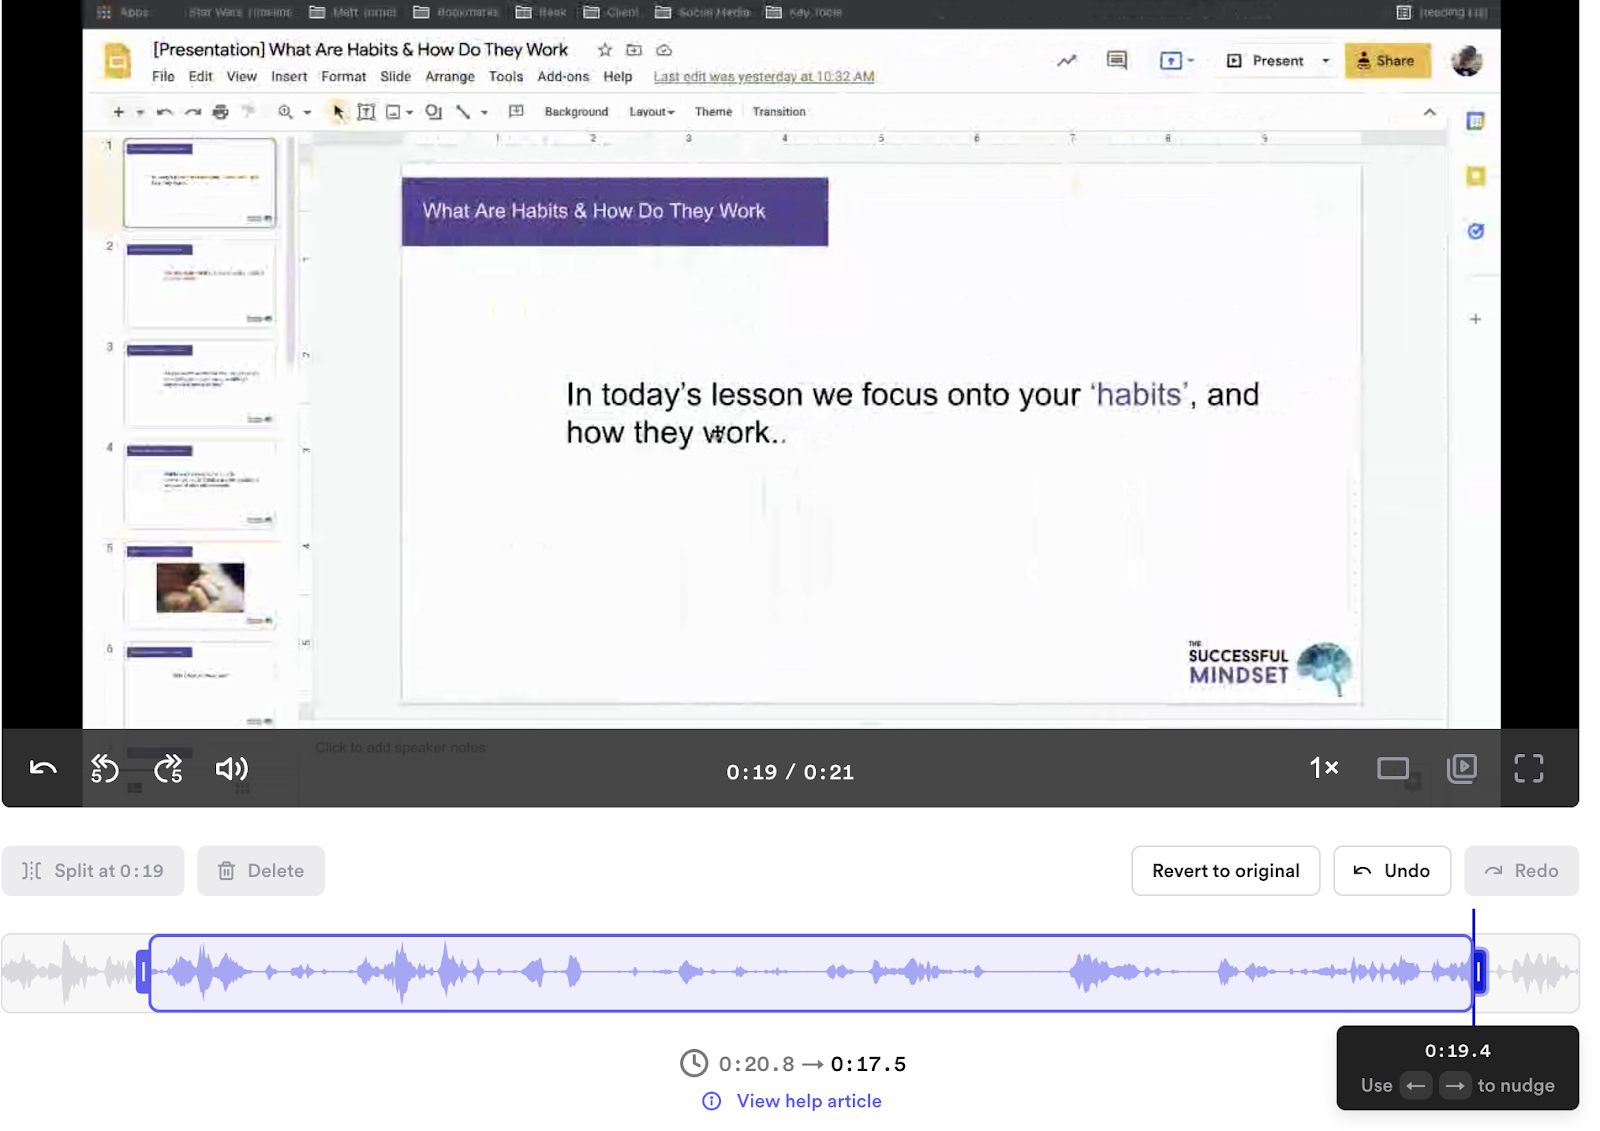
The next tab—Trim Video—is important, though!!
This is where you remove any errors, issues, or gaps in your recording—both audio and visual.
For the most part, it’s simple to use and doesn’t offer as many overwhelming features as ScreenFlow. Depending on you and your approach, you may see this as a good or bad thing. For most course creators, it’s a positive.
That’s basically it… with a few simple edits, you’re ready to save and download.
(there are other features inside Loom, which we dive into further in this separate tutorial)
Step 4: Save and Download Your Video and Voiceover
With your video and voiceover now edited, you’re ready to download it to your computer.
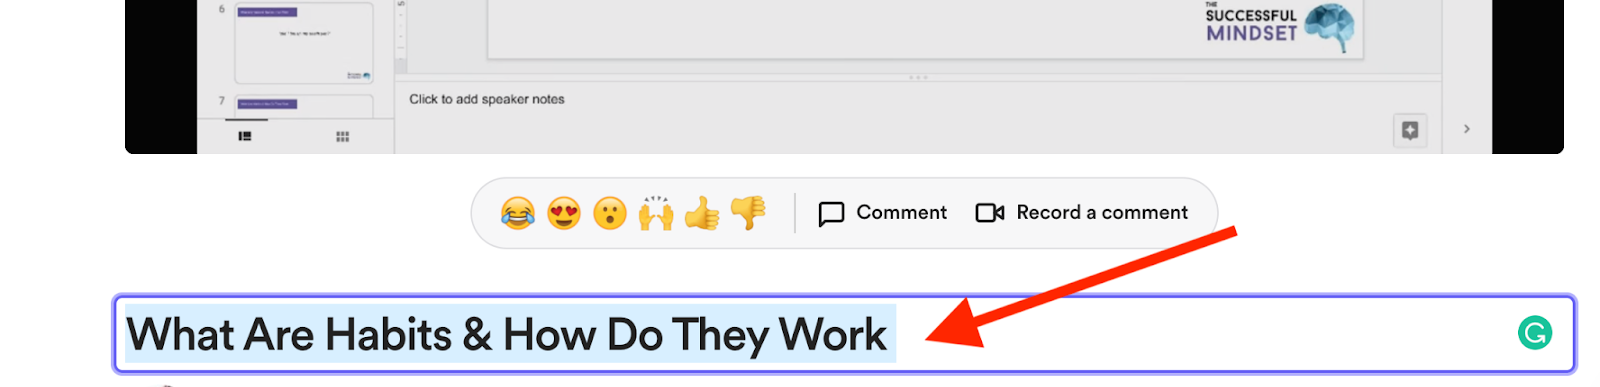
Before you do, make sure you edit the name of your lesson/file...
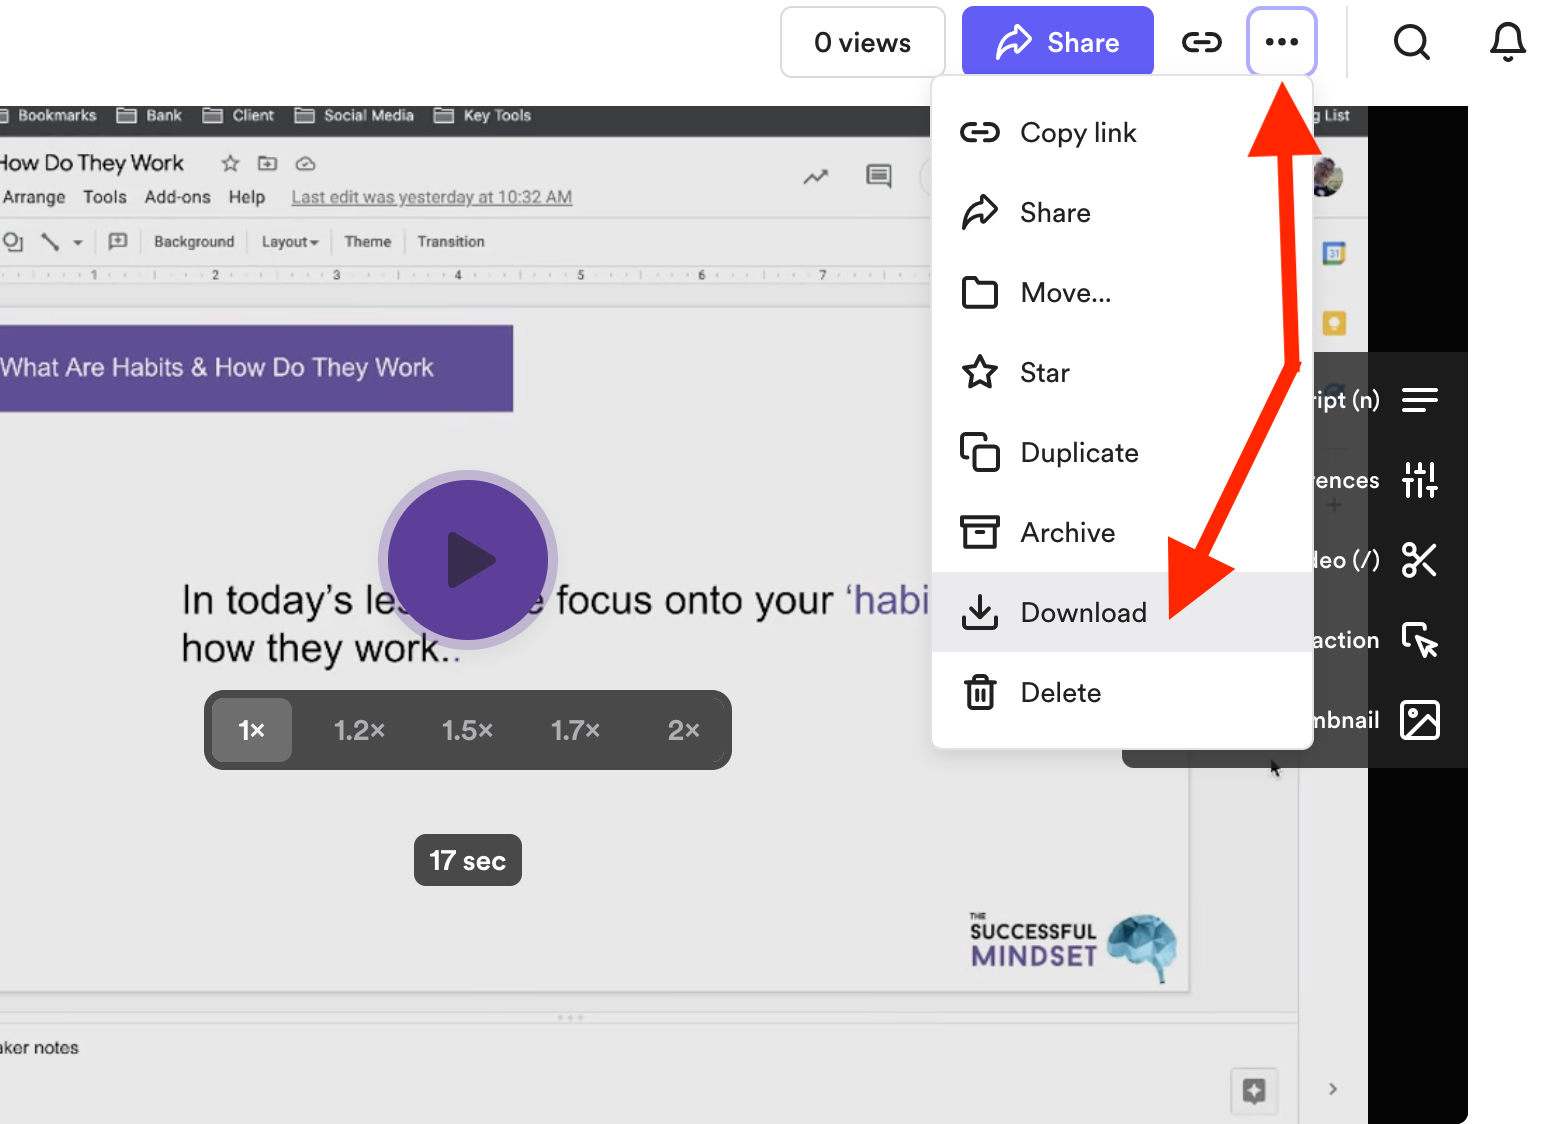
Then, press those three little dots in the top right-hand corner and download your video.
Once you have, you can upload it to your course building platform and share it with your students.
As you can see, all three of these options are simple. What matters now is to choose the one that works for you (and your students). There’s no right or wrong, only the approach that’s “right” for you.
Take Your Voiceover With Google Slides To The Next Level
As you now know, recording high-quality voiceovers with Google Slides isn’t as hard or expensive as many course creators fear. You now have what you need to get started.
But that isn’t to say there isn’t more you can do to optimize your results.
My advice is to start small and keep it simple. Hone in on the right process, get the equipment you need, and get used to each step.
Once you have, consider adding a few of these to your workflow. Once you do, you improve your quality, save yourself time, and offer your students greater value.
1: Upgrade Your Microphone
The obvious upgrade you can make is to your microphone.
Earlier, we mentioned the HD iRig Mic, which is a great mic for its money. Yet there are many more you can choose from, many of which cost A LOT more.
There’s no point in spending more than you have to. But the difference in audio quality between a $100 mic and a $200+ like the Shure MV7 or Rode Procaster is significant.
If you have the budget, it’s worth considering—as is adding a few accessories to your mic such as a pop-filter and mic-stand.
2: Optimize Your Recording Room
This one trips a lot of course creators up... no matter how much you spend on your microphone, it can only achieve so much. We go into this in greater detail with this guide, but basically… WHERE you record your voiceover matters.
- A quiet room works best (no creaking floorboards or traffic outside)
- Adding a few soundproof panels helps remove some background and white noise
- Removing anything noisy from your room helps (ticking clocks, fans, etc…)
Even where you position your microphone makes all the difference. It needs to be close to you, but not too close to your noisy laptop. In short, your environment matters.
3: Use Noise Cancelation in Editing
Even with a fully optimized recording room, a little white noise is bound to come through.
And, for many people, a completely quiet took isn’t possible (hello, kids!!)
As a general rule, optimize your room as best as you can. You can then use noise-canceling apps, features, and widgets inside your editing software.
A few worth considering include:
4: Include Video (of You)
Finally, one of the best ways to improve your voiceovers is to include a video of yourself.
(this is where a tool like ScreenFlow or Loom stands out, as it lets you capture both your screen and webcam)
Again, what appears on your slide deck matters more than anything. This is what you teach. This is why your students signed up. A voiceover adds greater context to this, and you can take this to the next level by including your face.
People take a lot from your facial expressions, mannerism, and body language. It can help take your presentation from good to great. Most importantly, it helps build trust. One of your biggest roles as a course creator is to build and nurture a community of people.
The more they see your face and experience you teaching your content, the better.
At least seeing you in introduction and conclusion lessons would be ideal, and probably more than enough to take the branding of your courses to the next level.
Conclusion and Next Steps
As you can see, it can be super simple to record a video lesson using this simple slides plus voiceover technique, and you can even do it for free using tools like Loom.
And if you follow the tips and tricks highlighted in this guide, you are off to a tremendous start. 😉
Helping you get started as an online course creator is actually the reason why I built OnlineCourseHost.com, to make this whole process much easier for you.
To give you access to a course-building platform (for free) that gives you the tools you need.
To give you access to a full academy of free tutorials, guides, and lessons that show you how to plan, create, sell, and promote your course.
I know how overwhelming this process can be.
How there’s so much information out there that it’s hard to know where to start.
I hope this guide helps you cut through the noise. More so, I hope it’s given you the confidence to… start.
And if you are looking to ask any question you need on online course creation, you can reach me here on my Facebook group:
Join the Course Creator Academy Facebook Group
If you would like to get notified when other guides and useful content on online course creation is available at the Academy, then you can join us here:
I hope you found this post helpful, let me know in the comments below what other topics you would like me to cover, or any questions that you have?
Thanks for reading… and enjoy the course creation process! 😉
Vasco Cavalheiro
OnlineCourseHost.com Founder & Online Course Creator
LinkedIn Facebook Page Facebook Group Twitter
You are welcome to ask me any questions in the comments below: 👇👇👇👇

 Start Here
 Course Creation Journey Step by Step
  Course Creation Software Reviews
 Online Course Marketing
 Course Creation Tips & Tricks
 Course Equipment
 Online Course Marketplaces
 Revenue Reports
 Best Practices
 Frequently Asked Questions
 Platform Reviews