


Create a Powerful Brand for Your Online Courses (In 5 Steps)
 Platform Review

A practical guide for creating a branded online course website using a free website builder, no design or technical skills are needed.
One of the biggest mistakes a course creator makes is that they assume they’re “just” a course creator. You are not! There're a lot of other course creators out there and if you want to stand out, creating powerful branding for your online courses is the first essential step.
The moment you create a course is the moment you start a business, and as with any successful business, you need a brand to set yourself apart from the competition.
As important as creating a great and high-impact course is, it means little unless you find and attract the right audience, stand out from your competitors, and most important of all… convert curiosity into sales 😎
And one of the best ways of standing out from the competition and making your courses easily rememberable is to create a great-looking brand around your online courses!
You might be thinking that creating a great-looking brand is something quite expensive, but that is not the case at all.
Also, you might be thinking that you need technical or design skills to create a branded website for your online course, but that is not the case either. 😉
In fact, in this guide, you are going to learn how to create a great-looking branded online course website from scratch, with no technical or design skills needed (the hosting of your online courses will be free on your platform).
Notice that this guide will cover only how to brand your online courses, but it does not cover personal branding as that is the subject of another dedicated guide - Personal Branding For Course Creators (Ultimate Guide).
Table of contents
How to Create a Powerful Brand That Helps Sell Your Online Courses
Creating a brand is all about making your courses easy to recognize so that your students remember them after seeing them for the first time.
Most people won't buy your courses directly after seeing your course landing page for the first time (although some do).
So your goal is to take that moment when you have your potential students' attention, and use that time to create a positive initial impression, and make it for the student to remember your courses and your website so that they can return later when they are ready to learn more about your courses or even purchase them.
When you use OnlineCourseHost.com, you get access to a lot more than an online course builder.
You also have the tools that you need to build a fully branded custom website, that you can build in a super simple way, without the need for design or technical skills.
This post is a simple step-by-step guide to guide through the whole process 🚀
So, how do you brand your online courses?
Here are the steps to follow through when branding your courses:
- Step 1 - Choose the Right Brand Colors
- Step 2 - Create an Eye-Catching Background Banner
- Step 3 - Create an Impactful Brand Logo
- Step 4 - Create a Benefits Section
- Step 5 - Choose the Right Domain Name
Step 1: Choose the Right Brand Colors
Does the color of your brand even matter when creating an online course?
Well ... YES, and a lot! 😉
And this is because different colors evoke different emotions, responses, and feelings inside us.
There’s entire psychology around the use of color in messaging, and it’s something that you can take advantage of to better capture your audience’s attention and earn their trust.
A lot of the meanings and emotions that we associate with color are cultural and depend on the country, but other responses are universal and built into the human mind via evolution.
So, which color should you use when branding your online course?
Choose brand colors connected to an existing product
If you are making courses revolving around an existing commercial product for example Excel, then you would want to use colors that closely match the ones of that brand, in order to create an immediate visual association between your courses and the product that you are teaching.
In the case of Excel, you would want to choose tones of green and white for your brand colors.
But if you are not creating courses for an existing product or brand, then you will have to choose your own brand colors from scratch, which might feel a bit daunting if you are not a designer, and hard to change later if you start using the colors in your recorded material.
How to choose your online course brand colors from scratch
When choosing brand colors for your online course business, I recommend choosing two brand colors (the primary color and the accent color) based on the emotions that you want to communicate to your students.
Below you’ll see the different positive responses that different colors create for most people.
I recommend going through these colors and looking for the emotions that you want to have associated with your brand:
- Red: Power, Passion, Energy, Fearlessness, Strength, Excitement
- Orange: Courage, Confidence, Warmth, Innovation, Friendliness, Energy
- Yellow: Optimism, Warmth, Happiness, Creativity, Intellect, Extraversion
- Green: Health, Hope, Freshness, Nature, Growth, Prosperity
- Blue: Trust, Loyalty, Dependability, Logic, Serenity, Security
- Purple: Wisdom, Luxury, Wealth, Spirituality, Imaginative, Sophistication
- Pink: Imaginative, Passion, Transformation, Creative, Innovation, Balance
- Brown: Seriousness, Warmth, Earthiness, Reliability, Support, Authenticity
- Black: Sophistication, Security, Power, Elegance, Authority, Substance
- Grey: Timelessness, Neutrality, Reliability, Balance, Intelligence, Strength
- White: Cleanness, Clarity, Purity, Simplicity, Sophistication, Freshness
As you can see there’s no such thing as the perfect brand color. 😉
Each color has its own responses, so it’s up to you to hone in on what suits your style and will best attract your audience.
For example, if you are in doubt, good brand color and one that we use in our default platform theme is blue, which inspires trust and dependability, which is always good for sales.
Together with your primary brand color, you should also choose a strongly contrasting accent color, which will be used less frequently to highlight certain parts of the user interface, like certain buttons for example.
Remember, the emotional responses to color are something that will always be present no matter what color you choose, so I recommend not ignoring this aspect and turning it into an advantage. 🚀
How to set your brand colors on your online course website
Choosing your brand colors is made super easy when using OnlineCourseHost.com especially if you don't know how to combine colors or have difficulty selecting colors that will be suitable for your course website.
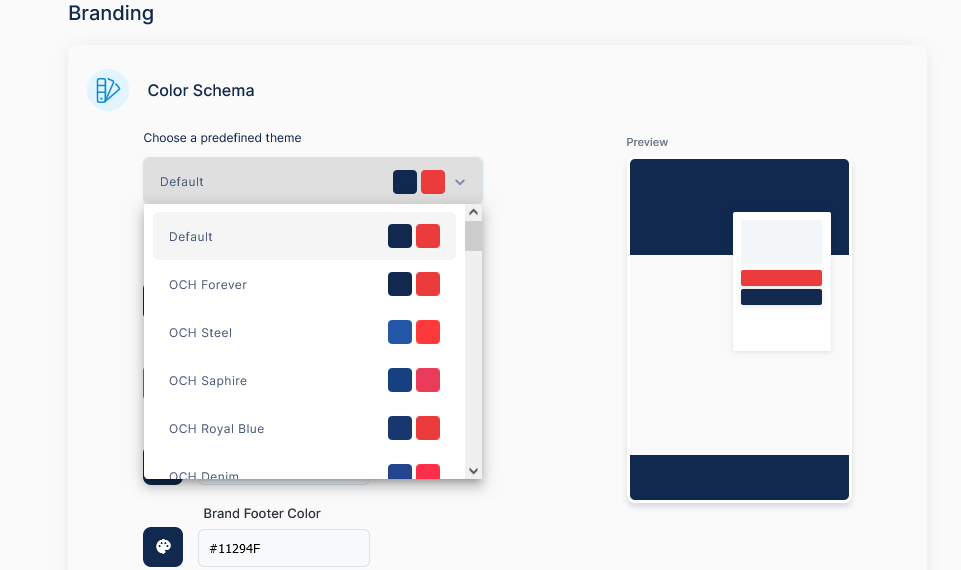
The platform comes with different predefined themes that you can choose from and preview before applying them on your website. There are up to 38 brand colors for you to choose from.
But first, you need to create a website. To do that, simply set up an account by following the steps in this tutorial.
Your website will include a branded home page that you can easily customize, together with the rest of the website.
All you need to do is navigate to your “Admin” screen inside your account. Click on "Settings", then choose the "Branding" option.
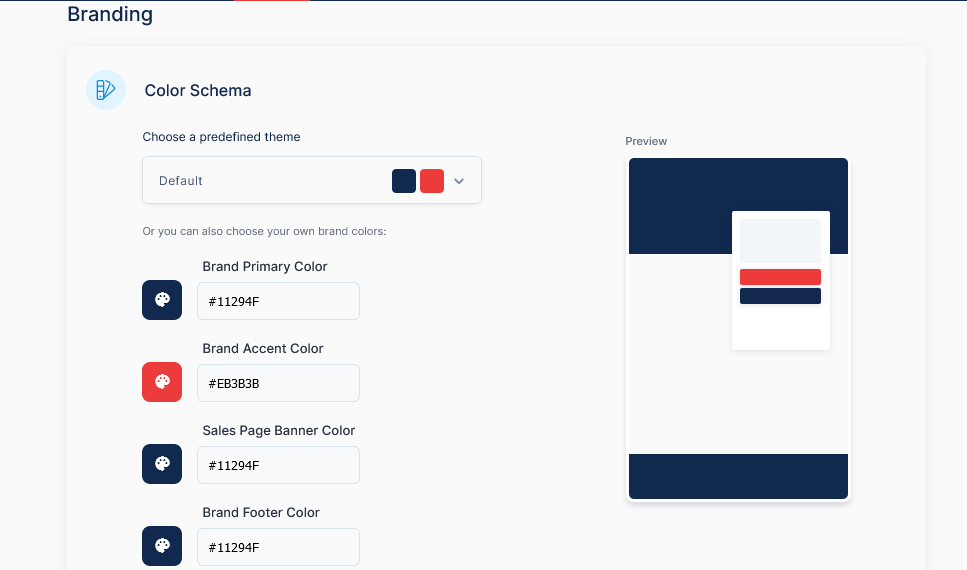
Now, click the drop-down in front of the default theme, and peruse the different themes available.
You can choose both your:
- Primary Color: this is the color most key features use inside your course (and on your sales page and course website). It’s what your audience will come to know well during their experience. For example, the top header menu of your website uses this color, so it will be visible everywhere.
- Accent Color: this is the secondary color that many buttons and other elements will use in your pages. The goal of this secondary color is to call attention to a particular element of the page, so the color should be very different than the primary color.
- Brand Footer color: This color will be displayed at the bottom of every page on your website.
- Sales Page Banner Color: This is the color that will make your sales page to stand out. And so, will be displayed directly underneath the branding primary color.
To choose your brand colors you can either type in the color’s code or find the perfect tone using the color picker:
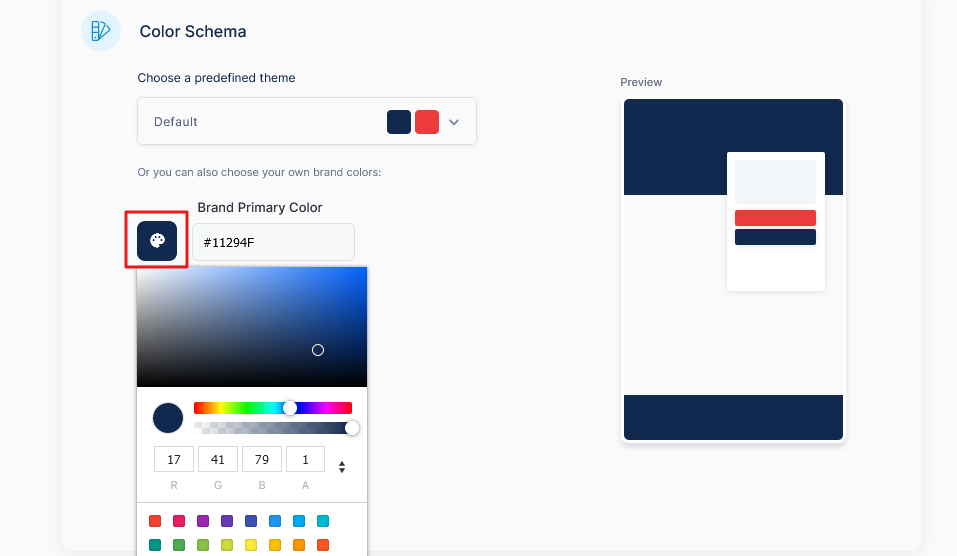
After picking your colors, click on Apply Brand and you’re all set. 🚀 The color combination will be applied throughout your website.
Step 2: Create an Eye-Catching Background Banner
As important as choosing the right colors to reflect your online course brand is, this isn’t necessarily what your audience will first notice when they land on your course website.
That role goes to your Background Banner on your home page and it NEEDS to stand out for all the right reasons.
We’ve created a separate guide that dives deep into this design process: How to Create an Online Course Thumbnail (to Boost Conversions).
In a nutshell, in the article, I recommend asking a designer to create your background banner.
You can get a great background for less than $10, but you need to know how to talk to the designer, and what to ask.
Here are a few examples to give you an idea of what a GREAT Background Banner looks like if you learn how to communicate well with a designer:

How to order a great background banner from a designer
When it comes to creating an attention-grabbing Background Banner for your online course, there are a few things to consider when creating or ordering your background:
- Color(s): this is the perfect opportunity to showcase your brand’s main color(s). That isn’t to say your entire design should focus on one color, but you do want to include it and have it become a focal point.
- Images/Graphics/Icons: Depending on how your audience views your site (desktop vs mobile) will change the layout, so you don’t want your image to be too “busy”.
- Text: as a general rule, you don’t want much text on your Background Banner because the size of your banner differs depending on how your audience views your site. What looks good on a desktop may not look good on mobile, so keep any text you use to a minimum and if you use it, place it in the center of the image so that it's read correctly in all screen sizes.
- Layout: simply put… less is more. This image acts as a first impression. The last thing you want is to overwhelm your audience with a Background Banner that tries to do too much. Everything that appears should have a purpose! Apart from this, make sure all essential elements of your banner appear in the middle as this is the section those who view on mobile will see.
As you can see, there’s quite a lot that goes into creating an effective Background Banner when branding an online course.
This is something you can even attempt to do yourself using a tool like Canva.
However, I recommend you consider turning to a professional to bring your vision to life.
A platform like Fiverr offers an affordable solution (often for less than $10).
As we detail in this guide, the process of hiring an all-start designer is easier than you might think, and we even make a concrete recommendation in that article.
Outsourcing this to a skilled designer not only creates a better end-product but also removes a task from your to-do list. You already have enough on your plate.
Your brand matters, so delegate it to someone who can turn good into great.
How to display your banner on your online course website
Once you have your Background Banner, adding it to your site couldn’t be easier, just head over to your website home page.
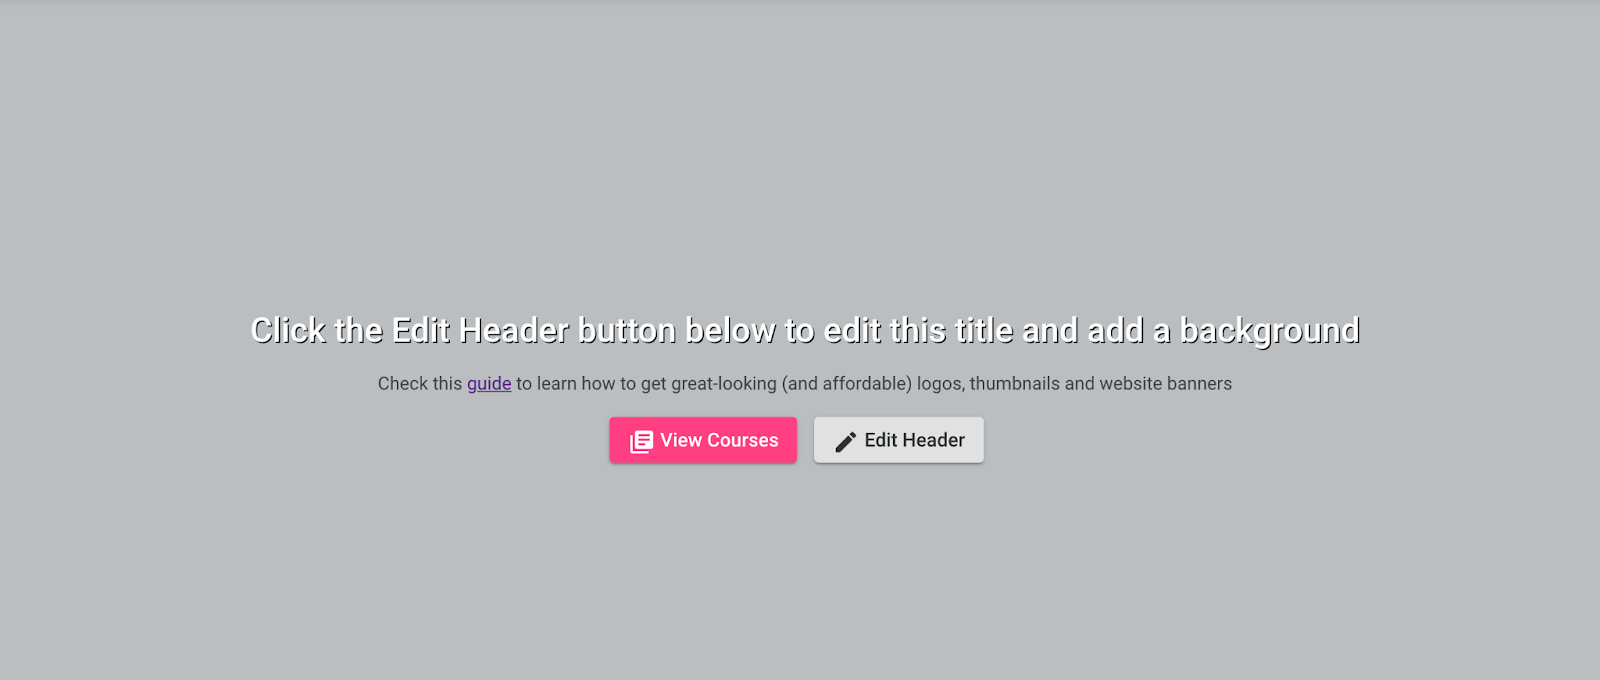
Once you visit your homepage you’ll notice the “Edit Header” button:
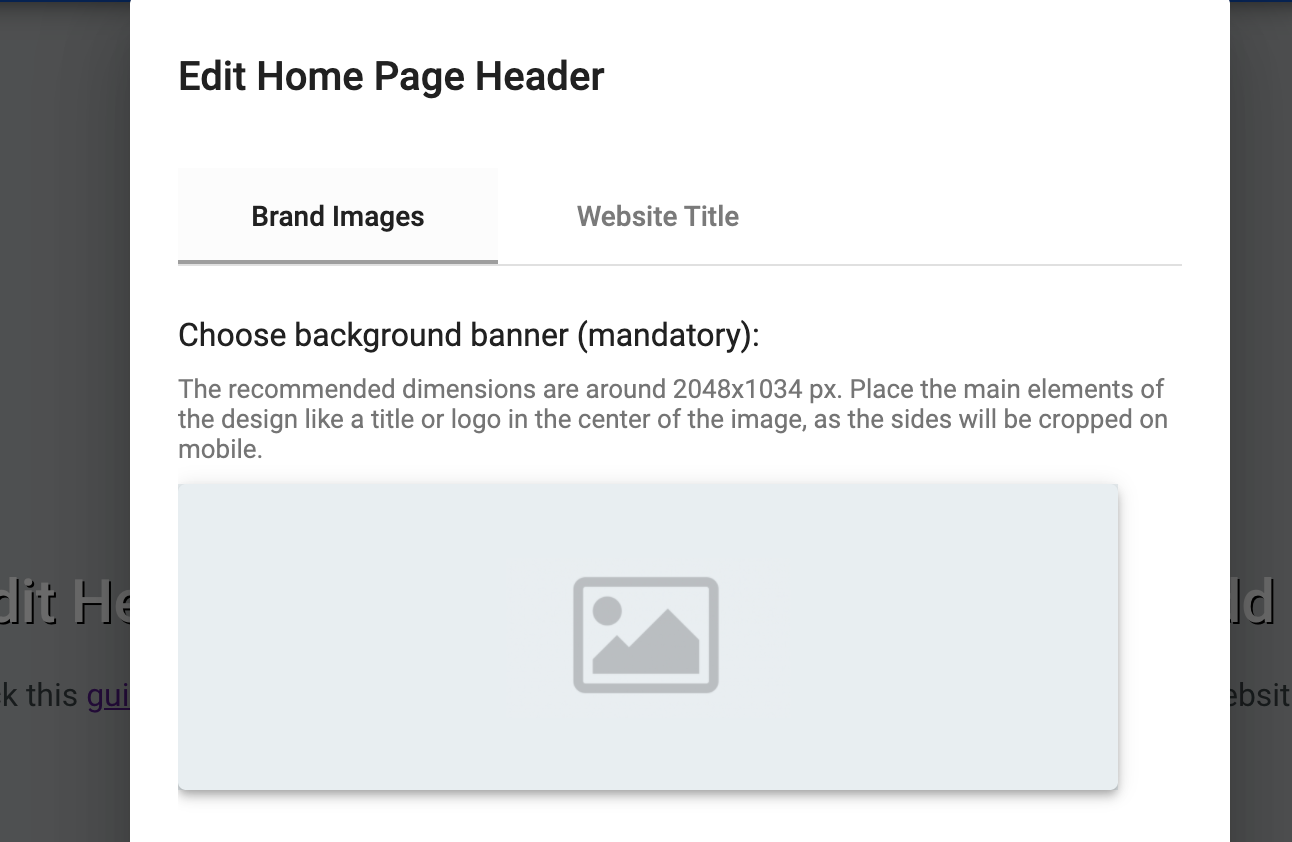
Click that and it opens an overlay window where you can easily upload your image.
And that’s it! 😉
Your Background Banner (along with a few other key elements we turn to next) plays a large role in your audience’s first impression.
Once you capture their attention, you’ve won a battle that most course creators don't.
Step 3: Create an Impactful Brand Logo
Before we move on to the Titles, Subtitles, and other Copy on your site… it’s important to consider your Brand Logo.
I suppose your first question is: do you need one when branding an online course?
That’s for you to decide.
Truth is, not all course creators have one.
But here’s the thing… do the course creators you admire have a logo?
Most of the time that answer is YES.
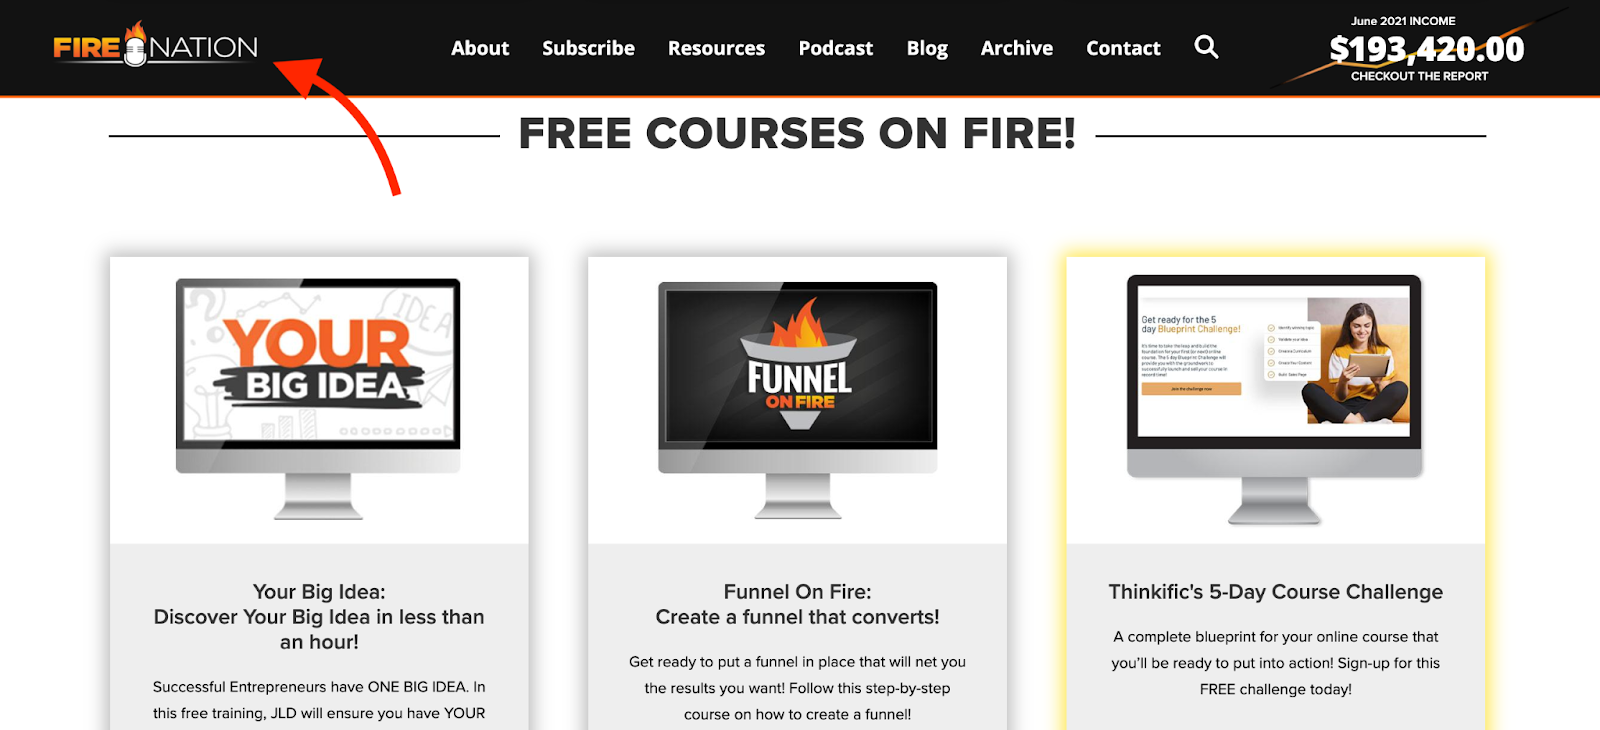
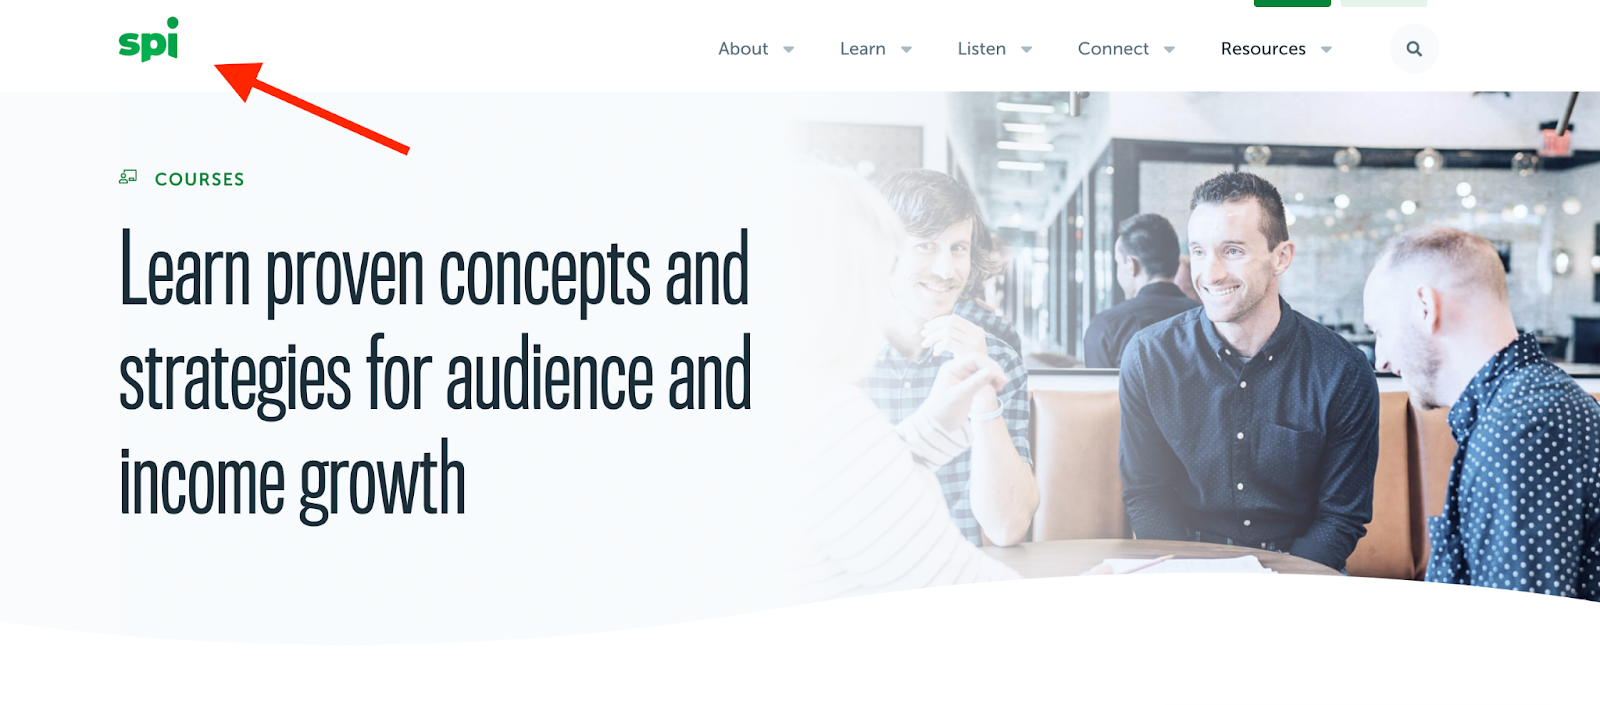
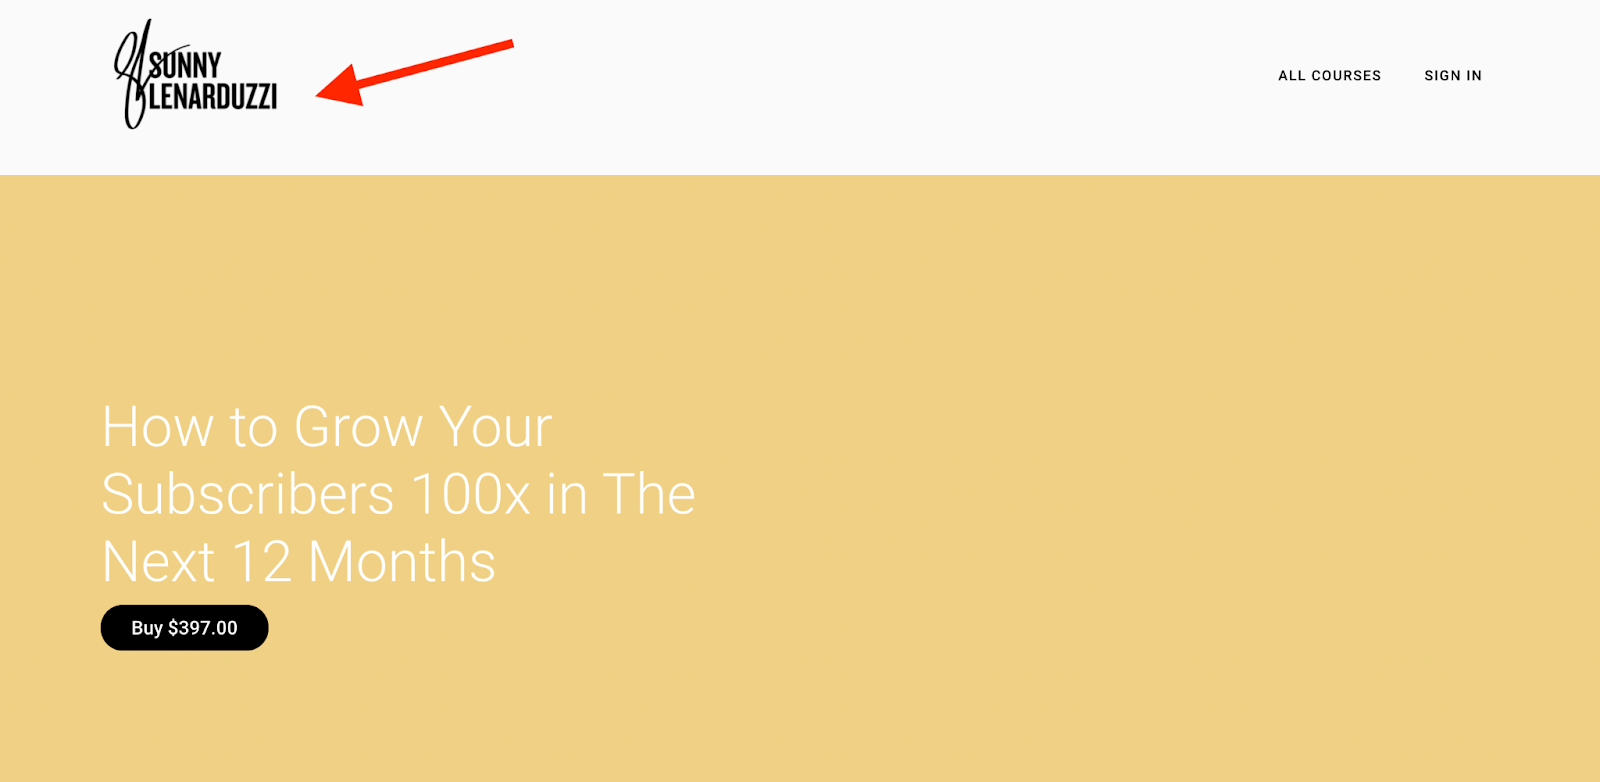
These are just a few examples. At some stage, most course creators DO create a Brand Logo.
Similar to honing in on the right color(s), a logo speaks to your audience on a subconscious level.
- It helps you stay top of mind
- It helps build brand recognition and resonance
- It paints an instant picture (no words or messaging required)
Making your brand and your website easy to remember matters a lot, as well as creating a strong first impression.
You need to stand out from the crowd and you only have seconds to do so.
A logo plays a role in this, and if you’re going to have one someday, why not make that day today?
Again, this is a step most course creators skip.
This is a great opportunity for you to take advantage of 🚀😎
Once more, this guide will help you: How to Create an Online Course Thumbnail (to Boost Conversions) - as with your Background Banner, you have two options right now:
- Create it yourself
- Hire a designer to create it for you
We recommend you outsource this to a skilled designer because your logo WILL play a central role in your brand now and in the future.
Not just on your course website, but across all your marketing, including emails, your courses, etc.
You want to get this right, so unless you have some design skills, I recommend asking a professional, but if you do choose to create your logo there are several tools you can use:
I particularly like the Wix logo maker, it's super easy to use and it will generate a bunch of logos to choose from based on some answers to a few simple questions.
Once you have your logo, adding it to your course site inside OnlineCourseHost.com is simple:
Once you upload your logo, your home page is almost ready. All you need now is a benefits section.
Step 4: Create a Benefits Section
The next step to branding your online course is to create a benefits section on your website.
To handle this, besides the logo and banner, your course website has another section just below the fold that allows you to highlight some key benefits…

We provide you with three sections to highlight:
- Your key features…
- Core benefits…
- Social proof…
- And anything that will SPEAK to your audience on an emotional level!
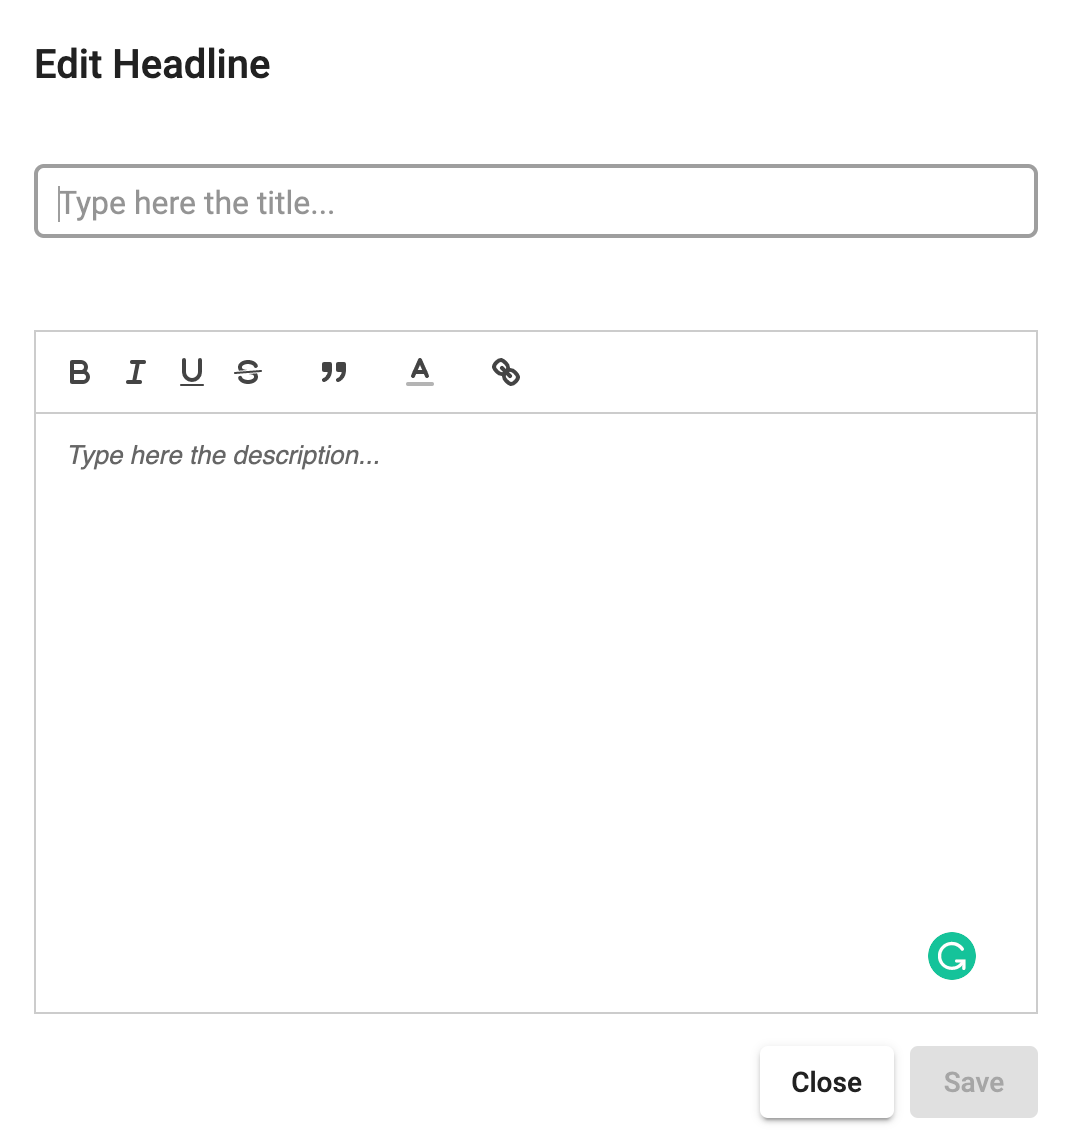
The title of each mini section lets you create a headline that stands out, while the text below allows you to expand upon this:
You can add whatever you like here, although we have a few golden rules we encourage you to follow.
- Less is More: everything you share here should remain short and sweet. The main role of your course website is to showcase you and your courses, not overwhelm your audience with too much information and long-winded stories.
- Benefits NOT Features: this is not the time to list various features. Having scrolled down your page, you know you’ve caught their attention and built their curiosity. It’s time to speak to them on an emotional level and shine a light on the impact your courses will have on them.
- Make it About Them: although social proof and establishing your authority is important, your main job is to place the focus on them: highlight their pain, hint at the solution, and make them feel that this is what they need to transform their life.
Beyond this, study our Sales Page Guide to learn more about the ins and outs of great, compelling copy.
At this stage, you have a *nearly* complete brand… although there is one final and important aspect to consider.
Step 5: Choose the Right Domain Name
Before you publish your course website and introduce your new brand to the world, take some time to consider where you’ll direct people.
It may seem unimportant, but the Domain name you choose plays a vital role in your brand!
Think about it… this is your new home.
Your ads and all other content direct people to this web address.
And once people reach your address and read your page, there is no telling when they will come back.
Your domain name has to stand out, it has to be simple and clear.
For many course creators, this is a simple choice to make as it likely involves your name/business name.
Yet this isn’t always the case. So take some time to make sure you choose the “right” domain name.
When you subscribe to OnlineCourseHost.com, the first thing that we request is for you to choose your free subdomain (you can change it later, while you don't launch your first course).
Here are some examples of subdomains that you can choose:
- yoga-school.onlinecoursehost.com
- yourname.onlinecoursehost.com
- angular.onlinecoursehost.com
Here the subdomain examples are highlighted in bold and are yoga-school, yourname, and angular.
This free subdomain allows you to publish your online courses for free on your own website, which might be all that you need.
If you don't own your own domain, then you can publish your courses directly on our platform using the free subdomain, which is a solution that a lot of course creators opt for, because it's so convenient.
But if you want to take it one step further, you can ask us to set up a custom domain for you.
Here is what the equivalent custom domains could look like:
- courses.yoga-school.com or simply yoga-school.com
- courses.yourname.com or simply yourname.com
- etc.
As you can see, you can opt for having either a "courses" subdomain (or any other subdomain) that you can link from your website and social media, but if you prefer you can also use our platform to host your whole website.
Our platform can provide a home page for your website, plus all your course pages, and more.
The cool thing about our platform when it comes to online course branding is that you don't need any technical or design skills to put together a great-looking website.
The website builder and course page builder are super easy to use, as it's aimed to be used by non-technical persons - you won't have to hire a course creation specialist just to set up a website for you. 😉
That’s what we’ve committed to making here, so create an account at OnlineCourseHost.com and start creating your courses using our Free Plan.
I hope you’ve found this guide not only helpful but eye-opening and inspiring so you move forward and commit to creating a unique brand for your online course business.
As a course creator, you’re part of a fast-growing and exciting industry that’s growing year on year.
This is great news, but it does lead to a lot of competition.
Your brand is what helps you stand out - so make that commitment that most creators don’t! 😉
I hope this helped, to get notified when I release new content here in the Academy, you can subscribe to my weekly newsletter:
If you’ve found this guide valuable, you’ll also love our Course Creator Academy which includes articles, posts, and guides like:
- Best online course platforms (Ultimate Guide)
- How to research course topics
- How to choose the right equipment
- how to record an online course
- How to create an online course website for free
- How to sell an online course
- how to create an online course business
- and much more 😉
Finally, you may also like to join our Course Creator Facebook Community where you can ask questions, connect with other course creators, and learn best practices.
Just request to join and we’ll approve it. You don't even have to be using our platform. All it takes is that you are an aspiring or experienced course creator, with a willingness to learn 👍.
Thank you for reading, and until next time, I wish you Happy Teaching! 😃
Vasco Cavalheiro
OnlineCourseHost.com Founder & Online Course Creator
LinkedIn Facebook Page Facebook Group Twitter
You are welcome to ask me any questions in the comments below: 👇👇👇👇

 Start Here
 Course Creation Journey Step by Step
  Course Creation Software Reviews
 Online Course Marketing
 Course Creation Tips & Tricks
 Course Equipment
 Online Course Marketplaces
 Revenue Reports
 Best Practices
 Frequently Asked Questions
 Platform Reviews