


Affordable Online Course Equipment - Complete Guide
 Platform Review

Here is all the equipment that I use to record my online courses, this is a very simple and affordable setup that will match the needs of many course creators.
If you are just getting started with creating online courses, one of the most intimidating aspects of the process may be purchasing your first online course equipment.
So far, besides your own personal time that you have used learning about online course creation, this is going to be your first financial investment, so it makes it all a lot more concrete.
First of all, congratulations on taking this step! 😉
Second of all, don't worry as online course production is a lot simpler than you might think.
Just look at all your favorite YouTubers that have figured out by themselves how to edit videos and do green screen recordings, use cameras, and microphones, etc.
They managed to do it, and with the help of this guide and other resources in the Course Creator Academy, so can you!
Table of contents
So, if you're looking for the best equipment for creating online courses, then you have come to the right place.
In this guide, we are going to focus on what recording equipment to purchase at the right price and quality for producing online courses.
All of this equipment advice comes from first-hand experience as an online course creator myself.
In other guides of this series, I will talk about in detail how to use the equipment.
However, if you're looking for a post about the best online course creation tools in general, then check this post: Best Online Course Creation Tools.
Here are some other posts related to online course recording equipment:
And if you want to learn more about online teaching, you can find all of our guides on the Academy home page, in the recommended reading order.
So without further ado, let's get started learning about the best equipment for recording online courses.
Sound equipment - what microphone to use?
It's possible for you to record your online courses with very little money spent upfront. The very first piece of equipment that we recommend that you buy is a microphone.
The truth is that you don't need a particularly expensive microphone for recording your courses, but you shouldn't just use your computer microphone either.
A great microphone will cost you about $100 or less, and will last you for many years.
So what microphone do we recommend?
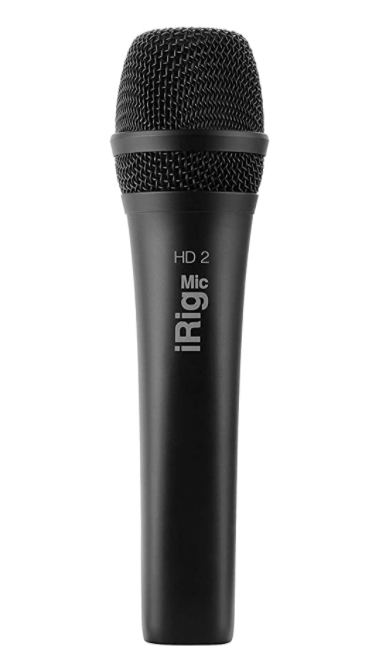
For over 5 years, we have been using the HD iRig Mic microphone for all of our courses, which is one of the best microphones for online teaching and with awesome results. At the time of writing this article, you can even get its next version the iRig Mic HD 2, for the same price that we paid years ago (a bit less than $100):
Notice that we don't have any commercial relationship with this brand, or with any other equipment brand for that matter.
We know that it's easier for you to have the links to each exact product, so throughout this article we will be providing non-sponsored links to every piece of equipment that we use, starting with the microphone:
The iRig Mic HD 2 Microphone that we use to record our coursesWe have been using this microphone ourselves for years, with great results and we can highly recommend it from first-hand experience.
This microphone is compatible with iPhones, iPad, Mac, and PC, and comes with small table support.
Here is our own microphone, at the time of writing this article. Notice that it's the first generation version of the microphone:
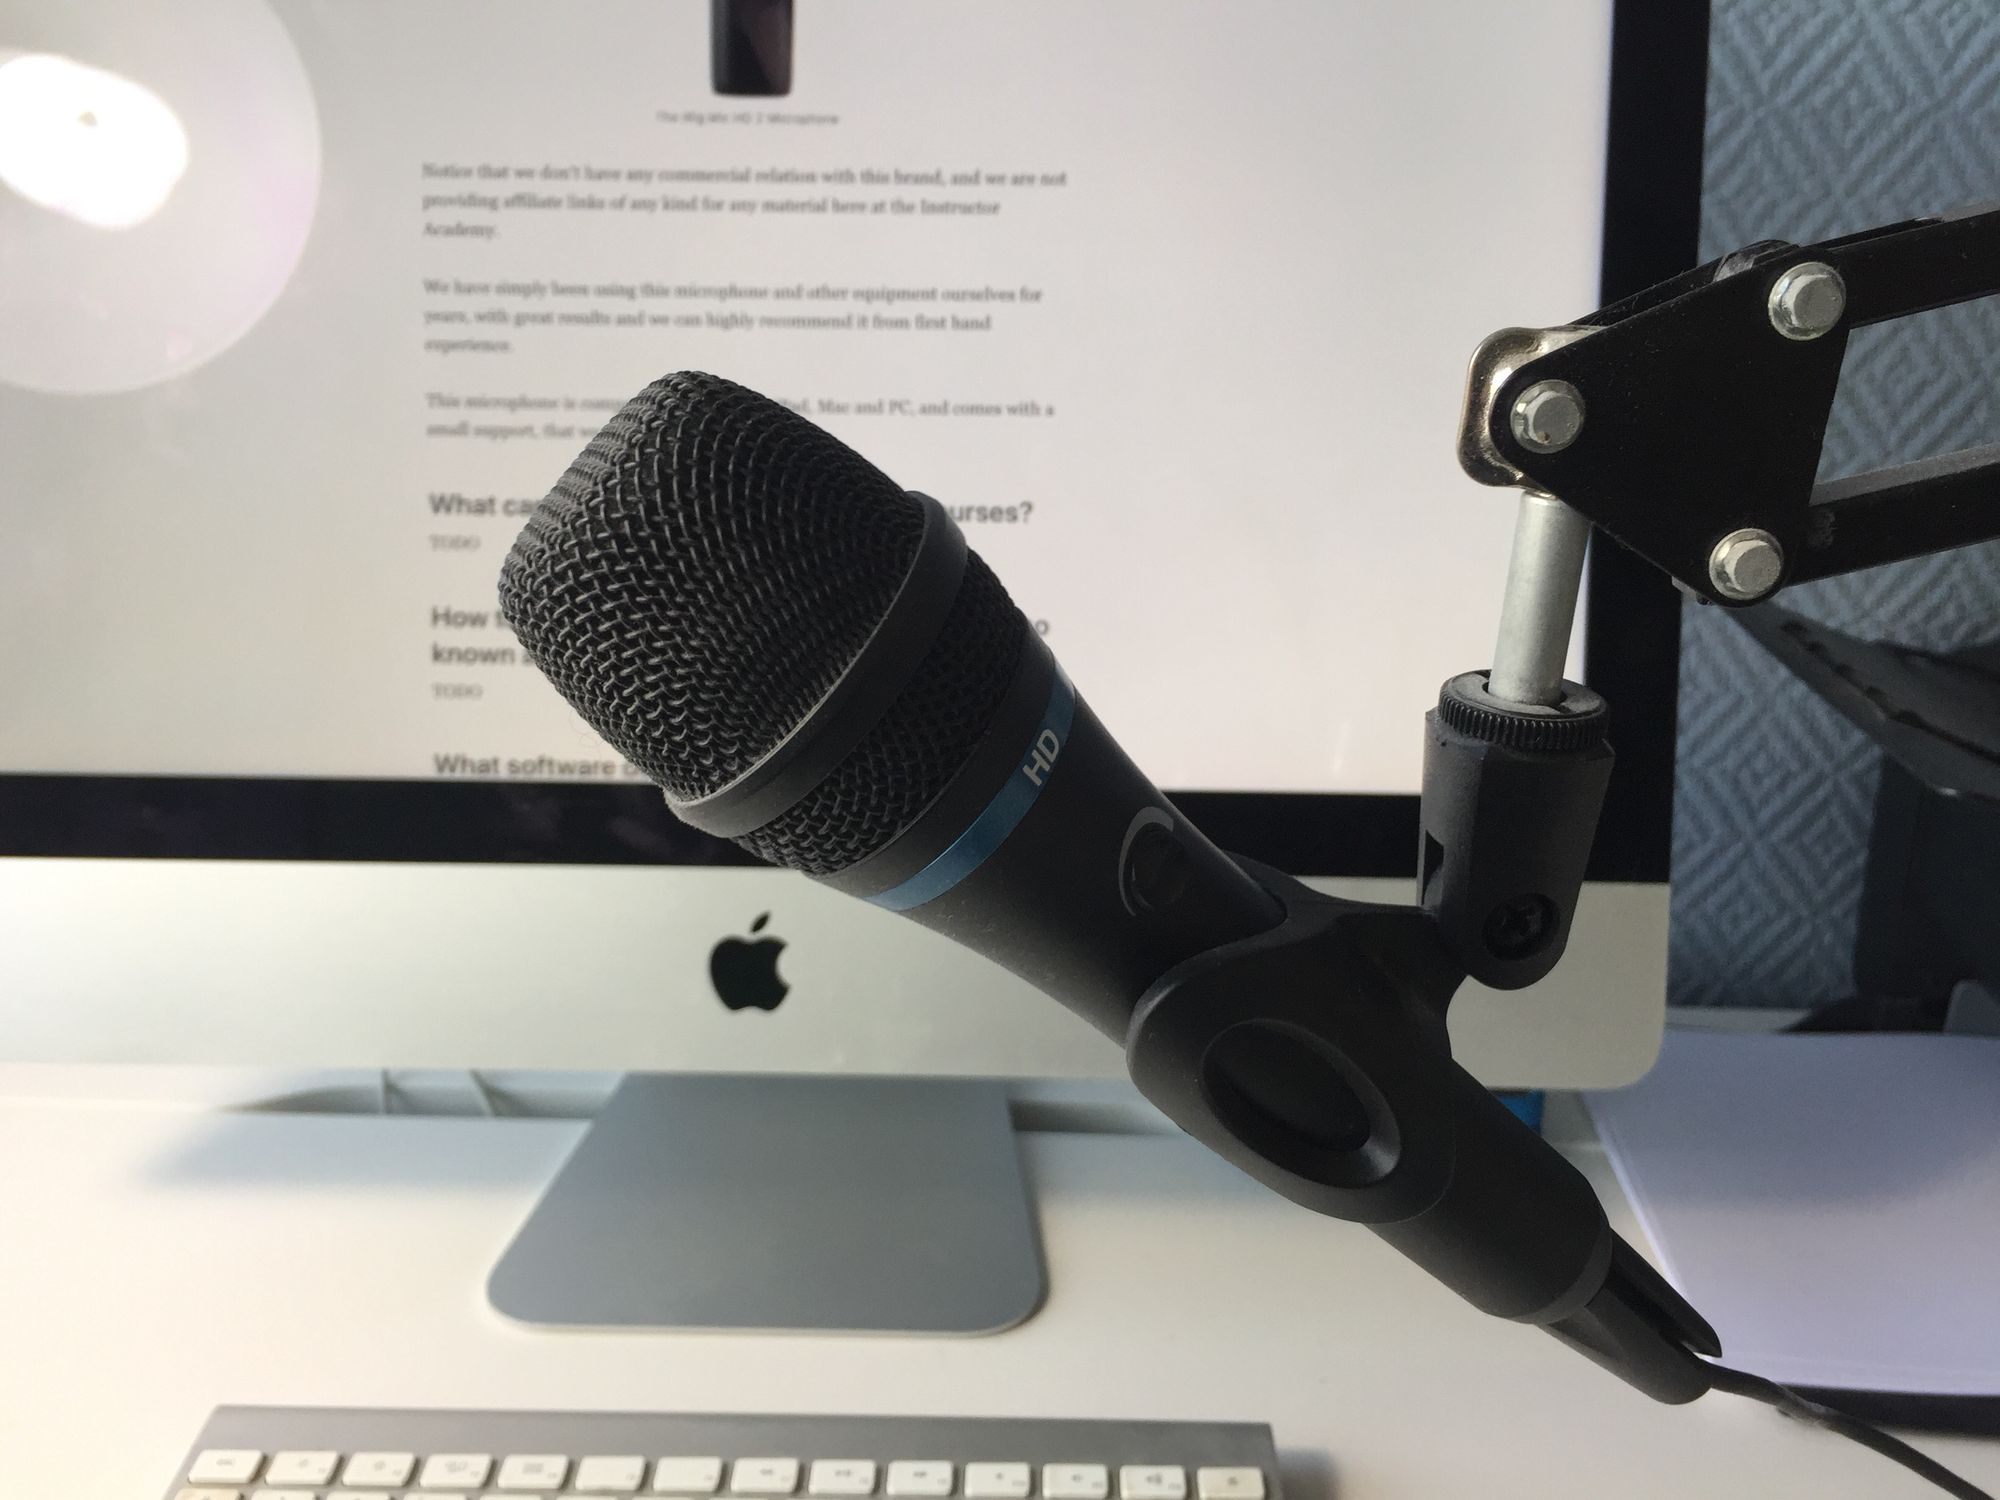
This microphone is very simple to use, just plug it into your computer via a standard USB port and it should work out of the box without any problem.
What to avoid in your microphone search
It's easy to go down a huge rabbit hole and get caught in the choice of tens of different brands, models, and endless specs. The truth is that almost any commercial microphone will do.
Also, you don't have to take an online course on sound equipment or video editing in order to record your online courses either, that is another time-consuming and potentially expensive rabbit hole that you want to avoid.
Getting a microphone is just the beginning, this is your first and probably most expensive purchase. So what other equipment is needed?
What is a pop filter, and why do I need one?
In order to make your recording process easier, we recommend that you also get a small microphone accessory known as a "pop" filter.
A pop filter is an inexpensive (less than $10) piece of sound recording equipment that will make your recording sessions a lot easier.
Here is what a pop filter looks like:
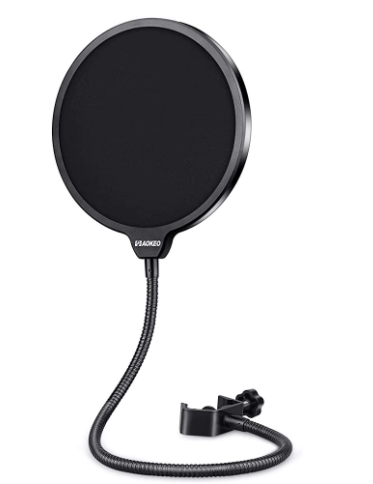
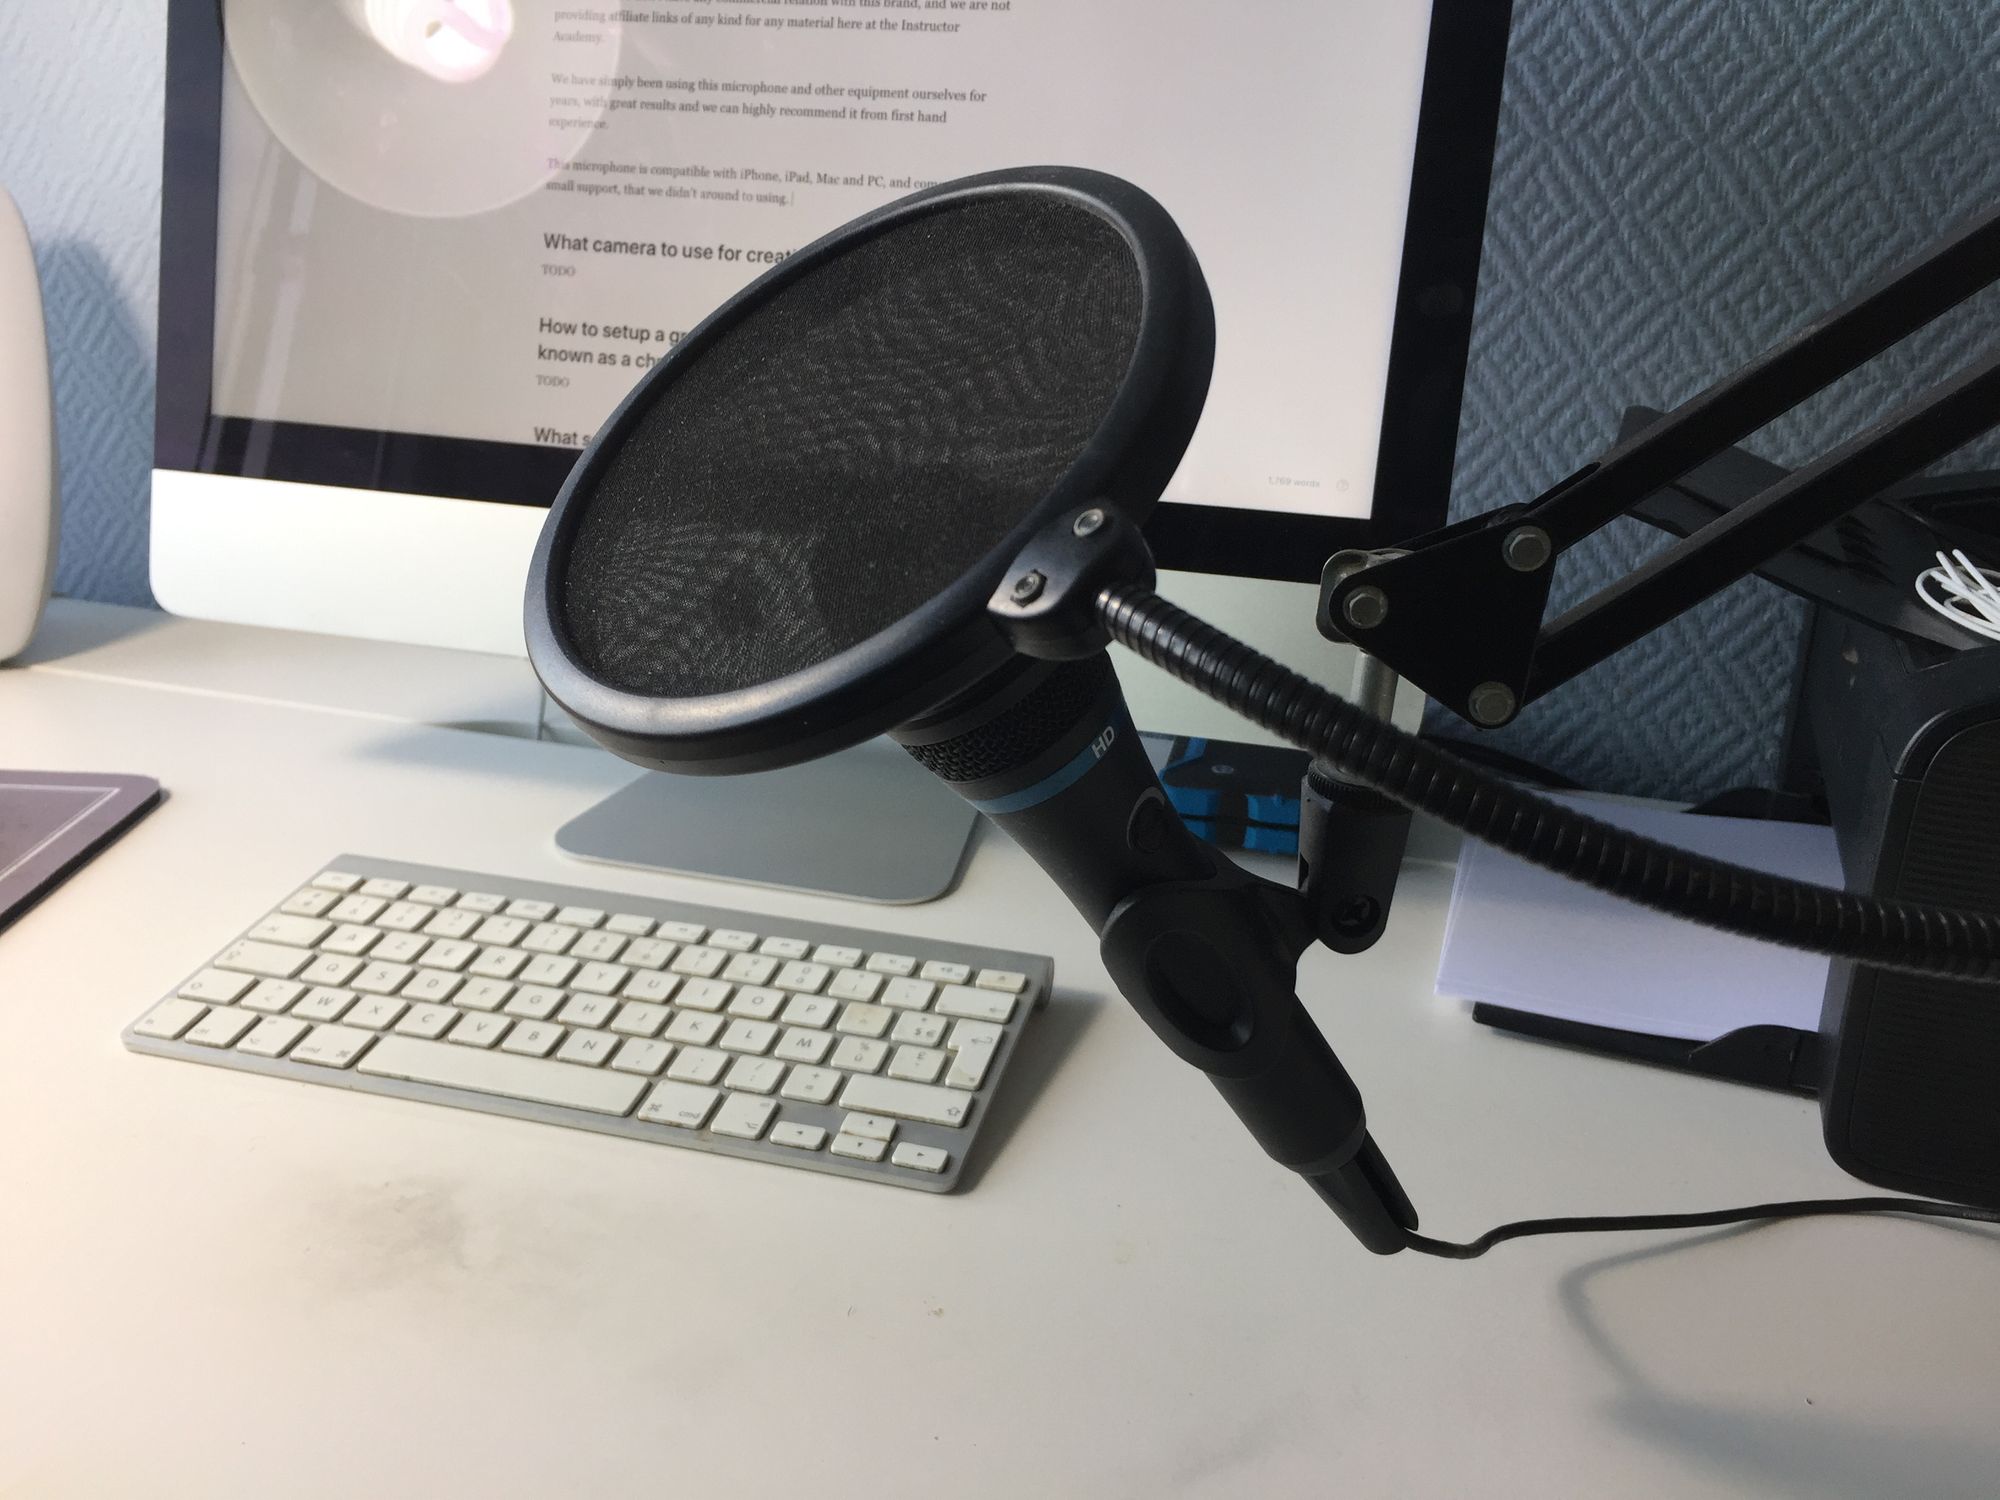
As you can see, this looks like a small safety net that you place in front of your microphone with the help of a small clamp. Here is what our pop filter looks like in our recording studio, after installed:
Why is a pop filter needed?
This pop filter net needs to be installed directly between the microphone and your mouth, and is necessary in order to dampen the sound of the letter "p".
When we talk, not all sounds that our mouth makes have the same amount of power behind them, and the letter "p" in particular creates a much larger airwave when leaving our mouth.
Try to say the word "pop" multiple times, and you will notice that to make the sound "p" we need to accumulate some tension in our lips and then release it in order to produce the sound.
If this larger airwave hits the microphone directly without the pop filter, it's going to create a sound spike that sounds very unpleasant to the listener, and simply impossible to edit out.
The problem is that you only notice the "pop" sounds later when editing the recording, and it's already too late!
The presence of these explosive "pop" sounds might accidentally ruin an otherwise great recording session. Leaving them in would make the recording sound very unprofessional and unbearable to listen to.
The pop filter, when placed correctly in front of the microphone, will dampen the airwave caused by the "p" sound coming out of your mouth, and avoid this problem altogether.
What pop filter do you recommend?
Here is the pop filter that we have been using for years, and it works great:
A microphone pop filter similar to the one that we useYou don't have to worry about choosing between different types of pop filters, they are all nearly identical and they all achieve the exact same thing.
The only difference between them might be the attachment system, but even that is pretty universal.
This piece of equipment is really inexpensive, so we highly recommend that you get one for you, as this will remove a major difficulty in the sound recording process.
Do I need a microphone arm stand as well?
In order to record your course in the most comfortable way for you, we think it's important that you purchase also a small arm stand for your microphone.
A microphone arm stand can cost as little as $15, and makes your recording process much more comfortable.
Here is what our arm stand looks like, together with the microphone and the pop filter attached to it:
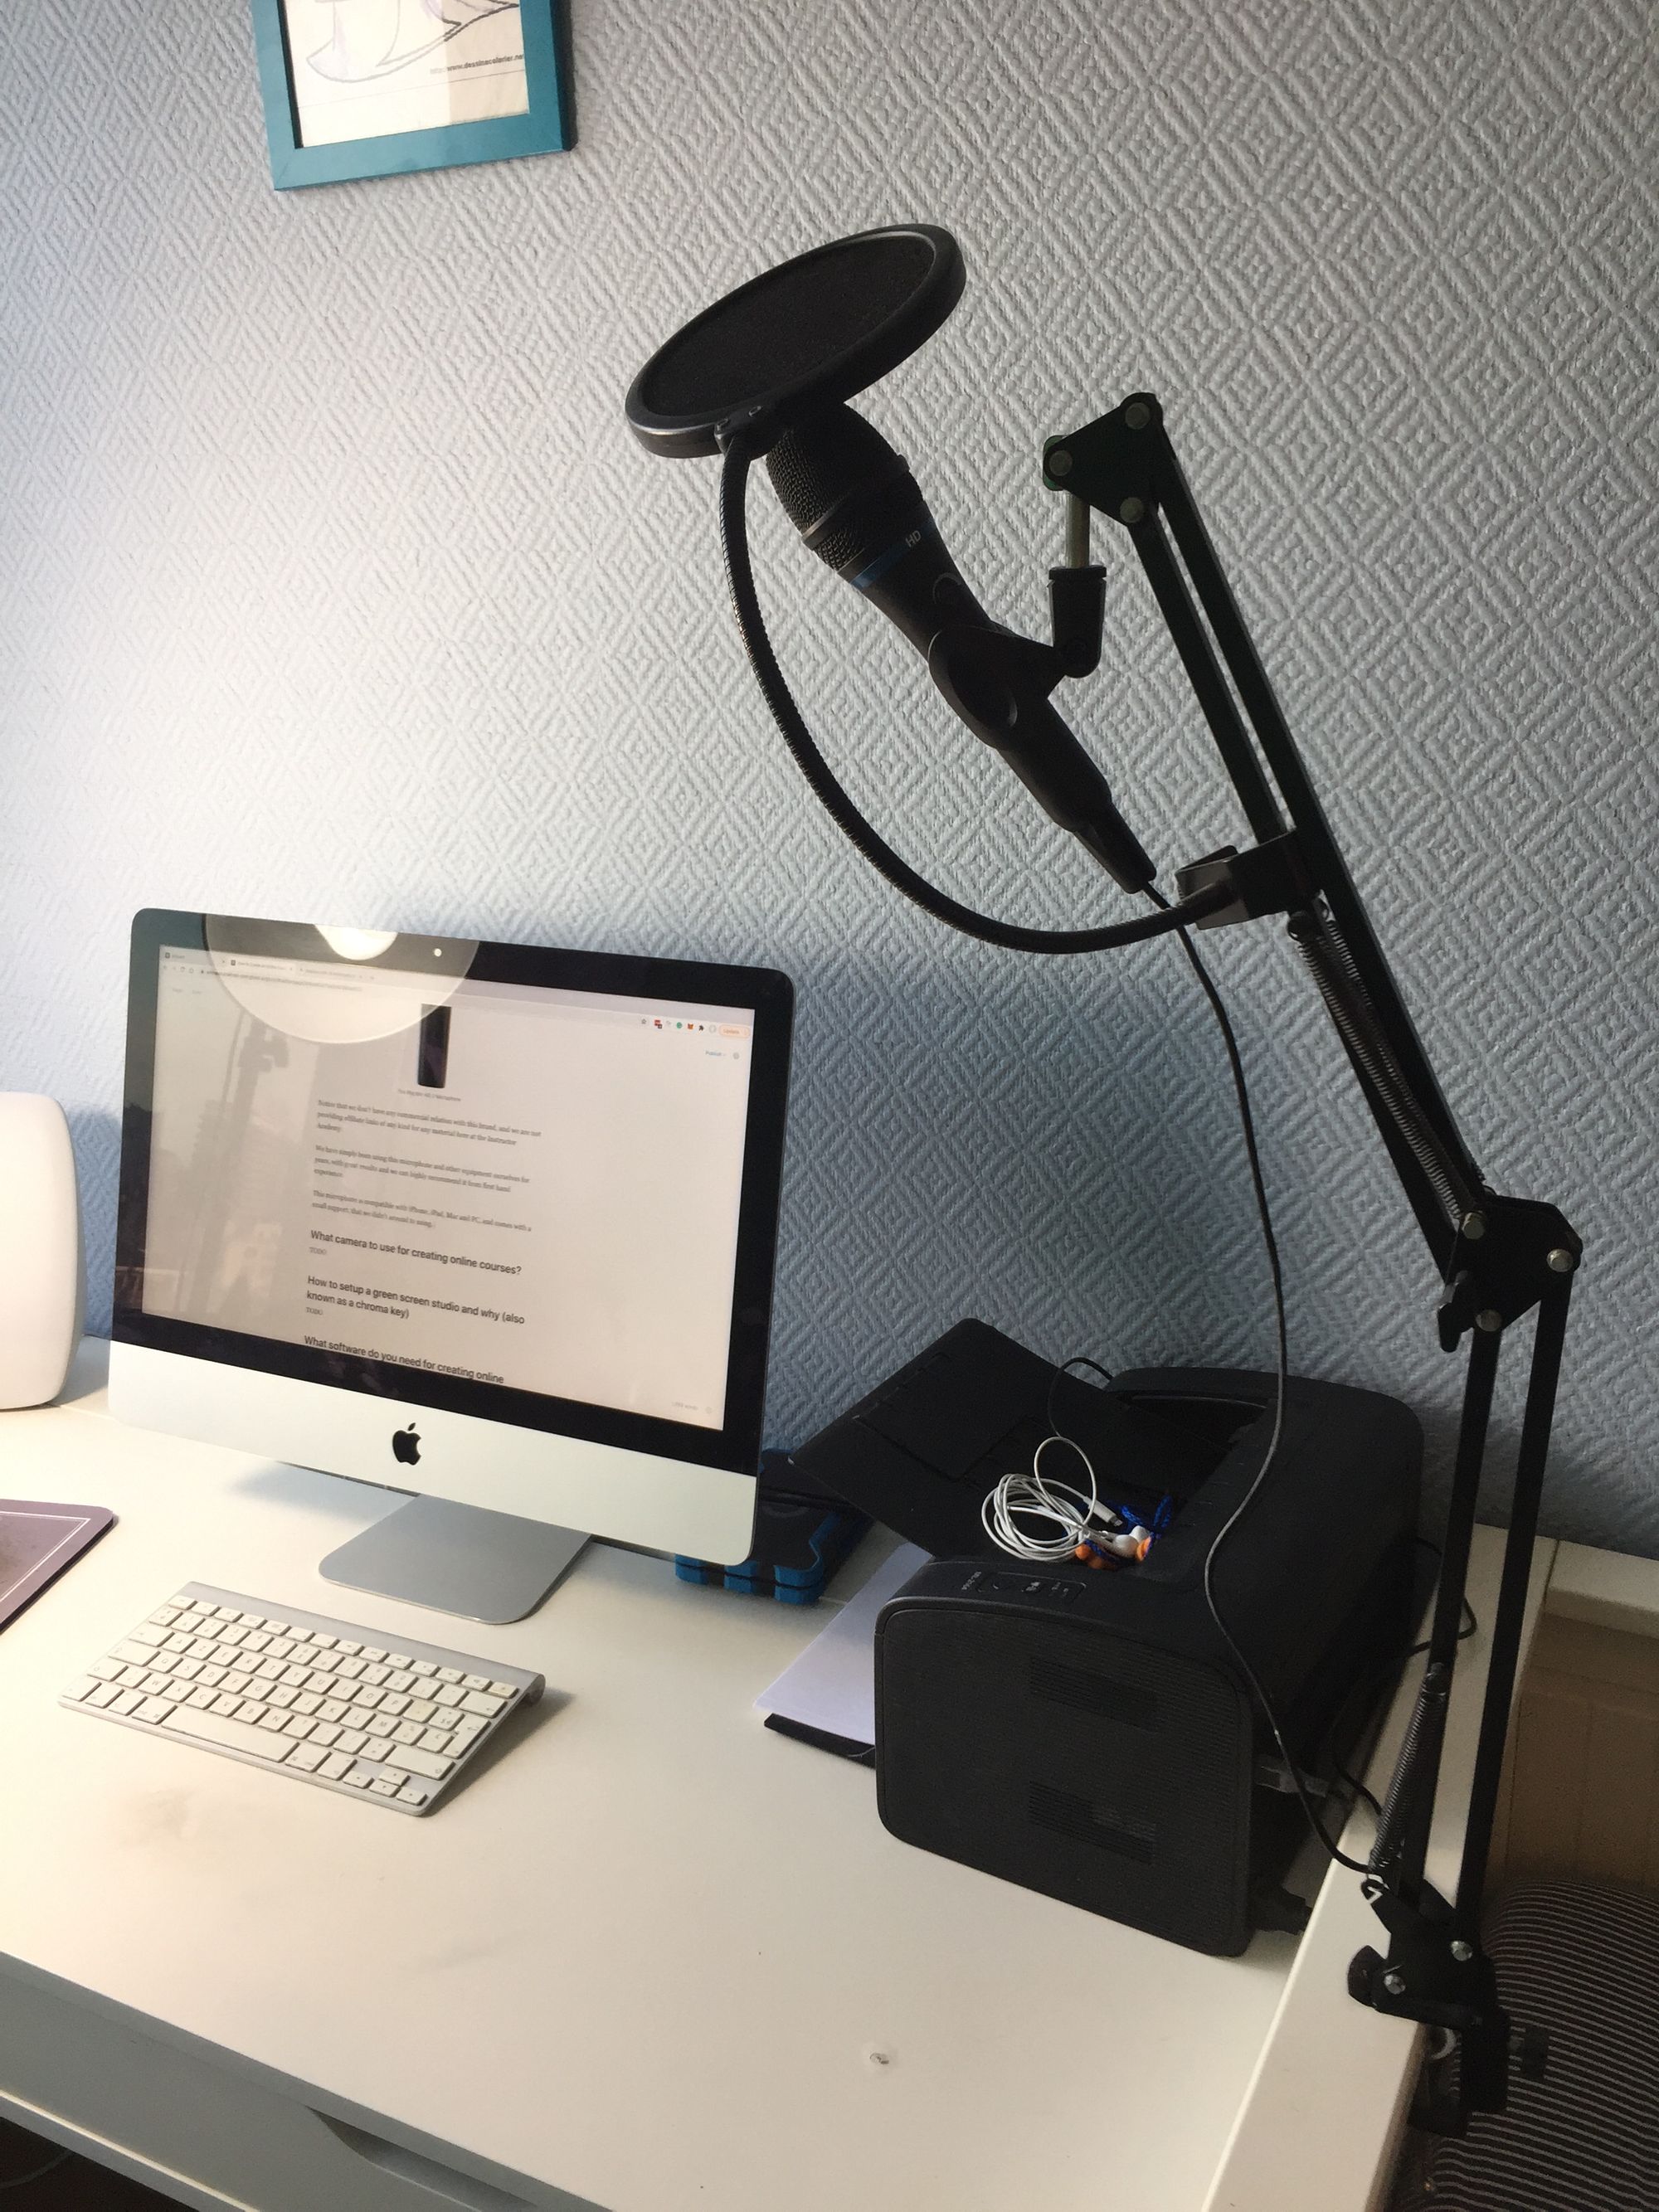
The arm stand is actually much smaller than it looks in the picture. As you can see, the arm stand is almost all the time out of the way, standing neatly in its vertical position without occupying too much space.
When you want to record a video lesson, you can then adjust the flexible arm and place the microphone directly in front of your mouth, while leaving enough space in front of you to allow you to still type and view the screen comfortably as you record.
This is especially useful if you want to record tutorials on something that you do with your computer, such as for example a programming course or an excel course, or anything else that you would like to show on your computer desktop.
In those cases, you will film the computer via a desktop recording software, and record your voice at the same time as you explain what you are doing.
What microphone arm stand do you recommend?
Here is a similar arm stand to the one that we have been using for years (shown in the pictures above). But before ordering it first check to see if its attachment system works well with your desk:
A microphone arm stand similar to the one that we useThe arm stand is the last piece of sound equipment that you will need.
But what about video recording?
What camera to use for creating online courses?
Besides the microphone, you might also need to get a camera. The keyword is might, because if you are recording mostly desktop videos where you explain how to do something with a computer, then there is no need to film anything else if you don't want to.
We like to personalize a bit our videos and record at least the introduction and the conclusion of each course where we film ourselves explaining what the course will be about.
For that, a simple camera will do and you might already have a built-in web camera on your computer that will work just great.
You should try out your built-in camera first, to see if it works well. In most cases, it probably works just fine and it's all that you need.
Using the built-in web camera of your computer has a big advantage in that it's always correctly positioned, and it does not take up extra space on your desk. Also, it does not require you to use extra mounts or a more complicated setup.
So, as you can see, it's not really a question of which camera is best for online teaching.
Instead, it's about which camera will work just great for you current needs, and the camera you already have will probably just work fine.
Avoid going out and spending hundreds of dollars on the latest fancy web camera, you probably won't need it!
What web camera do you recommend?
If you do need an external web camera, then we recommend taking for example a Logitech, which will work great:
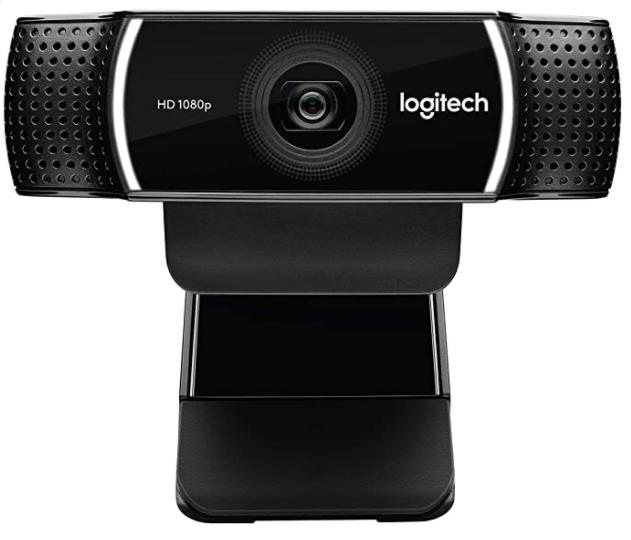
We have purchased this camera ourselves and can confirm that it works great, perfect for personalizing our online courses.
But this is actually a good example of an initial purchase that we wish we hadn't made because it turns out that although the camera works great, we simply don't need it because our built-in webcam works also very well.
Using our built-in camera on avoids having one extra piece of equipment on our desk, and this means fewer cables and a tidier workspace, which we prefer.
We recommend always trying out the equipment that you already have, to avoid falling into the same error as we did.
Here is the link to the camera, in case you want to have a look at it:
The Logitech 1080p Pro Stream WebcamIf you want to see what other options you have available, check out this in-detail post that I wrote: What Is The Best Camera For Online Courses?
And with this, you now know the equipment that you need for both sound and video. Another thing that you might want to do, is to set up a green screen studio.
What is a green screen studio?
So first of all, what is a green screen studio? If you watch YouTube often, I'm sure you have seen it many times before. Notice how in many videos the creators managed to somehow project themselves onto the screen.
For example, here is a well-known gaming YouTuber projecting himself into a gaming video:
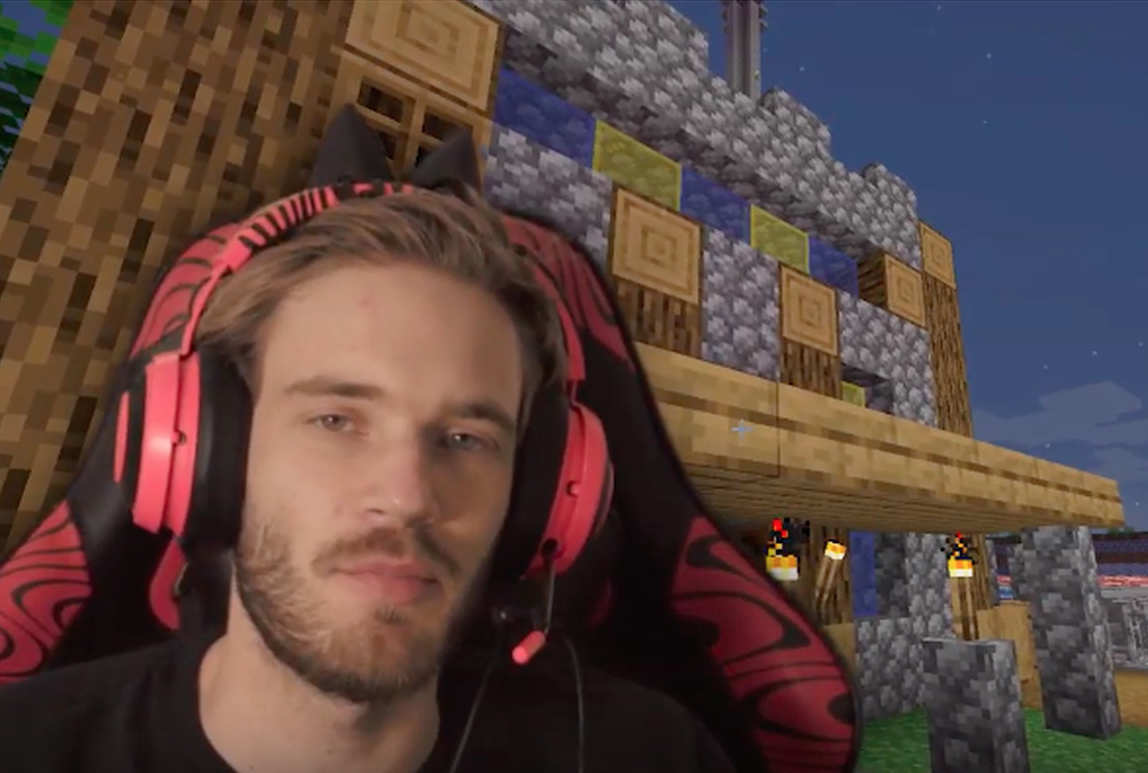
We can see that the game is being filmed in the background, so the content creator is playing the game and recording it on a desktop computer.
But at the same time, we can see his face on top of the game filmed via a separate webcam. Somehow, the webcam image is blended in with the desktop recording.
Why use a green screen studio in your online courses?
This simple technique used for gaming is also very useful for online course production. This allows you to project yourself onto at least some of your videos, giving them a much more personal touch and making them nearly impossible to pirate.
This technique also makes your videos look and feel a lot more professional, and you don't even have to use it for every single video. Personally, we use this technique just to film the introduction and conclusion lessons of our courses.
Other course creators use this technique to do not only the introduction and conclusion, but also promotional videos, as well as the introduction of each course section, or any other video that might require a lengthy explanation.
You can also project a chart of the background or any other graphic that will help with your explanation, like for example PowerPoint slides.
Some online course creators even use this technique on every single video, and with great success.
Do you recommend using a green screen studio?
We recommend setting up a green screen studio and using it in at least some of your videos, but not necessarily all of them.
Using a green screen does make the recording process a little bit more complicated though. You need to make sure that when you speak, you don't do long pauses or funny facial expressions, otherwise, a perfectly good recording might be ruined.
Maybe that comes very naturally to you as you can speak very fluidly about your topic in a natural way, so using a green screen all the time does not have much effect on your recording process.
For many people though, filming yourself while you explain something is a little bit trickier than just filming the desktop and recording your voice.
Not filming yourself all the time allows you to do long pauses that are then easily edited out in a completely unnoticeable way, and you don't have to worry about how you look on camera all the time, which makes the recording process a lot easier.
We do recommend that you set up a green screen as it's super inexpensive and makes your course look more professional, but consider using this technique strategically as opposed to all the time.
What does a green screen studio look like?
So how can you project yourself into your recordings? What you need is a background of a special color, typically of a green tone.
Here is the same content creator as before, this time around with his green screen visible:

How does a green screen work?
The green screen works in combination with video editing software. A video editing software is used to edit the recording and remove only one color (or a very closely related group of colors) from the video, typically the green color known as chroma key.
The image will be transparent in all the places where the color was removed, and the resulting video can then be put on top of another video, creating the transparency and the blend-in effect typical of a green screen recording.
In order for the green screen technique to work well, the green background needs to have a uniform color at the time of recording, so that all the tones of green in the image are nearly identical which makes it very easy for the editing software to remove those green colors only.
If the green tone varies a lot, the editing software will have to remove more colors than necessary and this might end up accidentally removing other parts of the image (other than the green background), which would ruin the recording.
The best way to ensure an uniform green tone for the the whole green screen is to use proper lighting (see further).
Why does the green screen need to be green?
The green screen has this typical green tone because it's just so different from any human skin or hair color. This makes it very easy for video editing software to edit out the green color without removing any other part of the image, such as your body or your clothes.
What precautions to take when using a green screen?
This means of course that you can't wear anything green while filming, otherwise, it's going to be either fully removed from the image, or partially removed depending on how close the color of your clothes is compared to the chroma key green color.
Also, you can't show any green objects to the camera, otherwise, they will be unintentionally erased and made transparent as well.
How to set up an affordable green screen studio?
If you don't want to paint a full wall with the chroma key green tone, the simplest way is to purchase a foldable tissue background, like this one:
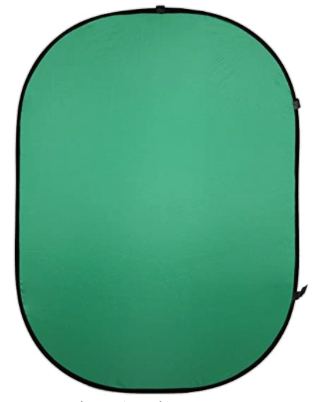
You can then place it behind your chair as you film in a variety of ways. In the case of our studio, we have simply placed it on a wall behind a desk:
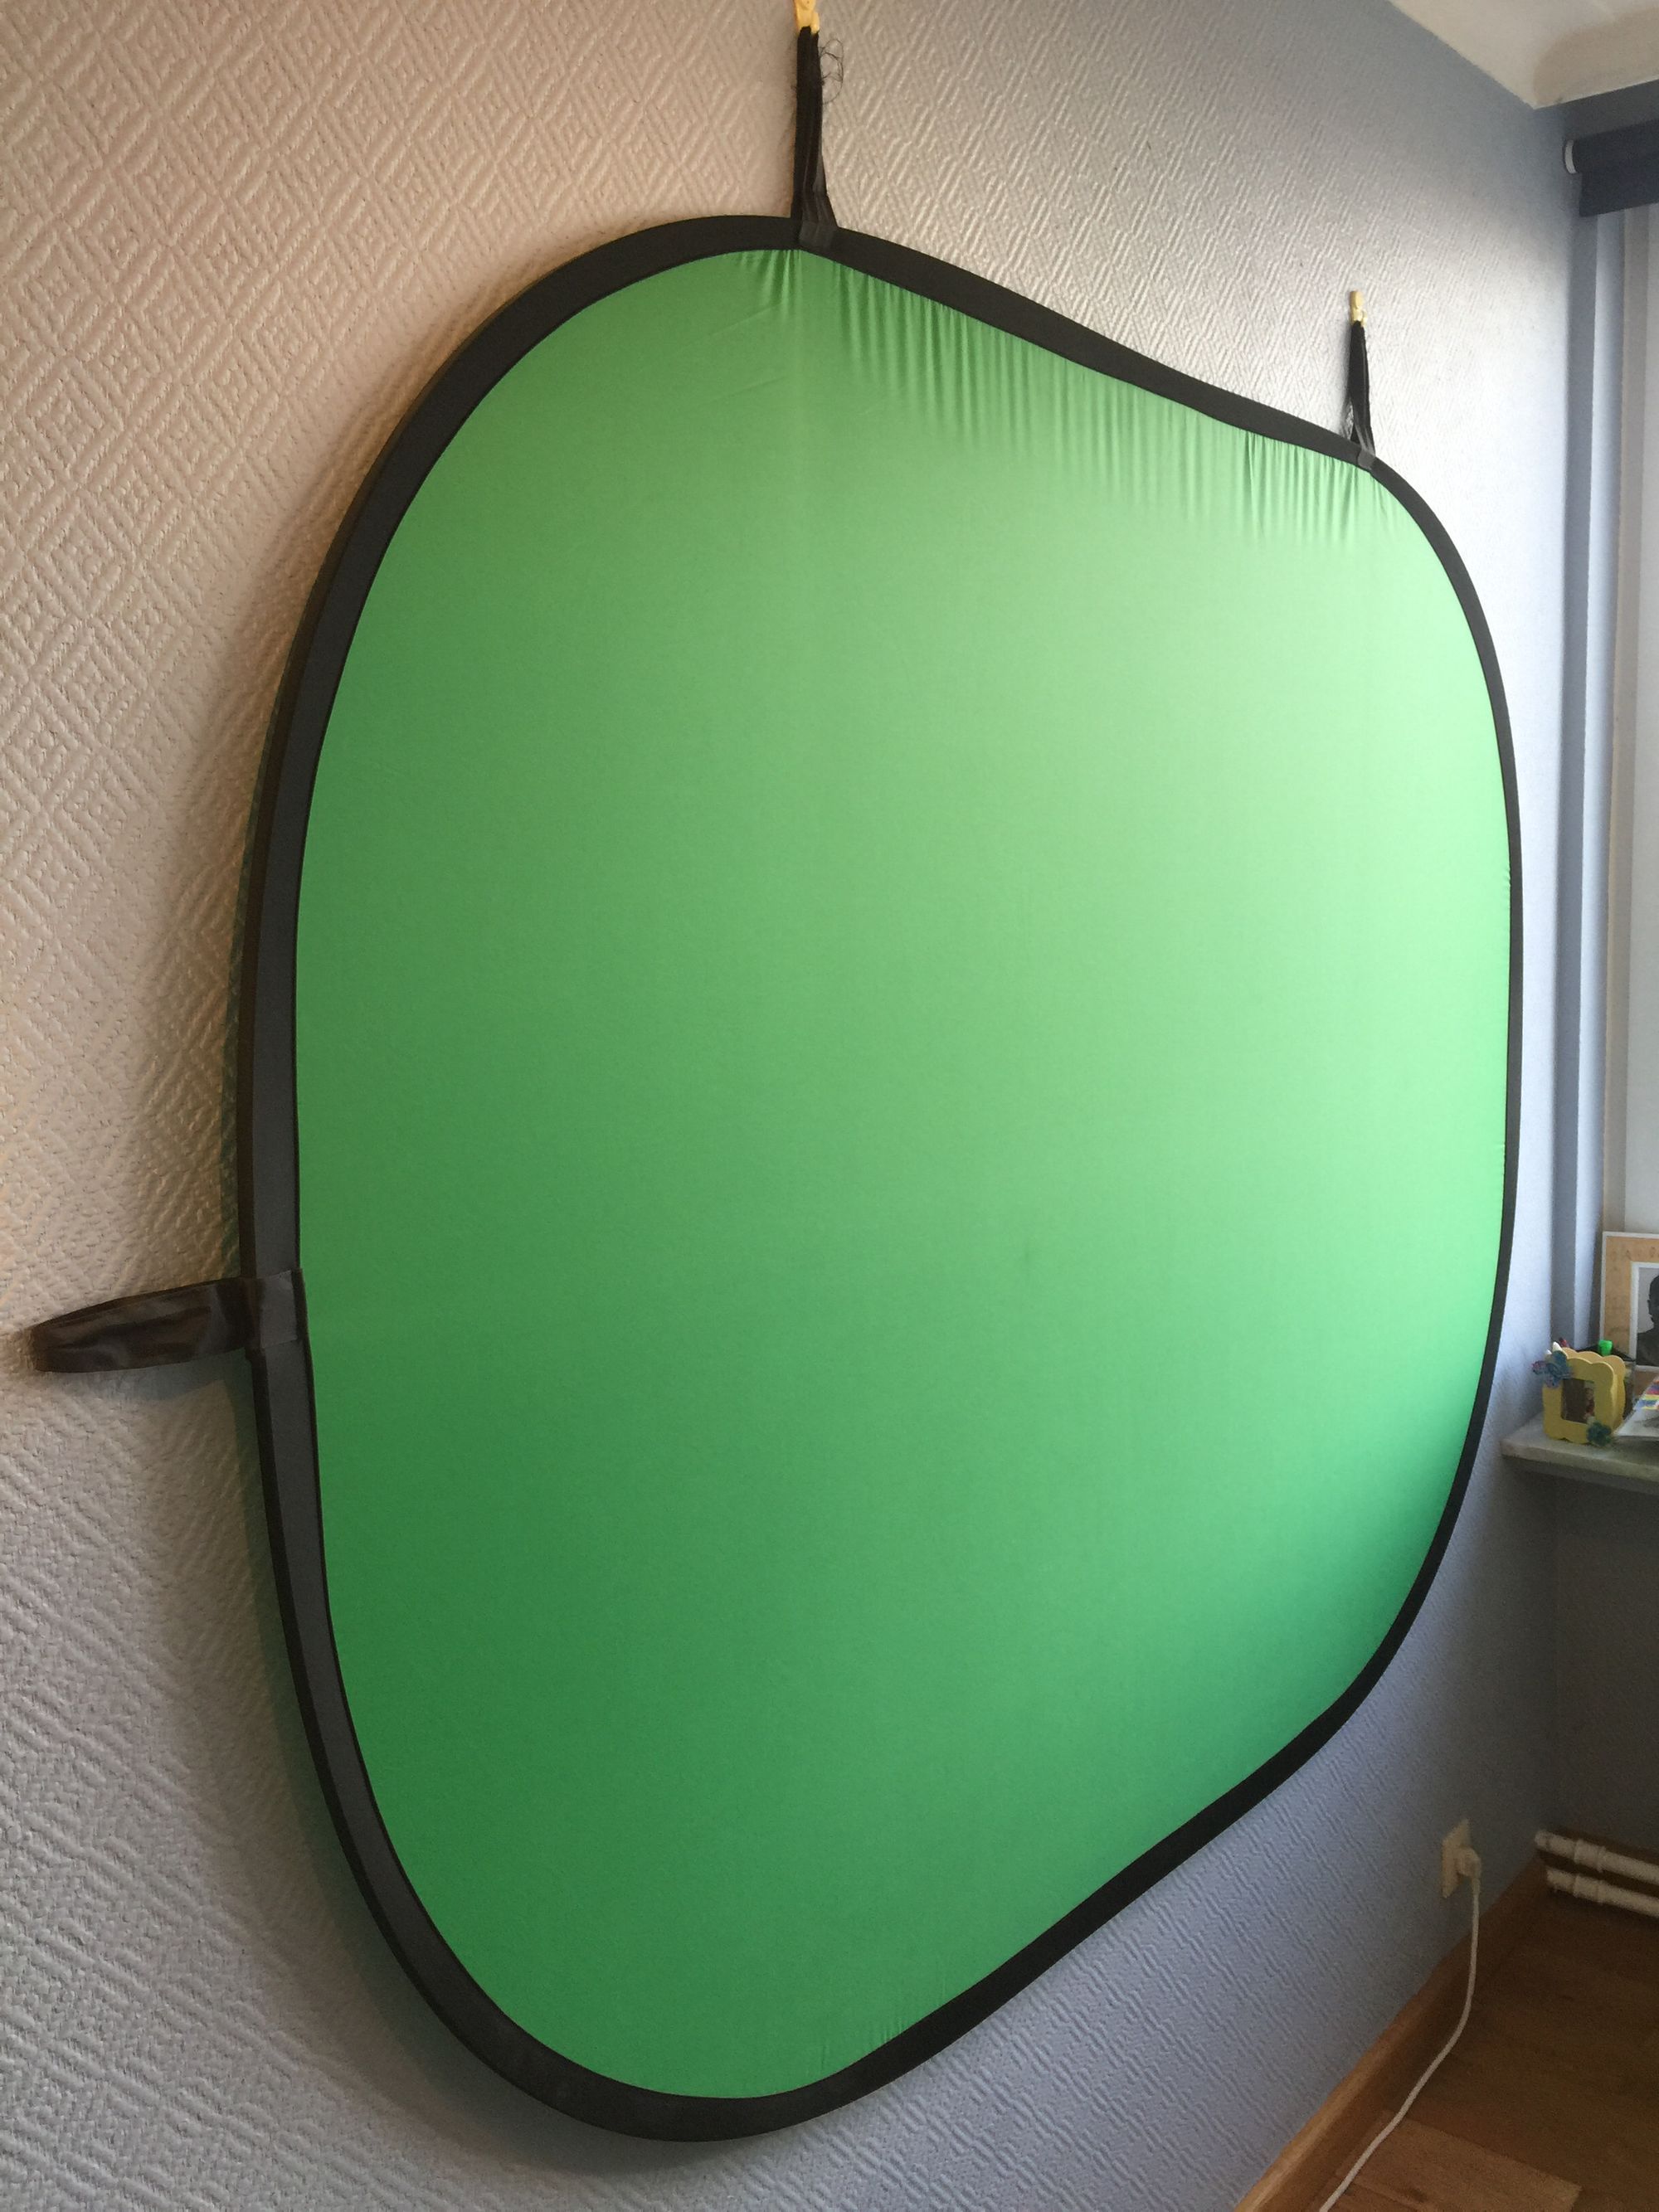
What green screen do you use?
Our green screen works great, it's not too big and it's foldable, although it's a bit cumbersome to fold so we never do it. We just leave it expanded on the wall or store it vertically behind a door.
If you are looking for the exact same green screen that we use, here is a link to it:
A foldable and easy to use green screenWhat green screen do you recommend?
We don't necessarily recommend that you get the exact same setup as us, as this is going to depend on your own studio setup.
For example, you might not have a wall directly behind you, and so you will need a screen with an adjustable vertical support instead, like this one:
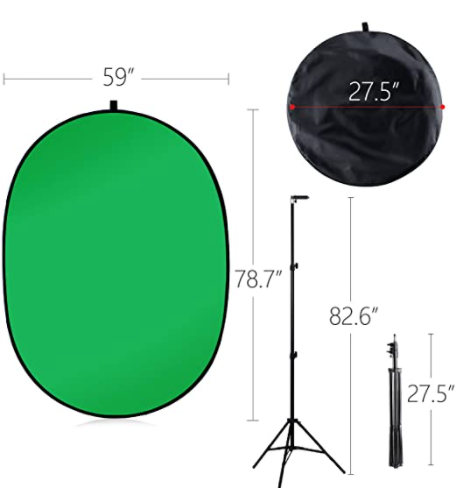
Here is the link to this green screen:
A green screen with a vertical support includedYou might also want to do a full-body recording and not just a desk recording. In that case, a cloth-based system will be better suited and even more affordable:
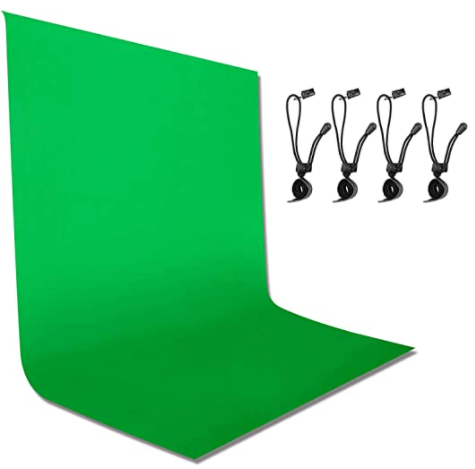
Here is the link to a full-body green screen:
An affordable full body green screenHow to decide which green screen to choose?
Regarding green screens, the good news is that as long as you can create a green background for your recording with good lighting that gives the green screen a uniform color, just about anything will work!
We like a lot our simple wall-based setup, but you have to have a wall very close to your desk for this to work, ideally 1 meter behind your desk or less ideally.
Painting a wall is also a common solution, and very inexpensive. And if you need full-body recordings, a cloth-based green screen will cost you less than $20.
For desk-based recordings, a simple screen placed behind your chair with a support will do you the trick and cost you anywhere from $70 to $100.
Besides the equipment, if you want to learn in detail how to produce a green screen recording from A to Z, you can check out this post - Green Screen Tutorial: Improve the Branding of Your Online Courses.
The key ingredient to making the green screen studio work is really the lighting, which we will cover next.
Lighting for Online Course recordings
Besides being essential for green screen recordings, good lighting is needed for any video recording in general.
We personally use a couple of full-spectrum white lights to light our green screen background and give it a nice uniform bright color that will make it easy to remove using our editing software.
Here is what our lighting lamps look like:
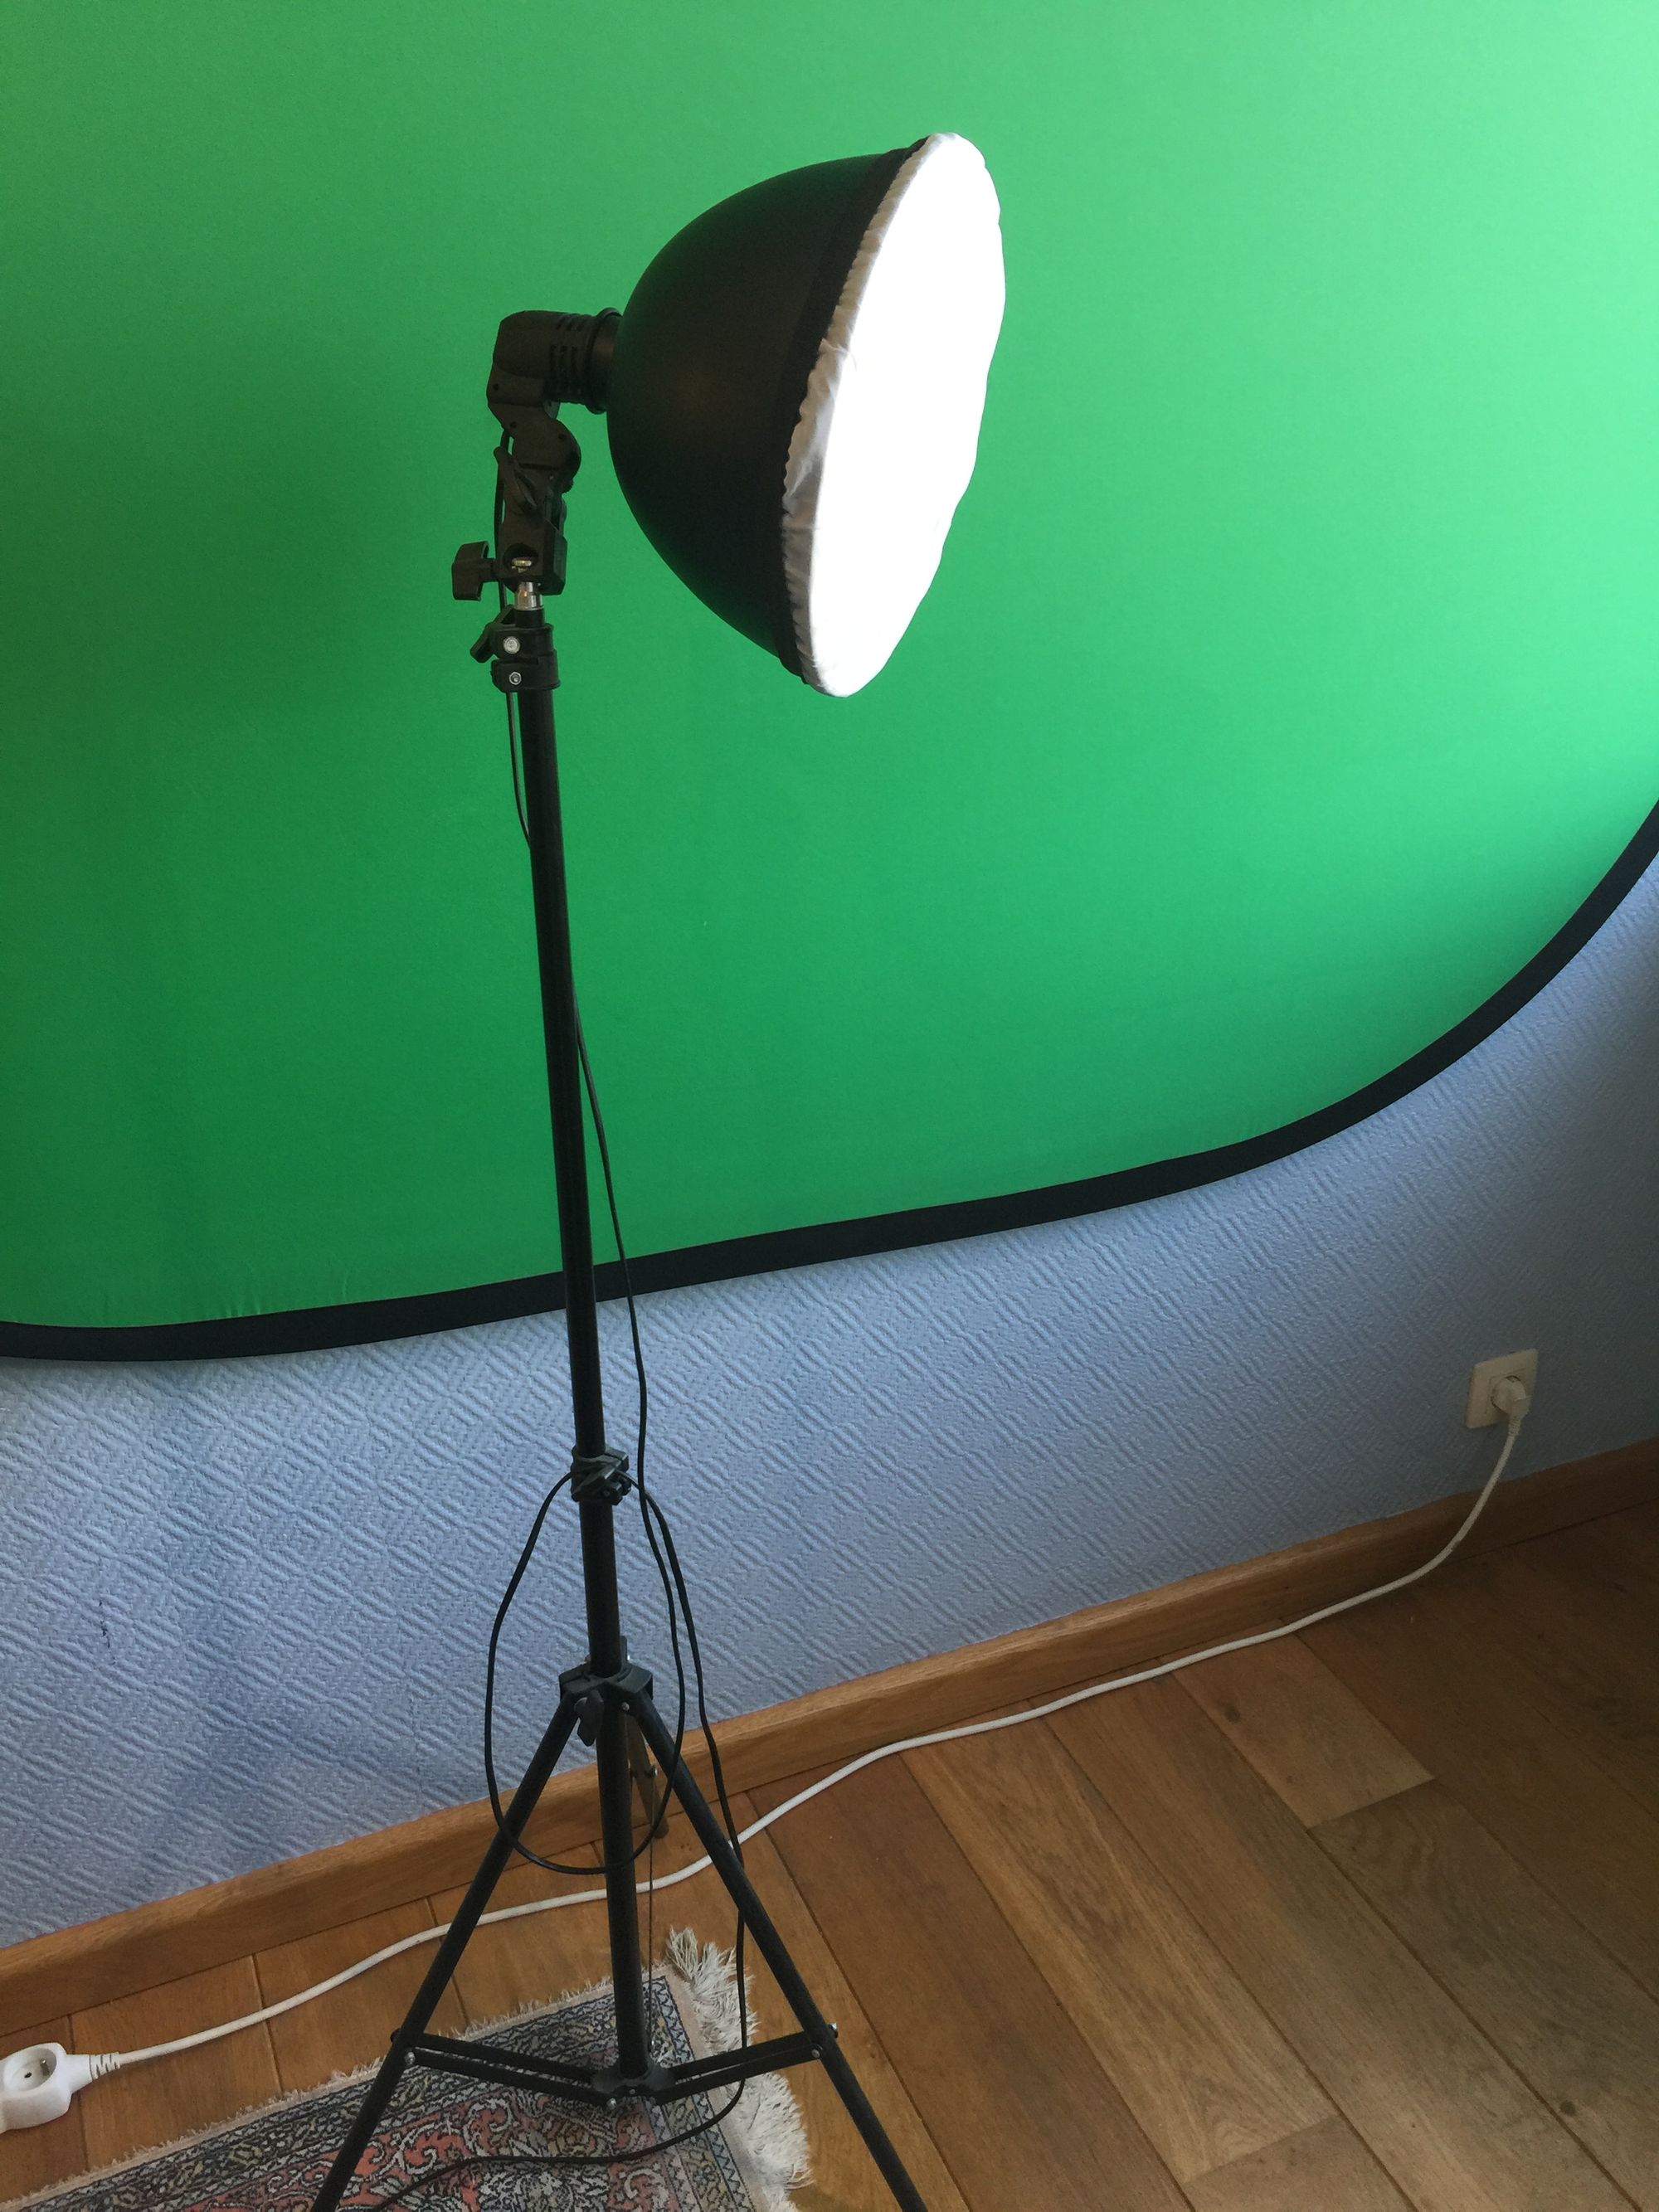
We simply point a lamp from each side directly to the background (and not at us directly), and that will give the background a great uniform color.
Here is the link to the lamp that we use:
An affordable full spectrum white light lampThese lamps last for years, but eventually, you will need a replacement. Here is the link to the replacement lamps that we use as well, just in case:
A replacement lamp for your green screen lighting setupBesides background lighting, what about body lighting?
The lamps that we have shown so far were used only to light the green screen itself, but you likely also need some sort of lighting for you as well.
We use a simple desk lamp that we feel gives a great result, and a good strong white light lamp in your office can do the trick just as well.
But if you need something a bit more powerful, you can also get a couple of small desk-mounted lamps like these ones:
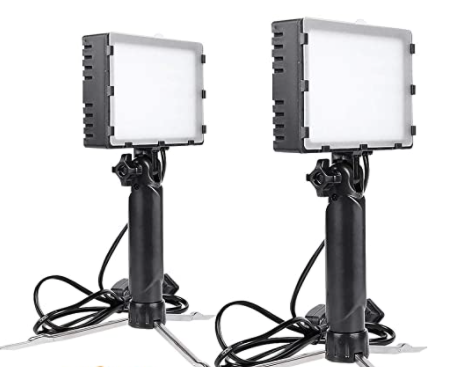
Here is the link to these lamps:
A desk-based dual lighting setupIf you have lots of space in front of your desk, and you would prefer to keep your desk clean of any extra equipment, you might also use a couple of lamps in front of your desk, one on each side.
This setup will also work great for full body recordings using a cloth-based green screen:
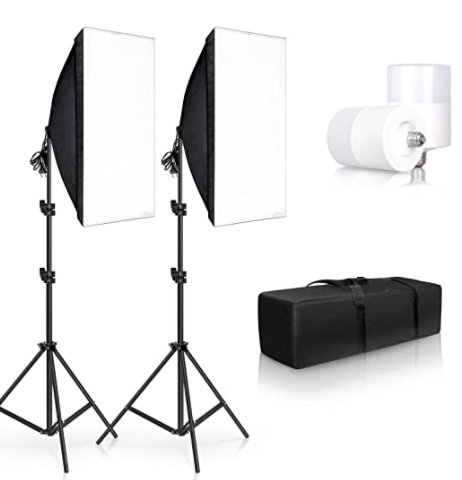
Here is a link to these lamps:
A dual white lighting setupThe important thing to keep in mind about Lighting
Lighting is maybe the most dangerous area for beginners in terms of overspending. All of these lighting setups are relatively affordable, but if you add everything up this might cost you a couple of hundred dollars already.
The risk is that you buy some of the lighting equipment, but then realize that you don't need it because the light in your office is sufficient, or that a couple of simple desk lamps are more than enough, and are a lot less cumbersome.
We recommend getting this equipment progressively: get the green screen first and install it and do some trial runs using the lighting that you already have.
Then if that doesn't work, try to get a couple of lamps to highlight the green background, and see if that works out. If you still need it, only then get extra lighting.
This way, you will avoid getting a bunch of lamps and equipment that you will end up not even using.
Summary & key takeaways
Let's quickly summarize here everything that we have learned about online course equipment. Here is the main point:
You don't need expensive equipment for creating online courses at all. At a minimal, just get a decent microphone and you're all set!
A lot of courses rarely show up on camera, but it's true that the most successful ones do show up at least a couple of times per course, if not always.
And this is no coincidence for sure. This is because showing yourself in the videos helps to build your brand and makes your videos unique and much easier to remember.
Appearing on camera does mean that you will have to invest a bit more in some equipment upfront. But you can still keep it to a minimum.
For example, you can opt for not using a green screen setup at all, and simply create a nice-looking background for your videos.
This will allow you to still show up on camera and personalize your videos, without having to invest more in extra equipment. At a minimum, a simple extra lamp will do.
If you do want to make your videos look more professional, you can easily do so by using a green screen, but this typically means that you will need a bit more space in your office to do that.
But the final result is definitely worth it!
As you can see, with a relatively small amount of money, you can create an online course recording studio as simple or as advanced as you need, depending on what type of courses you want to record.
The key thing to remember is that it's all probably a lot easier than you think.
Our advice to anyone getting started with online course production is to keep it simple at first, just get a microphone and take it from there. You will see that it will all work out in the end.
We hope that this guide helped you choose the best equipment for your course.
In order to get notified when new content is available at the Course Creator Academy, you can subscribe here to our weekly newsletter:
And if you are looking for a platform to host your online courses, create an account at OnlineCourseHost.com and start creating your courses using our Free Plan.
Next recommended guide
To check out all our guides on how to become an online course creator, you can check the academy home page.
The next guide that we recommend that you read is: How to record and edit your first online course
Any further questions?
If you have any other questions about online course creation in general or online course equipment in particular, please post them in the comment section below, or in our Course Creator Academy Facebook Group.
Either way, our team of course creation experts is happy to help you out.
Vasco Cavalheiro
OnlineCourseHost.com Founder & Online Course Creator
LinkedIn Facebook Page Facebook Group Twitter
You are welcome to ask me any questions in the comments below: 👇👇👇👇

 Start Here
 Course Creation Journey Step by Step
  Course Creation Software Reviews
 Online Course Marketing
 Course Creation Tips & Tricks
 Course Equipment
 Online Course Marketplaces
 Revenue Reports
 Best Practices
 Frequently Asked Questions
 Platform Reviews